After a month of no drinking, and no Graeter’s ice cream, I’ve celebrated with some bourbon and DIY, ladies and gentlemen. For 2019 I’m going to try and get a bit more active and share some how-to videos as well. These videos have an alternative motive to get me to lose some of this “baby” weight. At this stage, I just need to lose as much and Siena and Leila weigh and I’ll be set!
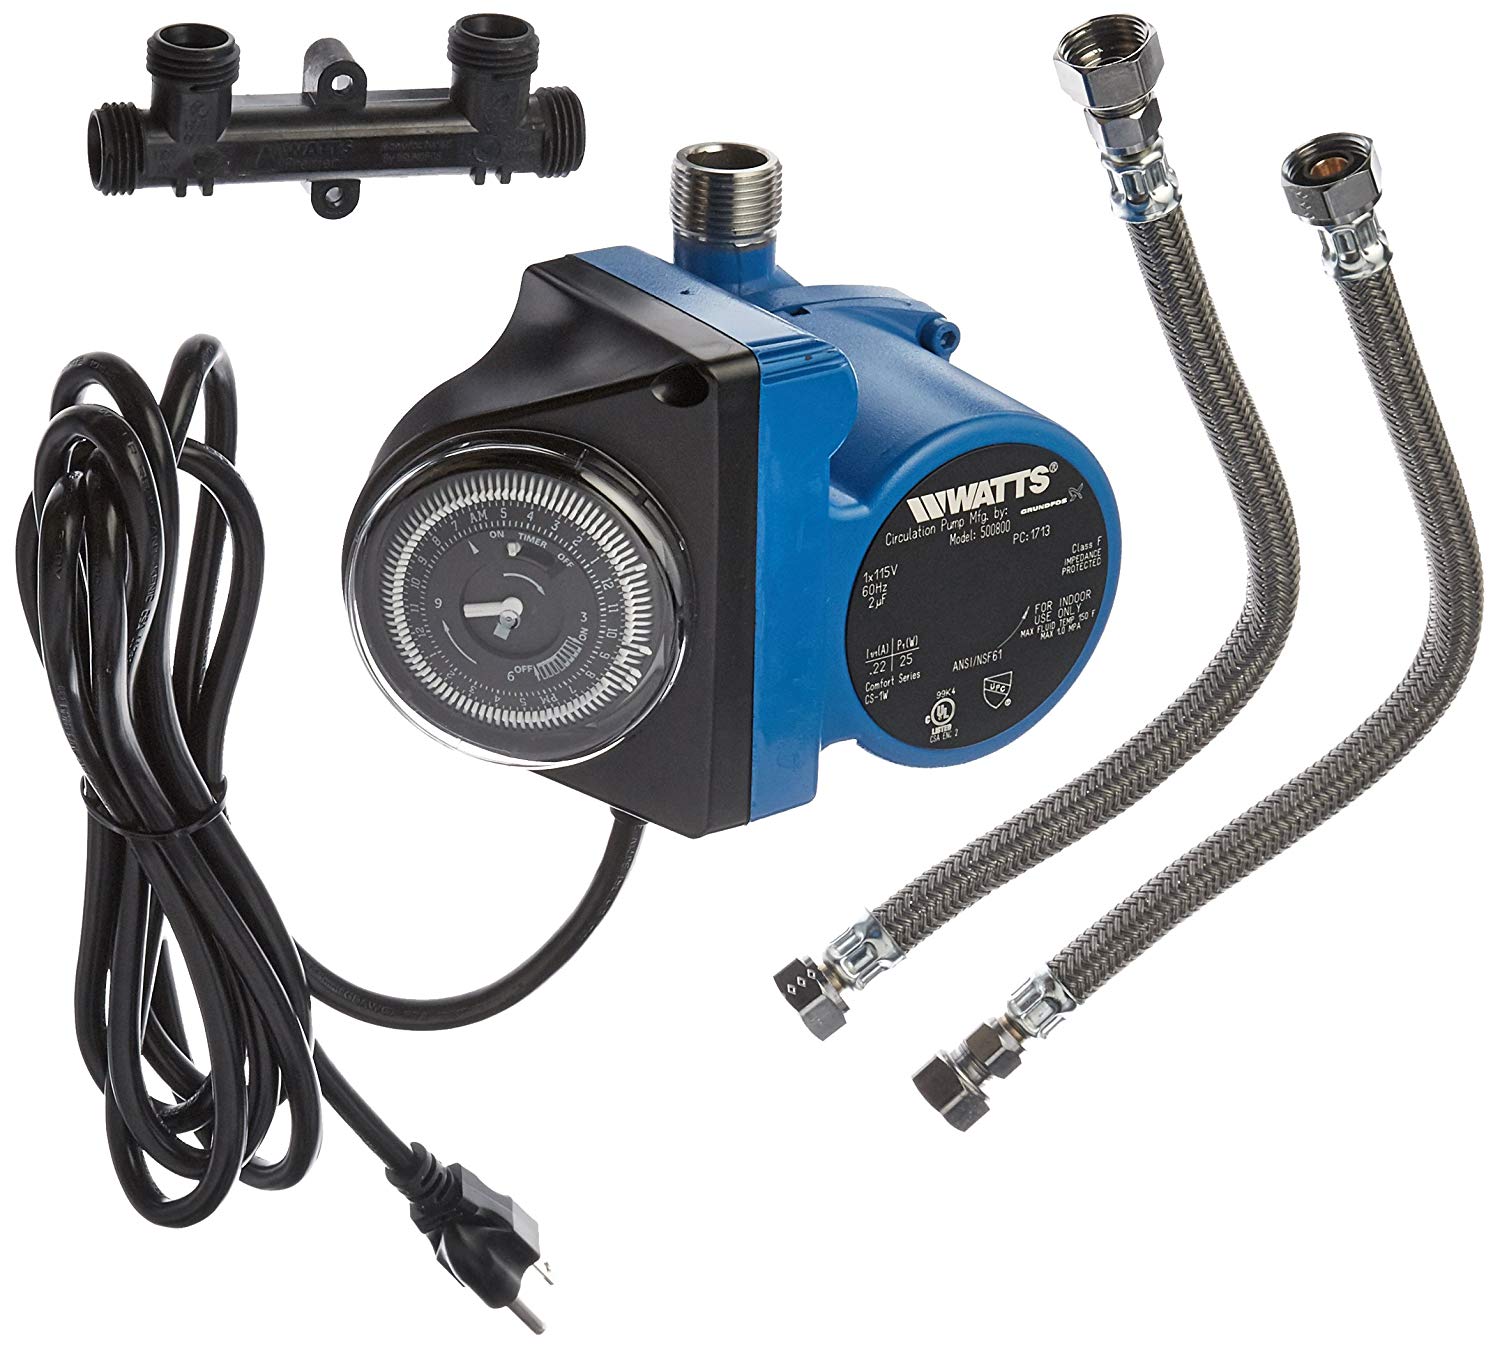
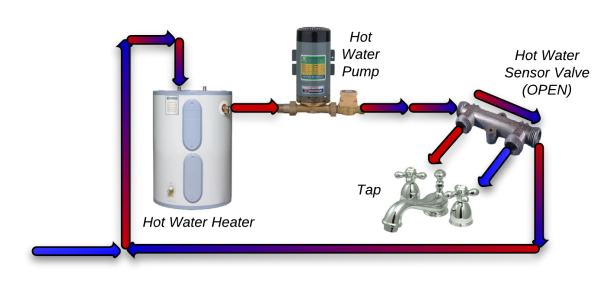
This post is about a device you need that you didnt know you needed. Classic for me and my blog! This is the installation of a Hot Water Recirculating System, saving the water (and $$) you typically waste when you let it run to warm up. This model was easy to install and included a timer for increased energy efficiency that let’s you choose blocks of time you’ll most likely be needing the hot water. This model also works with just about any traditional tank system but is not designed for tankless options. Unfortunately to get a tankless unit with a built-in system adds about 500-$700 to the price tag!
Recommended Items:
- Watts Instant Hot Water Recirculating System w/ Timer
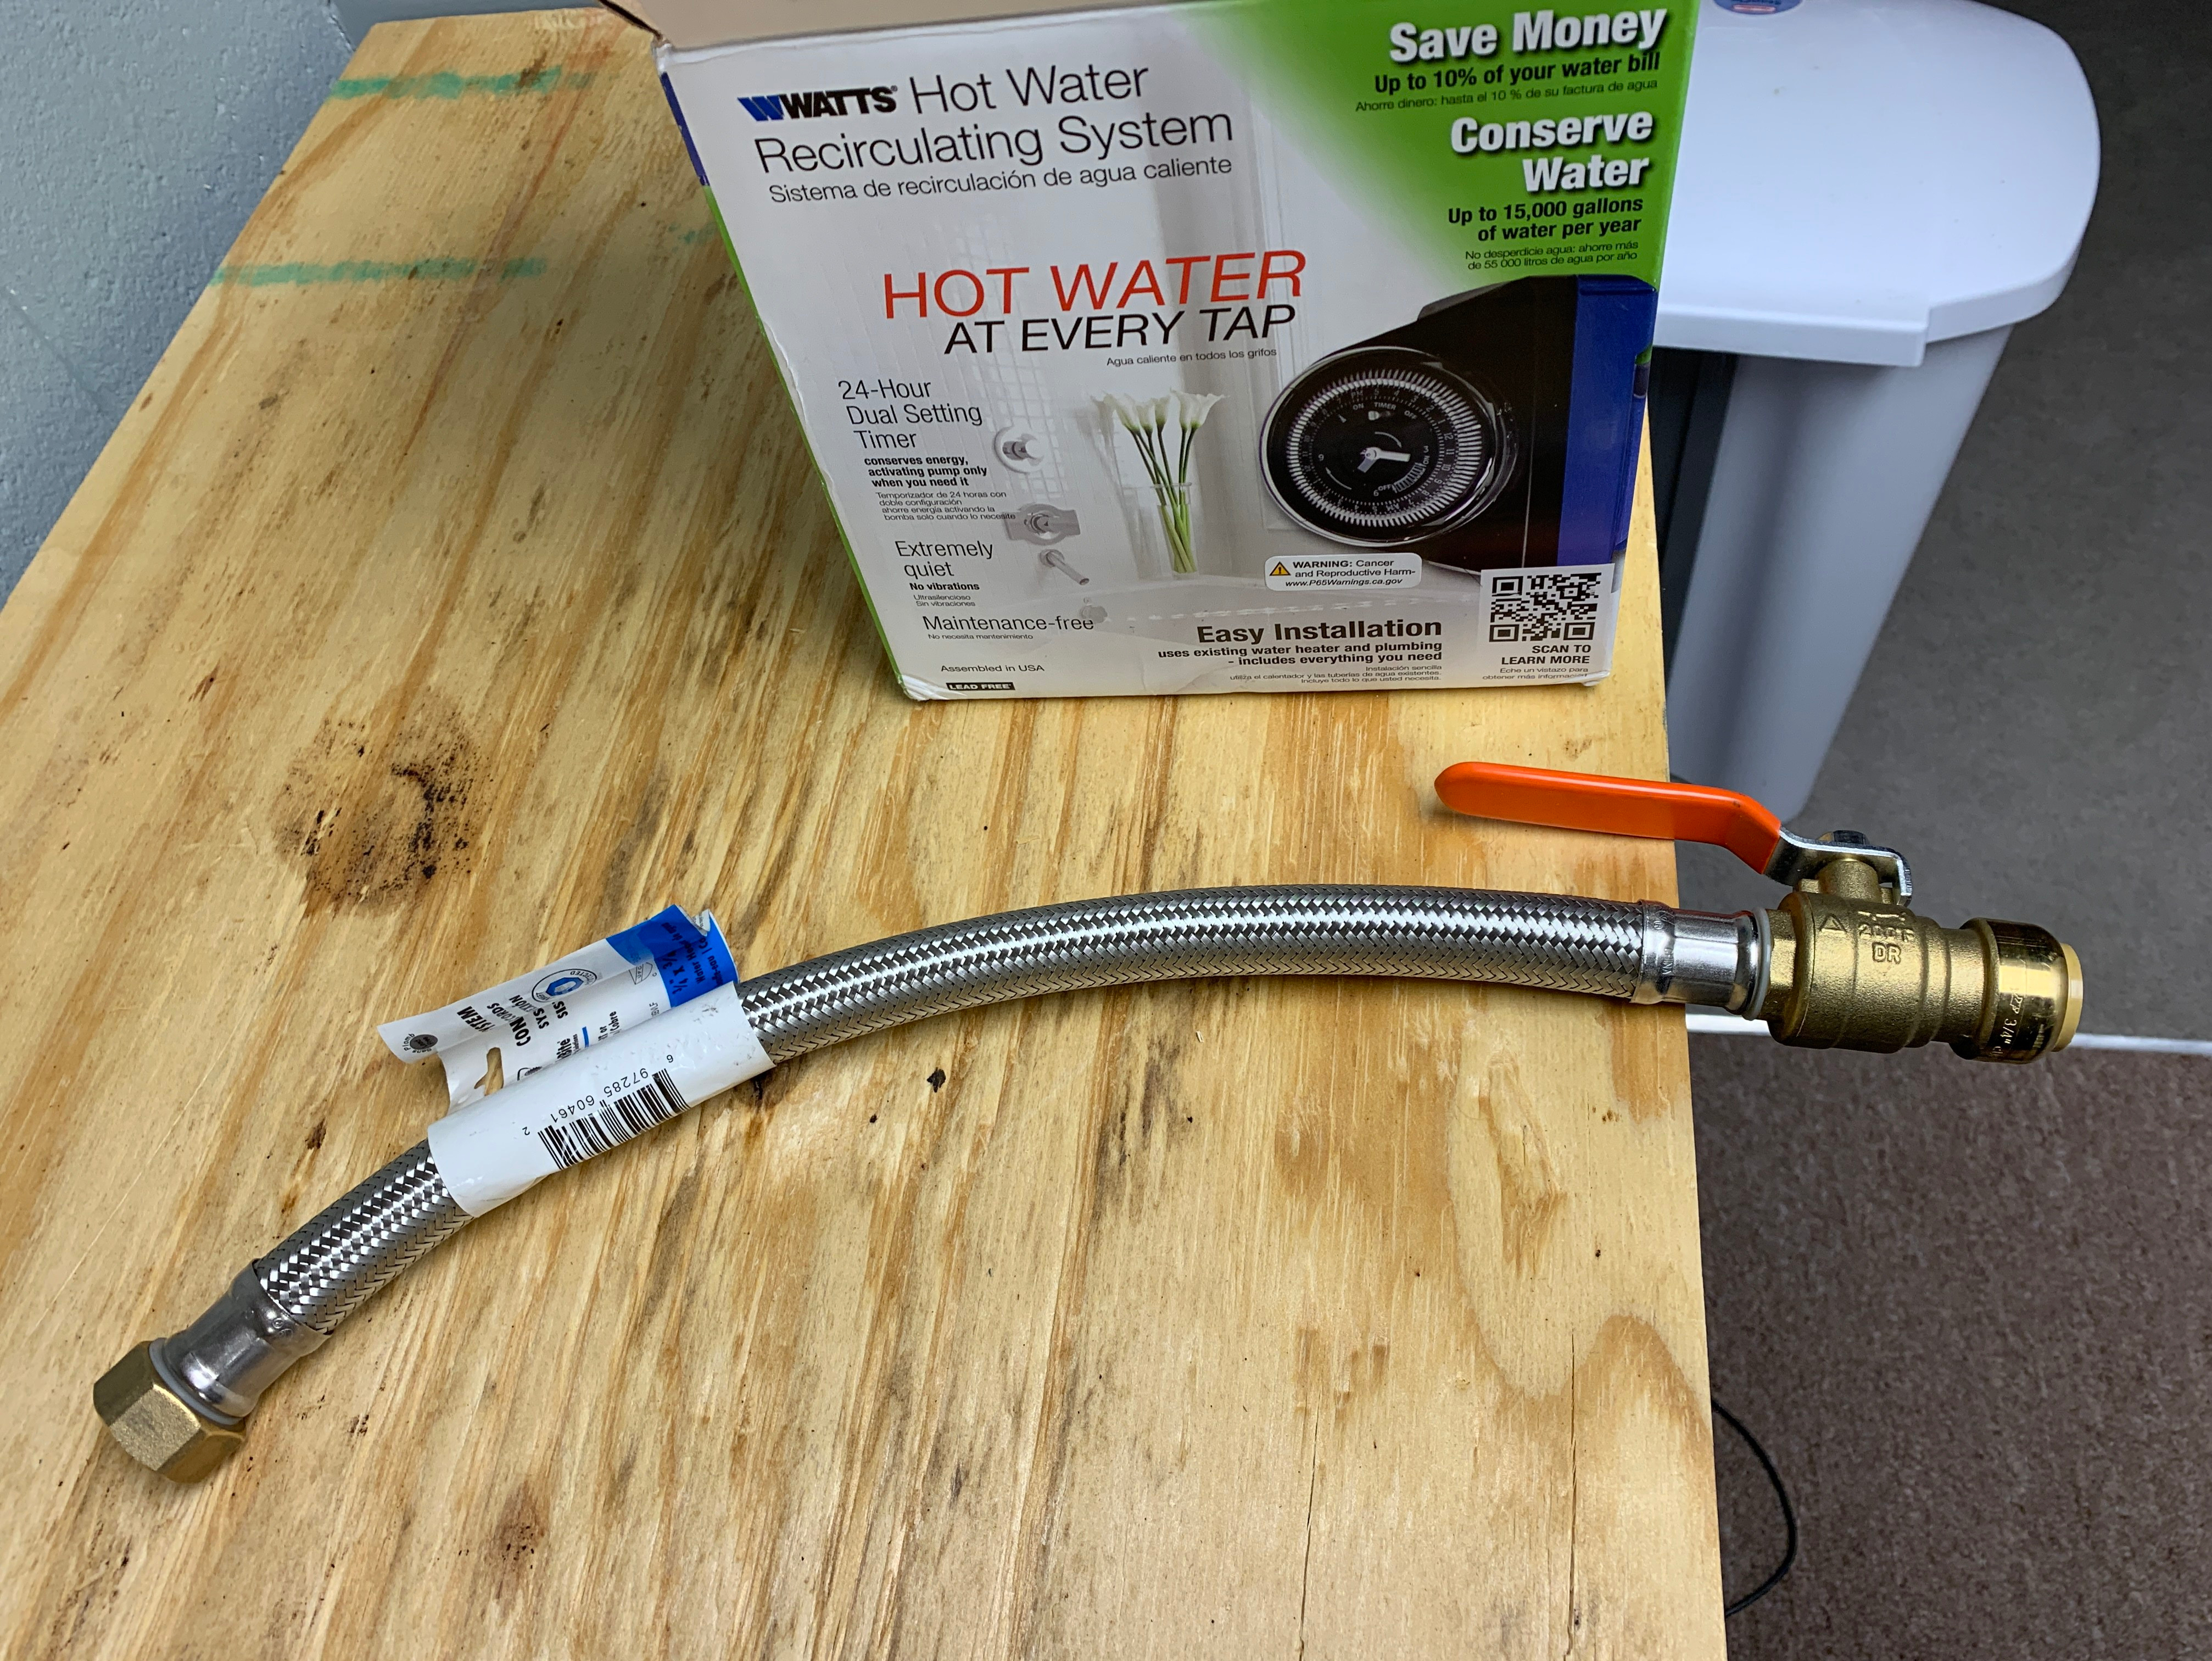
- SharkBite Flexible Water Heater Connector
- Channellock Wide Azz Adjustable Wrench
- Pipe Cutter
- If you want to replace the Anode Rod : 1/2 Drive Socket
Sharkbite = Why I use them!
- INSTALLS IN SECONDS: 18” Water heater flex hose line connections require no special tools, no soldering, or glue. Just push to create a watertight seal. Includes integrated ball valve supply shutoff
- CERTIFIED: SharkBite fittings are certified to 200 PSI and 200°F and can be reused up to four times in potable and hydronic heating water distribution
- 0:00-6:45 – Introduction – Plan overview & recommended tools
- 6:45 – Let’s start! Shut everything off and drain the tank
- 8:40 – Initial cutting of the pipe (Pipe Cutter)
- 12:20 – Channellock Wrench leveraged for removing copper pipe
- 14:00 – Anode Rod Side Project (as the tank drains)
- 15:30 – Bourbon break / Intermission
- 17:20 – Remove the Anode Rod Process
- 18:30 – Anode Rod Explanation / Replacement
- 22:00 – *Awareness – Water still dripping – Sharkbite overview
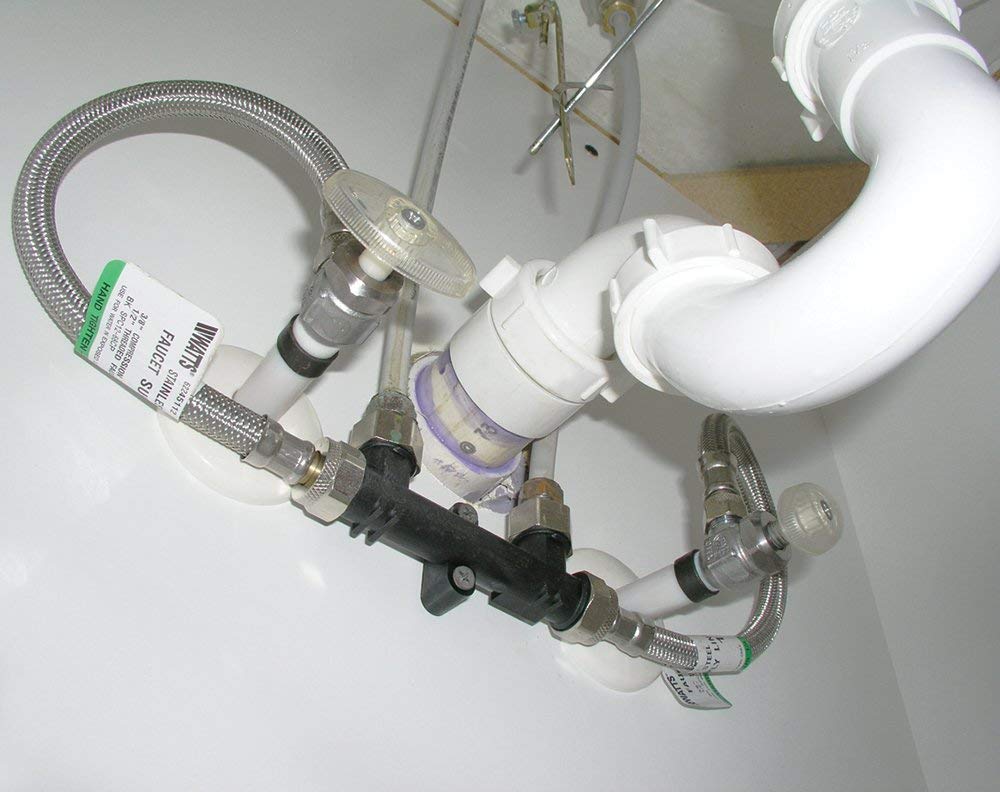
- 24:30 – Go Time – Remove the pipe, place Sharkbite
- 27:00 – Introduction of the Water Recirculator Pump / Timer
- 28:26 – All Done! Project recap and Fill hot water tank
- 29:30 – Lessons learned / No issues / closing
For this particular project I recorded a video to demonstrate the process. Unfortunately, I try to explain more aspects then you may care about so it’s ~33 minutes. If you choose to watch it, make sure you pour a tall Bourbon for the special occasion. If you need a “Speed Video” I’ve included a Home Depot install video at the bottom (This kind of video convinced me of the DIY).
On the plus side, if you watch the entire video you’ll get a demonstration of a previous blog post, where I changed out the Anode rod and also flushed the tank which adds years to your equipment and is very important. So far mine is around 14 years old and seems to be holding up well!
Overall it was a straight forward install. I’ve been using it about a week and it’s great, we have lukewarm/hot water instantly for showers and our sinks morning and night. Previously this could take 3-5 minutes of wasting water before hot water got to the top. The manual timer helps conserve power. Another I am going to leverage is plugging the pump into a smart switch so that you can have more flexibility with the schedule (Weekends, turn off when out of town etc).
As always be careful to turn off the water, the gas and keep electric away from any water exposure. Best of luck!
Home Depot Speed Run Video:
One more bonus video, this is the coolest “DIY” Plumbing Trick video I’ve seen! Lots of handy things to have in the back of your mind before approaching any plumbing videos.
DIY for life,
Justin
