As a homeowner, some of the most expensive equipment your home contains is your heating and cooling solutions, primarily your Air Conditioner and Furnace/Heat Pump. In less than 3 years since purchasing our home I’ve had both fail. I’ve also had to replace all the high dollar items – air conditioner (+run new lines), furnace, and the hot water tank- at my rental property. I thought I’d share some shortcuts because in reality the things that break on these pieces of equipment are cheap to fix!
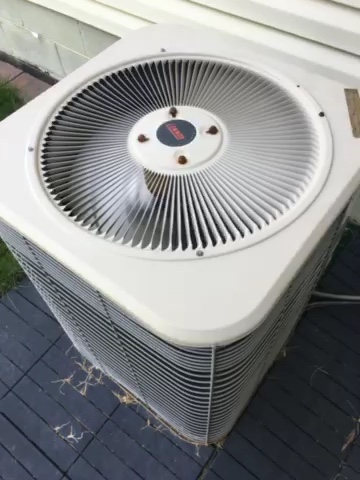
First and foremost, always make sure your fan shroud/body/heat sinks are free of dust, grass, and any other obstructions. Always hose it off every couple months to allow it to function at peak performance. There are a few products you can use to keep lawn clippings off it, such as :
Kleen Screen : Air Conditioner Protector Filter Screen

I’m also a big fan of the NEST Thermostat technology. The wife got me one for Christmas and it provides monthly email reports on how you’re doing, in addition to being able to adjust its settings right from your phone!

Examples of Common Problems I have experienced:
Problem # 1 Outdoor AC Fan failure – Fixed July 2016 (Hot summer!)
- First Signs of a problem:
- Noticed exterior unit was making noise.
- Air was being blown around the house, but it was not cold.
- Inspection:
- The exterior air conditioner fan could barely move. If I sprayed it with the hose it would spin, but not at the speed required to dissipate any of the heat in the unit/coils.
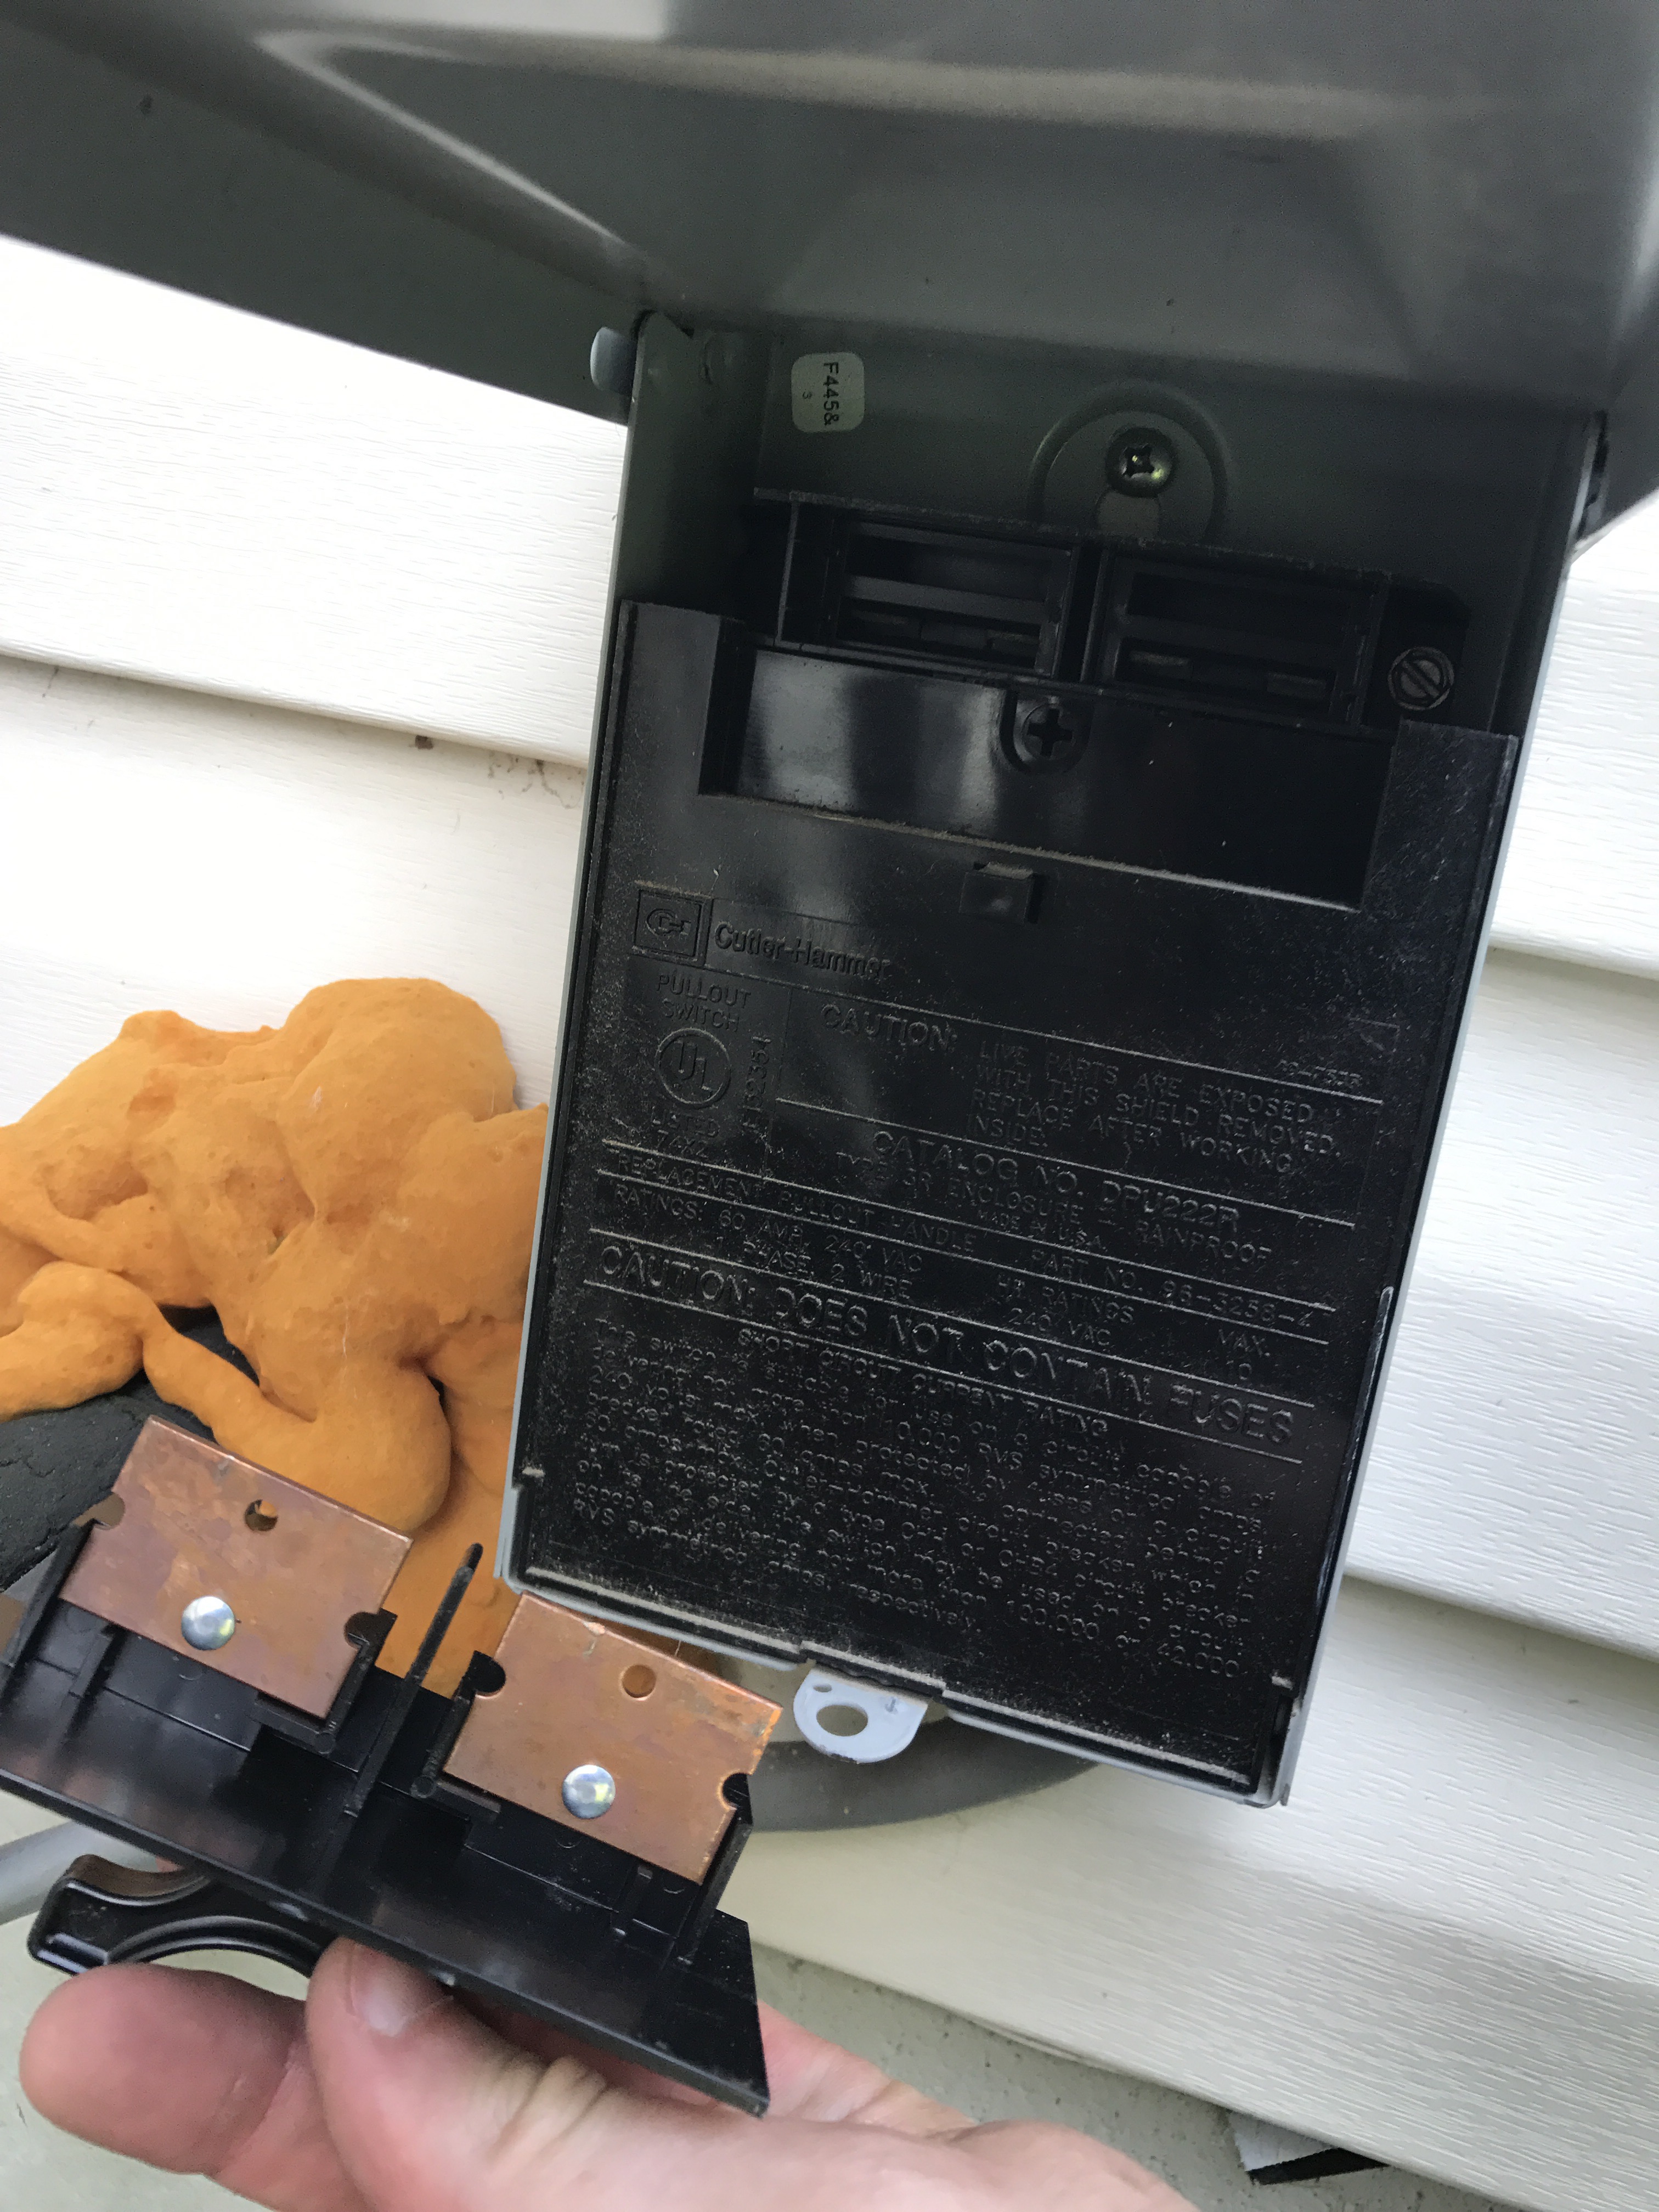
- The unit itself was also very hot, another bad sign. So right off the bat I cut the power to the unit. In my case, there was a fuse box next to the unit attached to the house. Take a look at the fuse while you have it out and make sure no damage or corrosion exists.
Make sure unit has no power before touching anything
- Troubleshooting:
- The exterior unit is a large fan, with very few things that can be serviced. It’s a large fan surrounded by heat sinks (fins). Remove the service panel around the side (usually a few sheet metal screws with a Philips head).
- Check for loose wires
- Check for corrosion at terminals (Ohio weather!)
- Check Capacitors, you can test the terminals of the capacitors with a multi-meter. I did not need to for my situation as they were visibly damaged. For reference, Capacitors have a acceptable variance of around 15%, beyond that the capacitor should be replaced or it could cause additional damage to the motor (over stress).
- The exterior unit is a large fan, with very few things that can be serviced. It’s a large fan surrounded by heat sinks (fins). Remove the service panel around the side (usually a few sheet metal screws with a Philips head).


- The Fix :
- I recommend taking a picture of everything, at multiple angles before you begin taking anything apart. In these photos there are two capacitiors (which is actually WRONG, sign of a poor previous DIY fix). Capacitor #1, (not a rusty mess) has a bulging top which is a really bad sign. Additionally, the previous owner leveraged 2 capacitors instead of one which could have also been the culprit (ex: Used a 15 + 30 = 45, was his intent. Don’t do this!).
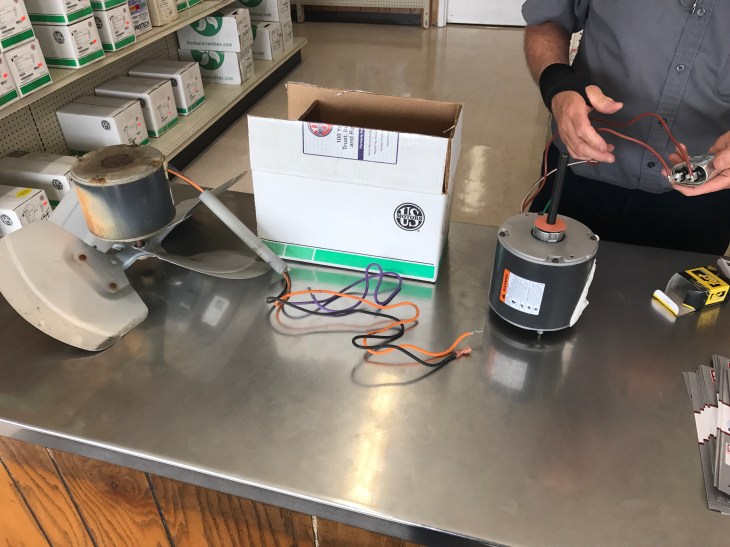
- Here is a picture of the replacement capacitor I used. The one on the left is the capacity my AC unit requires. The two on the right are the old, and damaged capacitors. Notice the bulging top on the far right unit.
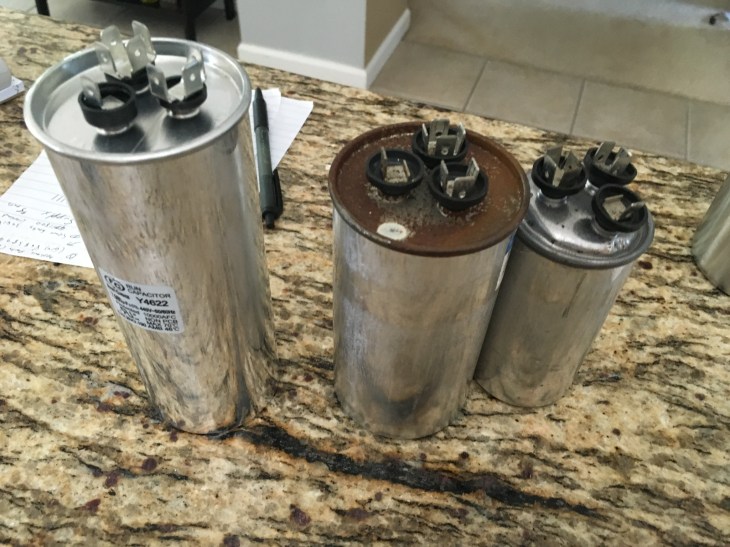
- I was able to pick one up for maybe $40 at Sears Heating and Cooling, one of the few parts places in Columbus that will sell to consumers and not require you to hire a tech. Their shop isn’t to far from my office: 3981 Cleveland Ave, Columbus, OH 43224. Bring in the broken or damaged parts and they will find a close match, possibly with a generic branding.
Issue # 2 Indoor Sensors failure – fixed Feb 2017
- First Signs of a problem:
- Air for the house (blower) would turn on for 2 minutes before shutting off.
- House was very cold!
- Troubleshooting :
- Always check the air filter and make sure it is clean and not restricting airflow. Replace if there is any doubt. Surprising how often this can fix the equipment!
- When I physically look at the unit it has a little window with 2 LED lights that give error codes.
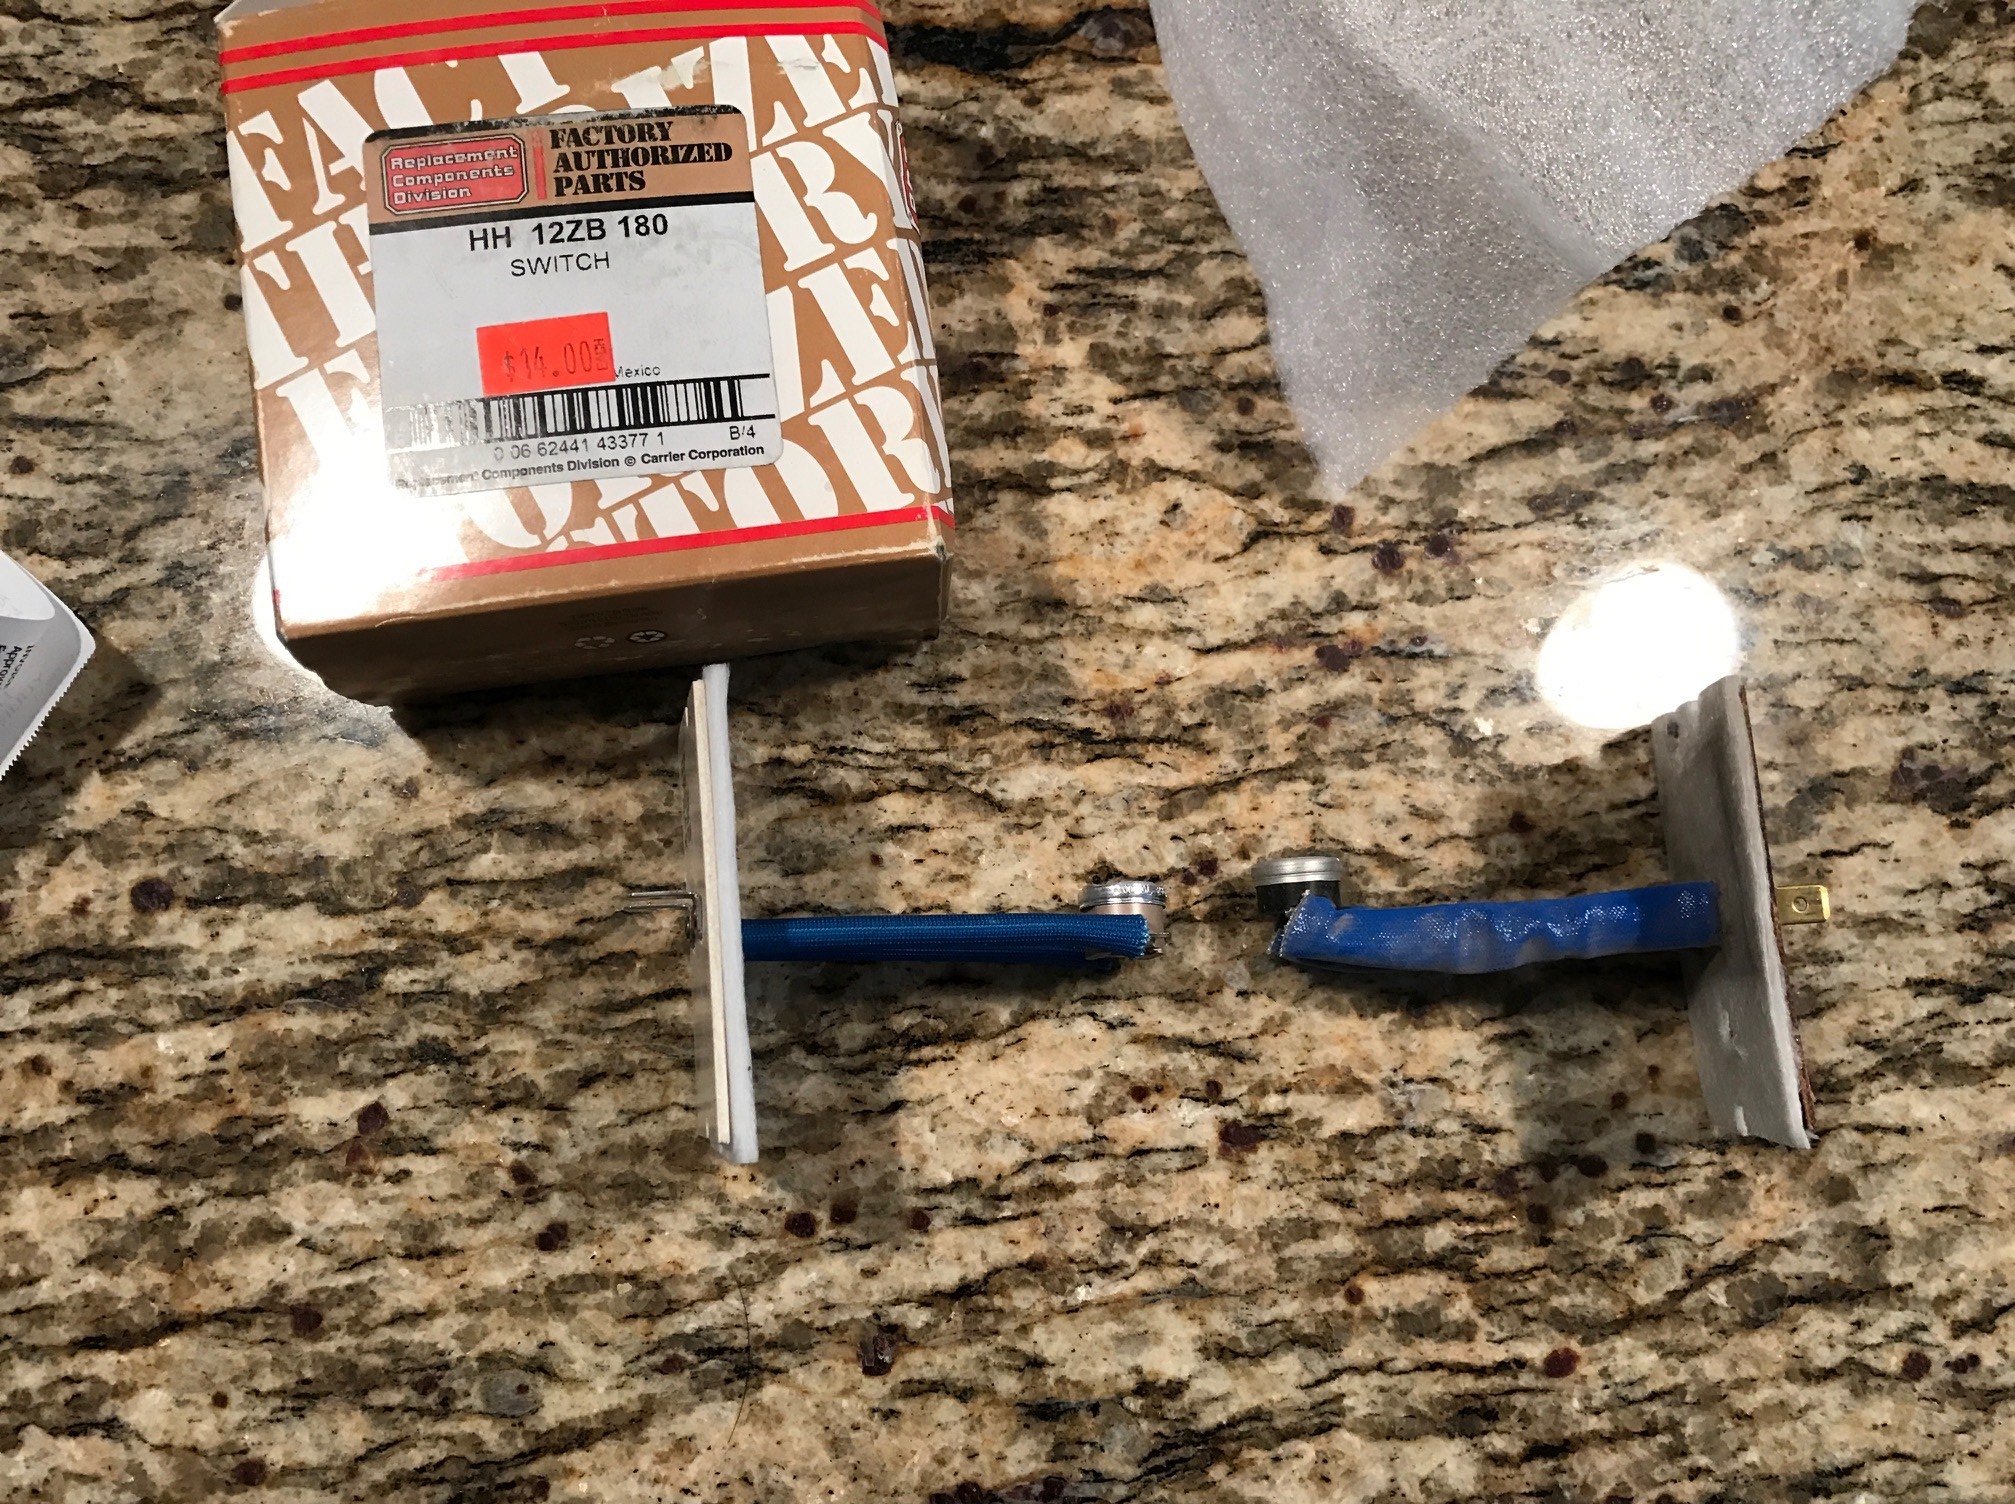
- The error code being prompted was: “Primary/Secondary Limit Switch Open.”
- What this kind of error means is one of the “Sensors” is being triggered. The unit has many sensors that detect air pressure (or lack thereof, due to dirty filter) and also heat. The heat sensor in particular for me was getting tripped. The unit can sense it is not cooling off properly and then shuts off for safety purposes after about 90 seconds.
- Solution:
- I read that to test for a faulty sensor you can essentially “jump” the terminals with a piece of wire. This tricks the system into thinking “all is well with this sensor”. When I ran the wire the system fired up, heat turned on and everything worked well. So I was able to easily identify my problem. In other situations a sensor may have a button you press to reset it.


- Again Sears Heating and Cooling was my go-to and they had a sensor available for around $20-30 I believe. Make sure you bring the existing sensor to the store so they can get a good match.
Issue #3 – AC motor failure – bearings June 2017
Woke up one morning around 6 am with our AC unit making a loud noise as if a bearing was going out. The fan was spinning but you could tell it was srestricted pretty bad. A bearing or component internal had failed. The motor is sealed, so you have to replace it, it’s not just a WD-40 situation. Below is a brief recap of the process I took to replace the motor. I did this in about 15-20 minutes in the morning to disassemble and remove the fan. The put together part took about a 30-45 minutes. Total cost around $140 which included a generic branded motor (not my Lennox junk) and a capacitor to drive the fan blade/speeds.
#1 – Always disconnect the power, even if the fan is not running it is still a live unit. If you touch any capacitors you’ll get a friendly shock.
The picture below is the second component of the outside AC unit. This is the compressor, likely when this fails its a good opportunity to replace the external unit. However this is still pumping fluid fine from what I can tell.
First think you’ll need to do is remove the screws around the top of the AC unit, they are little hex heads metal/self driving screws normally. My unit had about 5-6 to remove for the top to simply lift off. They hold the protective shroud on the unit as well to protect the heat fins.
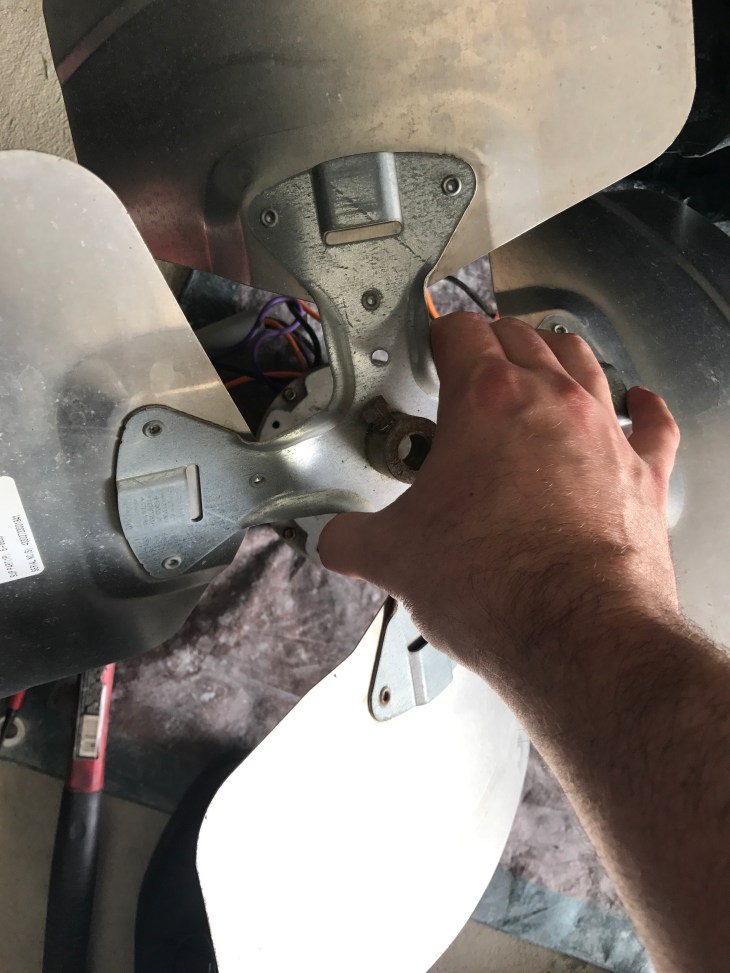
In addition the photo below you can see the 4 rusted bolts that hold the motor unit on (near the center logo).
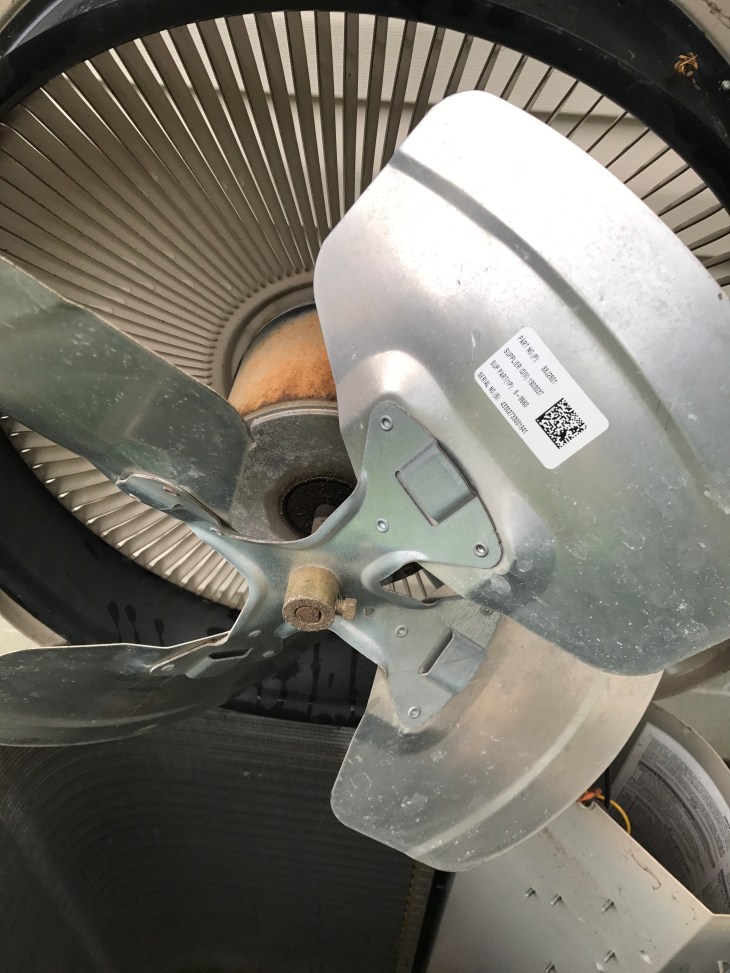
A quick inspection made it clear the motor was in bad shape, it did not spin very freely like a well oiled machine. You can also see from the picture how the “blade” is attached to the rod that spins. You’ll just use a wrench to unscrew that a few twists and if your lucky it will slide off. If not hit it the top with a hammer to loosen the rust or scan down below for more ideas.
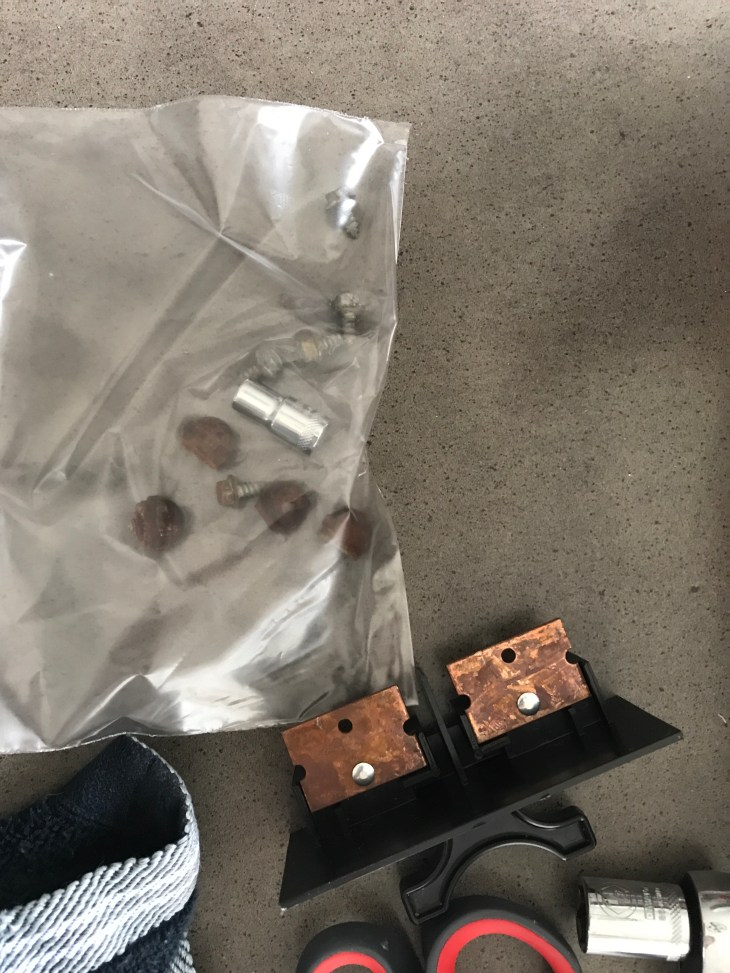
Make sure you bag everything, I used a zip lock bag so when I get back at lunch I’d have everything handy.
The fan is also attached to multiple power sources and a capacitor with most models. Make sure you take photo’s of everything so you know where the wires go when you get back!

My unit used the orange and black connector terminals above. And the purple connector to the capacitor below.
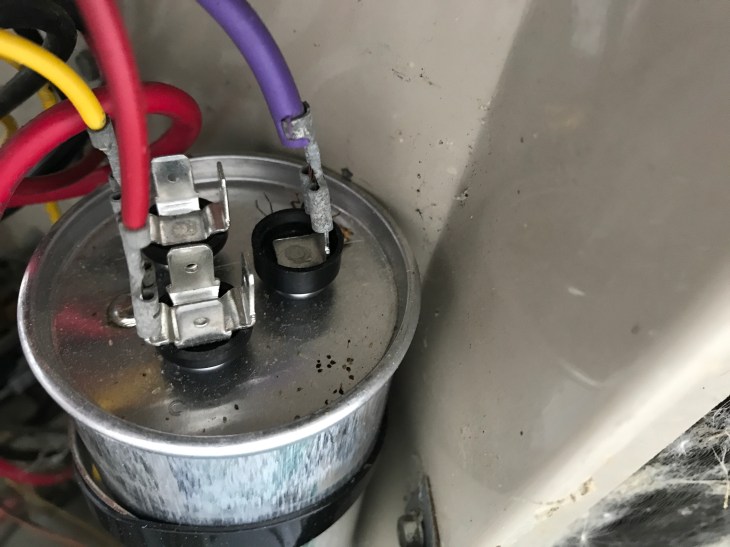
The photo’s above you also see a heavy duty black zip tie. I used this to attach the new capacitor right next to the old later in the process but I don’t have a picture of it as I was in a rush at lunch. But you get the idea.
I had just replaced the capacitors so I was confident they were in good shape. As always make sure you bring the damaged part with you for replacement. Per the norm I made a trip to Sears Heating and Cooling where the front desk rep was able to help me find a similar powered generic replacement model for $130. You’ll also see a $7 capacitor that was recommended to drive the fan. This means the purple wire with my old motor will not be needed moving forward. The new unit leverage 2 brown wires to the capacitor. Special note, you can reverse the direction of the rod spinning the fan blades with the generic unit so that the mounting options are more flexible. The stock settings worked fine (its a matter of switching a yellow/red wire).
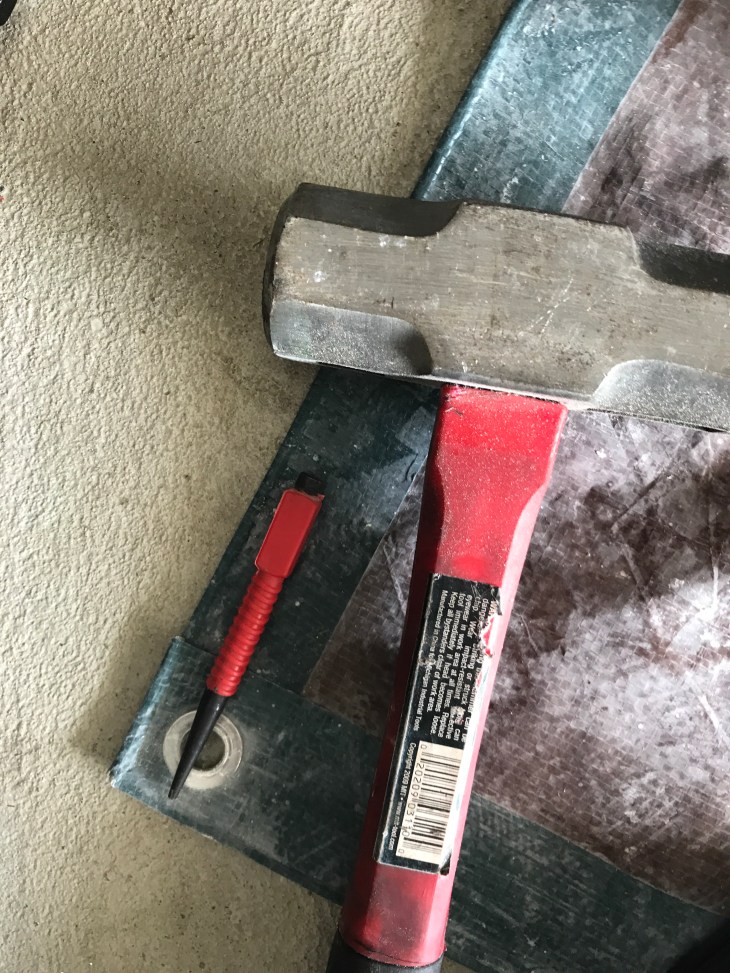
I got back home and was able to remove the fan blade to re-use with the new motor pretty easily. I used a punch tool around the collar of the fan to loosen it enough to move freely. The front desk person recommend cutting it off and using a vice to hammer things out but that seemed awfully excessive. But if yours is completely stuck that maybe an option. The key us not to bend the fan blades, that may mean the end to your unit (as larger sizes may not fit various models).
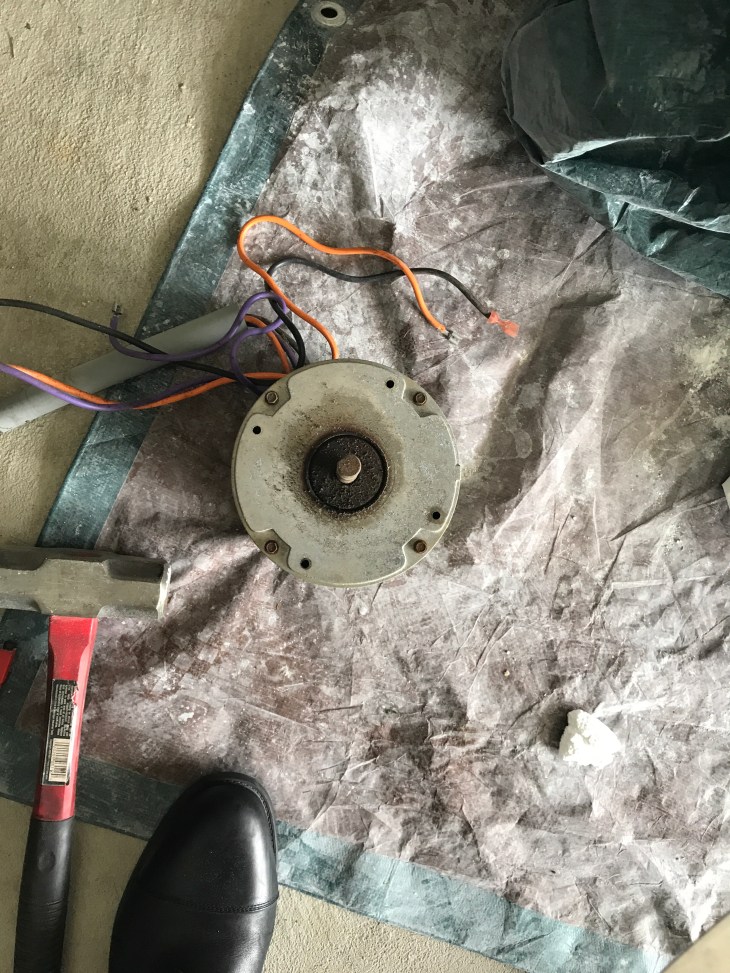
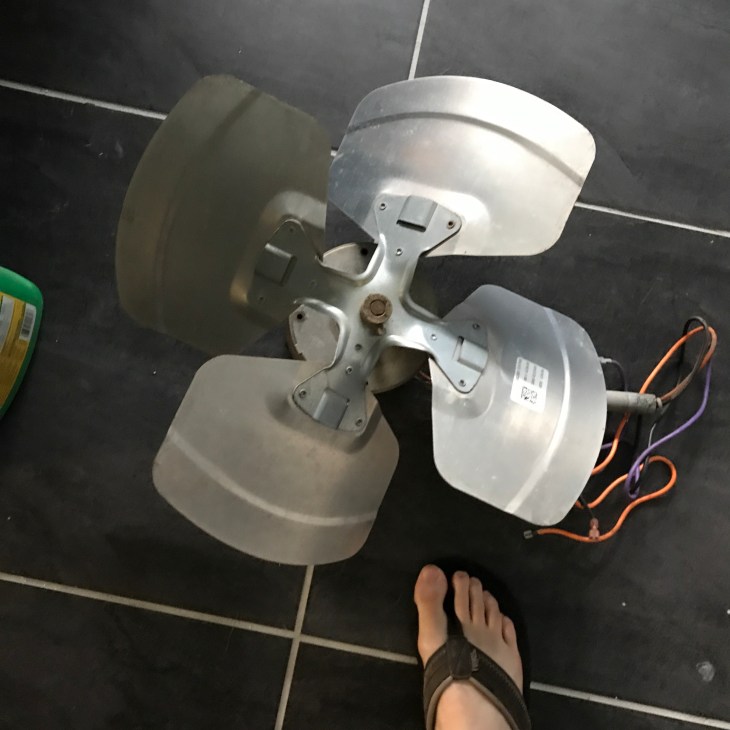
Old unit, which is now trash.
After mounting the new fan blade on, you are ready to re-install to your external AC unit.
The fan motor is held on to the lid by 4 screws/nuts, very simple easy design. Once you test fit it, make sure the fan blade has enough room to spin without hitting any fins or pipes. I actually had to move the fan up 2-3″ on the rod so it would not clip a pipe. Be careful!
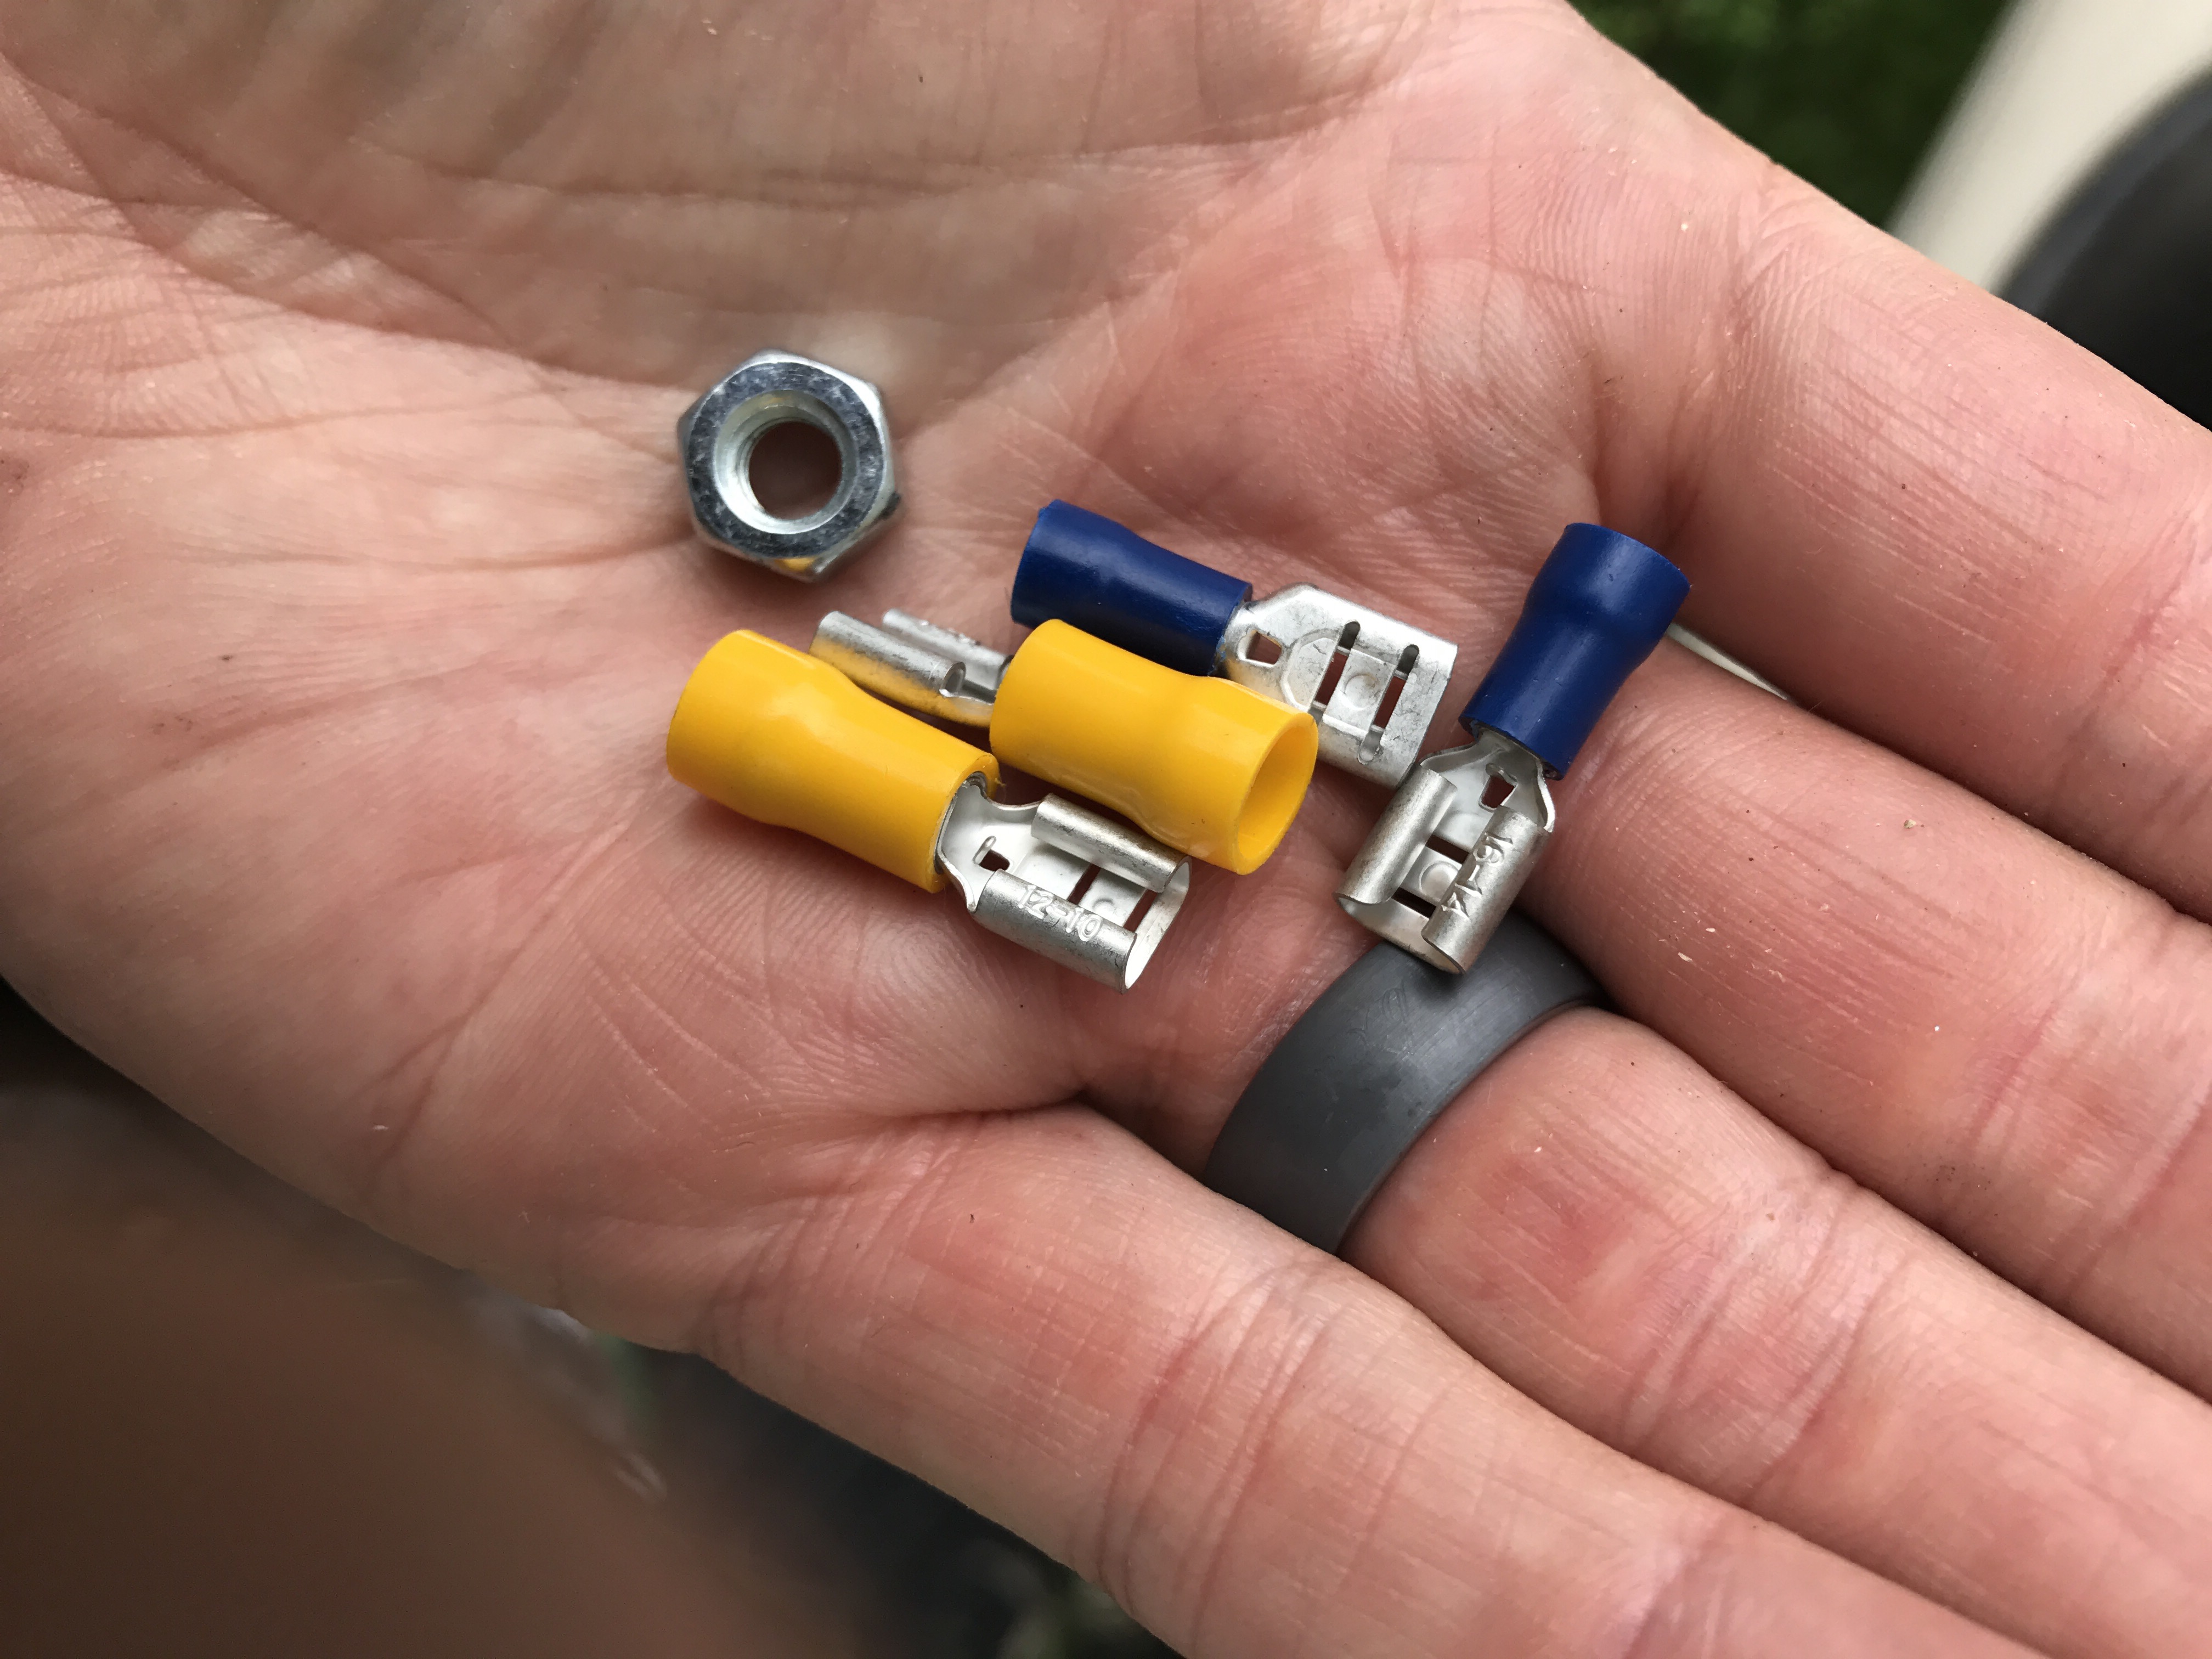
I also used terminal connectors for the fan motor since it only came with bare wire. You can get them cheap at local hardware stores. I had a few from installing a whole house humidifier.
Once it is all back together plug the fuse back in and test run it a few times. I recommend having one person inside turning it on/off and another by the unit listening for loose screws, fan hitting something etc (use a cell phone or open window to yell at each other). I had a NEST Thermostat so I was able to turn it on and off while monitoring the unit for issues. Good luck!! Enjoy saving hundreds of dollars!
Issue # 4 – Condo equipment failure
For some background: my condo was built in 1997, so the equipment was approaching 20 years old (Furnace, AC, Hot Water Tank). My condo was built a little bit on the cheap side (ha ha). At this stage in my life I was not very familiar with the equipment and wanted to work with a pro to inspect everything before I began renting the unit.
Through research and recommendations I went with Atlas Butler. In the early stages it was just for spring cleaning packages. They did a very robust inspection and cleaning for around $125. I would not recommend them for equipment replacement (2x the cost of competitors). But they have a very skilled workforce for inspections and diagnosis. For example, the capacitor situation I fixed above for $40 bucks would have cost around $350 to have replaced by Atlas Butler for 10 minutes of labor!
The last time I worked with them was when I was transitioning the unit between renters. My problem upon the last inspection was the heat exchanger was developing cracks which could eventually lead to gas leaks / CO2 which could be harmful for anyone close to the unit. My exterior AC unit the capacitors were outside of the acceptable threshold (+/-15%) and should have been replaced as well. But it was likely a wasted expense because they wanted to charge me $300+. In addition, the unit was showing heavy signs of corrosion at various terminals and electrical components (anything metal!).
Given health concerns and my unit was 20 years old, I bit the bullet and decided to replace everything – the exterior AC, Interior Furnace/Heat Pump, and even my hot water tank to be proactive…you never want these to start leaking! I explored about 5-6 vendors (I’m OCD) and ended up going with a smaller company Rick Webb of Webb to Webb, who was referred by a friend. He did a great job with minimal damage to my basement ceiling (which was drywalled) when running a new refrigerant line. If you have a finished basement/finished ceiling be prepared for some touch-up work! I had estimates typically around the $6000-7000 (Atlas Butler may have been 10k!) and Rick Webb was able to get me a model for my condo including hot water tank for approximately $4,700, which saved me a lot of money on a rental unit and it was performed quickly and over a weekend. Stellar experience. It also included removal of the old equipment, which while functional, I wouldn’t feel comfortable selling and probably would have cost me money to recycle or dispose of properly. Unfortunately, due to time (4 days between tenants) I was unable to try my own DIY on these components! But I was really happy with the deal and the service I received.
The brand I went with, while not fancy has been working great for the condo rental.


