As requested, here is a new entry to the Risk Adverse series focusing on maximizing the life of your hot water tank unit with a few simple tricks. You can also reduce the amount of “stuff” in your hot water.
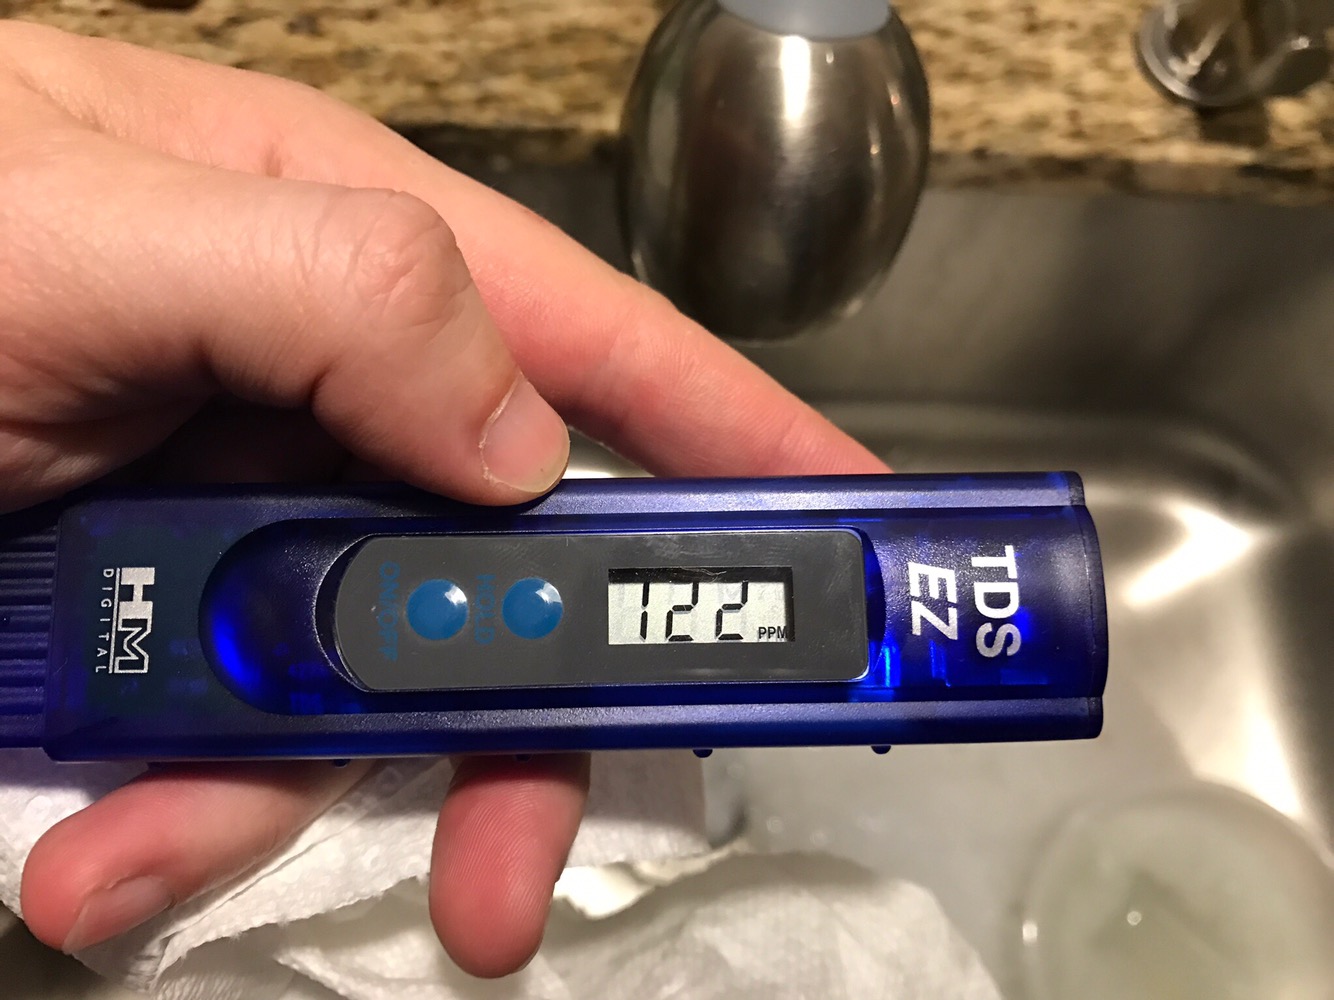
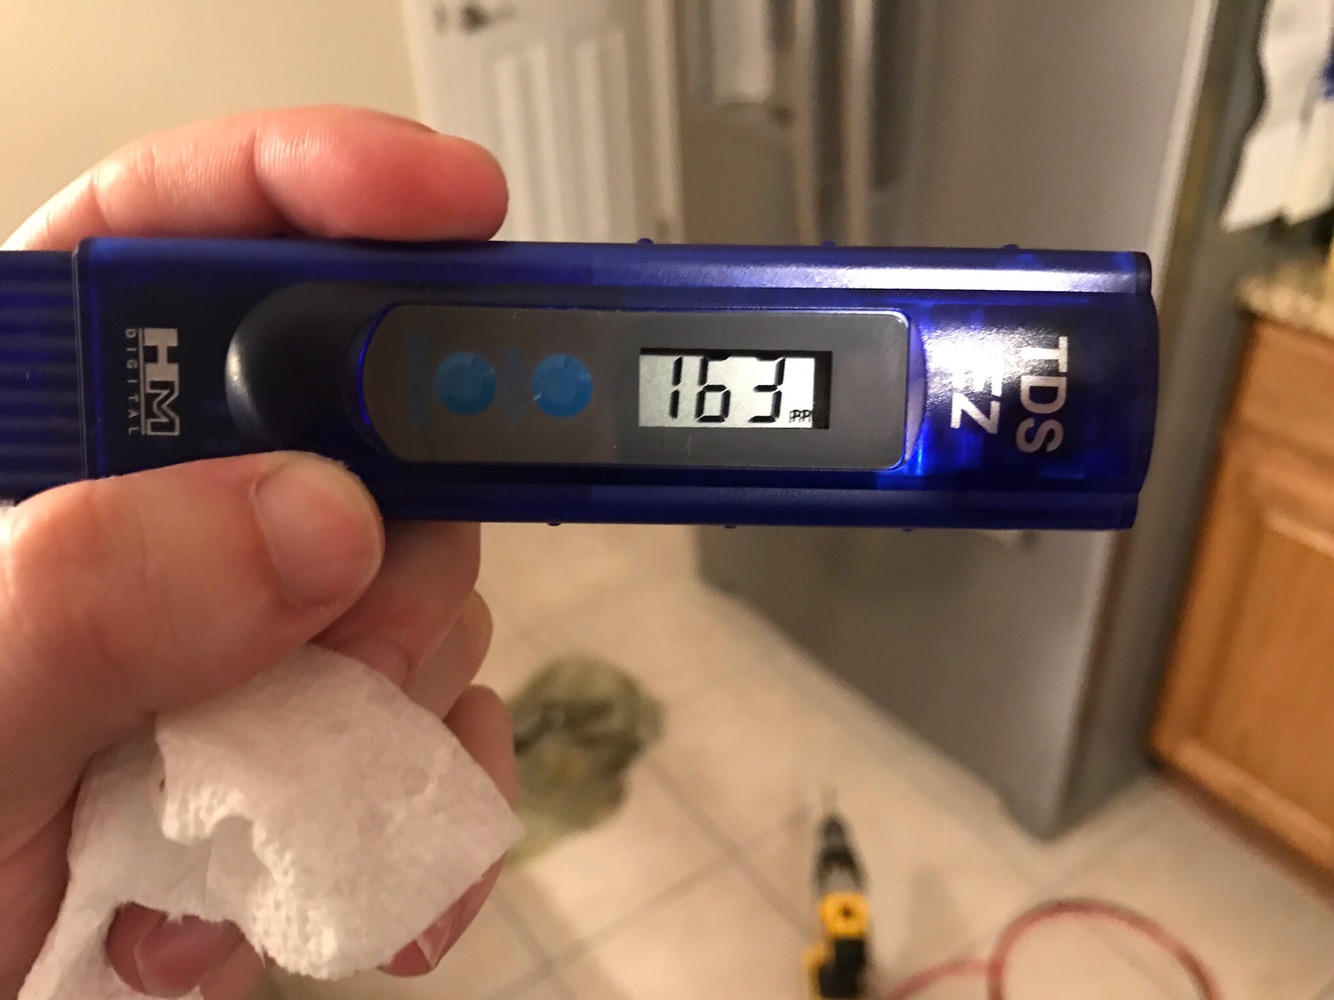
One thing people may not know is that there is more “stuff” in your hot water in the house vs. cold water. That’s because the hot water circulates around your hot water tank collecting any residue or rust particles that may exist. For example, using a PPM electronic tester my cold water was around 125 PPM, and my hot water was closer to 165PPM. This isn’t too bad. When you hit 200+ that’s when you hit “hard water”. It’s in your best interest to cook with cold water to avoid some of these pollutants. This maybe why hot showers can be more harsh than cold water.
Phase 1:
You can flush your hot water tank any time to help reduce the rust that may settle toward the bottom of the tank. Fortunately, my unit that was around 10 years old was in good shape. Basic Steps:
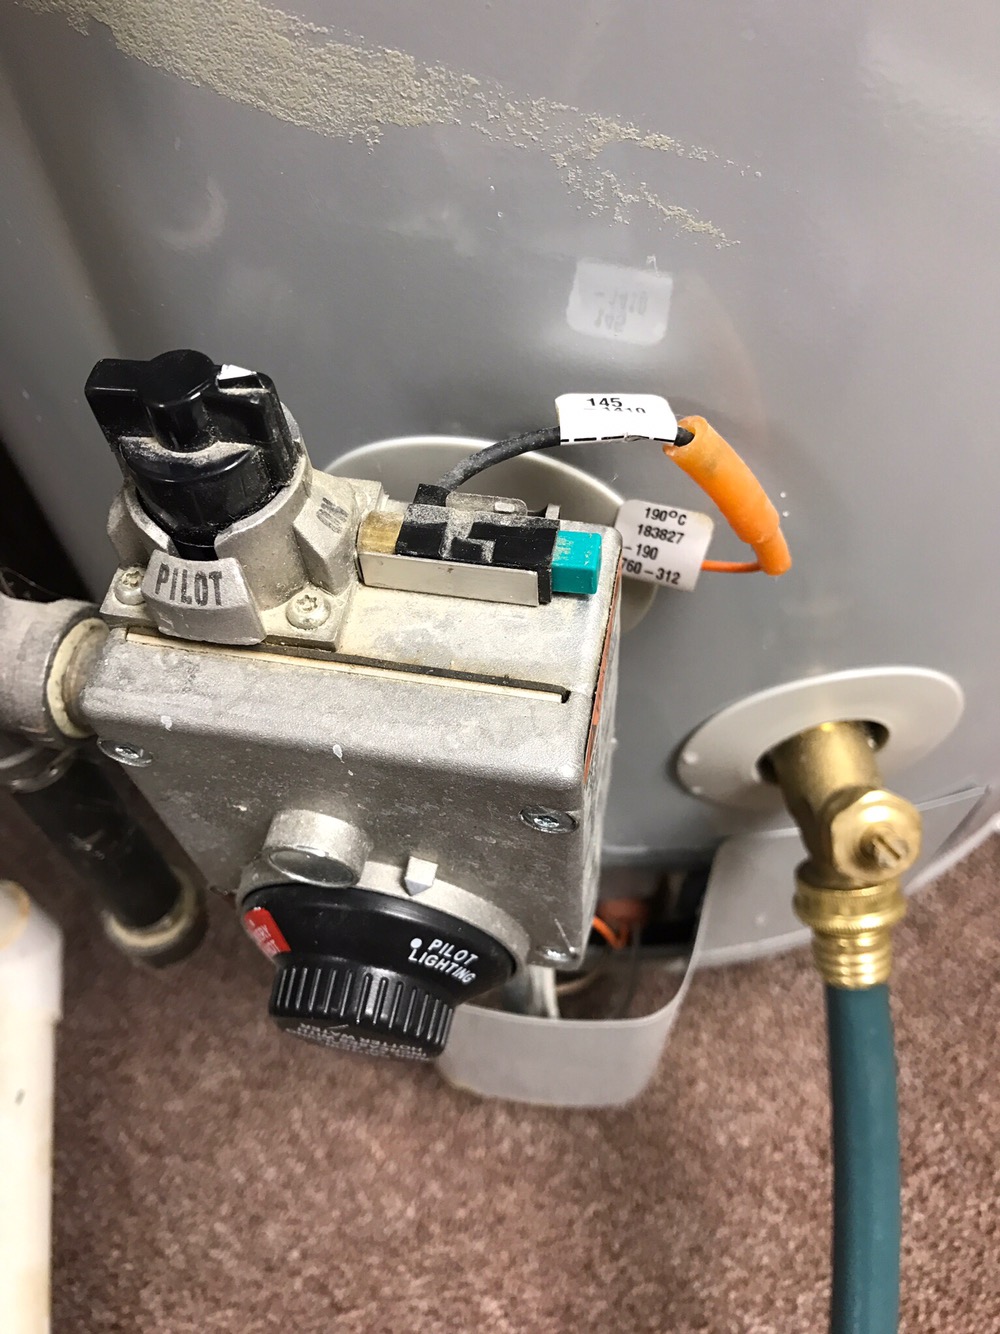
- Turn off cold water to hot water tank unit. I would also suggest turning off the gas line.
- Attach a standard garden hose and drain it to sump pump or floor drain (usually in that room).
- Open hot water tank valve to drain tank.
- Once it is drained, turn on cold water to continue to flush the tank until the water runs clear.
Example of cheap $5 garden hose from Menard’ss to drain it.
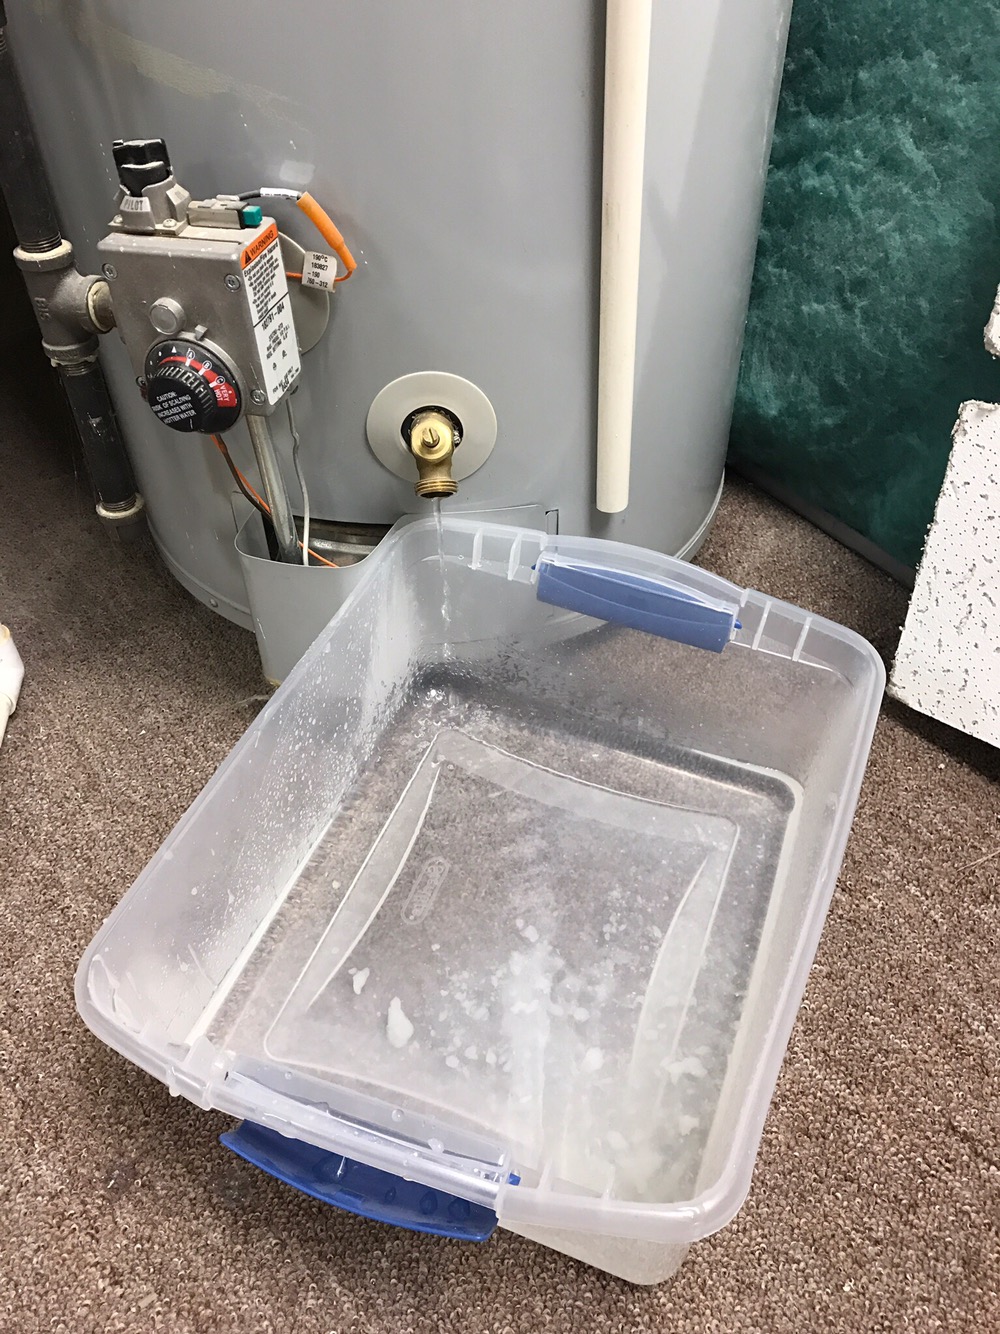
Example confirming water is running clear.
Phase 2:
One of the SLIGHTLY more complex, but effective, ways to extend the life of your unit (almost double) is to replace the anode rod within the unit. Every tank has one, it’s a metal rod that attracts the harmful particles in an attempt to prevent them from reaching the side walls of your hot water tank. The hot water tank has a interior glass wall, but eventually it will break down exposing metal which can rust. This rod helps slow that process. But if the rod is doing its job, it will eventually be eaten away as well. That’s where replacing it comes into play once or twice for the life of your unit. They are fairly inexpensive at local stores ($20-30).
Heres what you’ll need
- Large breaker bar (or impact wrench!)
- 1-1/16 in socket (This is the one I got, fairly cheap)
- Anode Rod (made from magnesium, aluminum or aluminum/zinc alloy)
- If you have a very tight working space, a flexible anode rod may be required but they are expensive so avoid if possible..
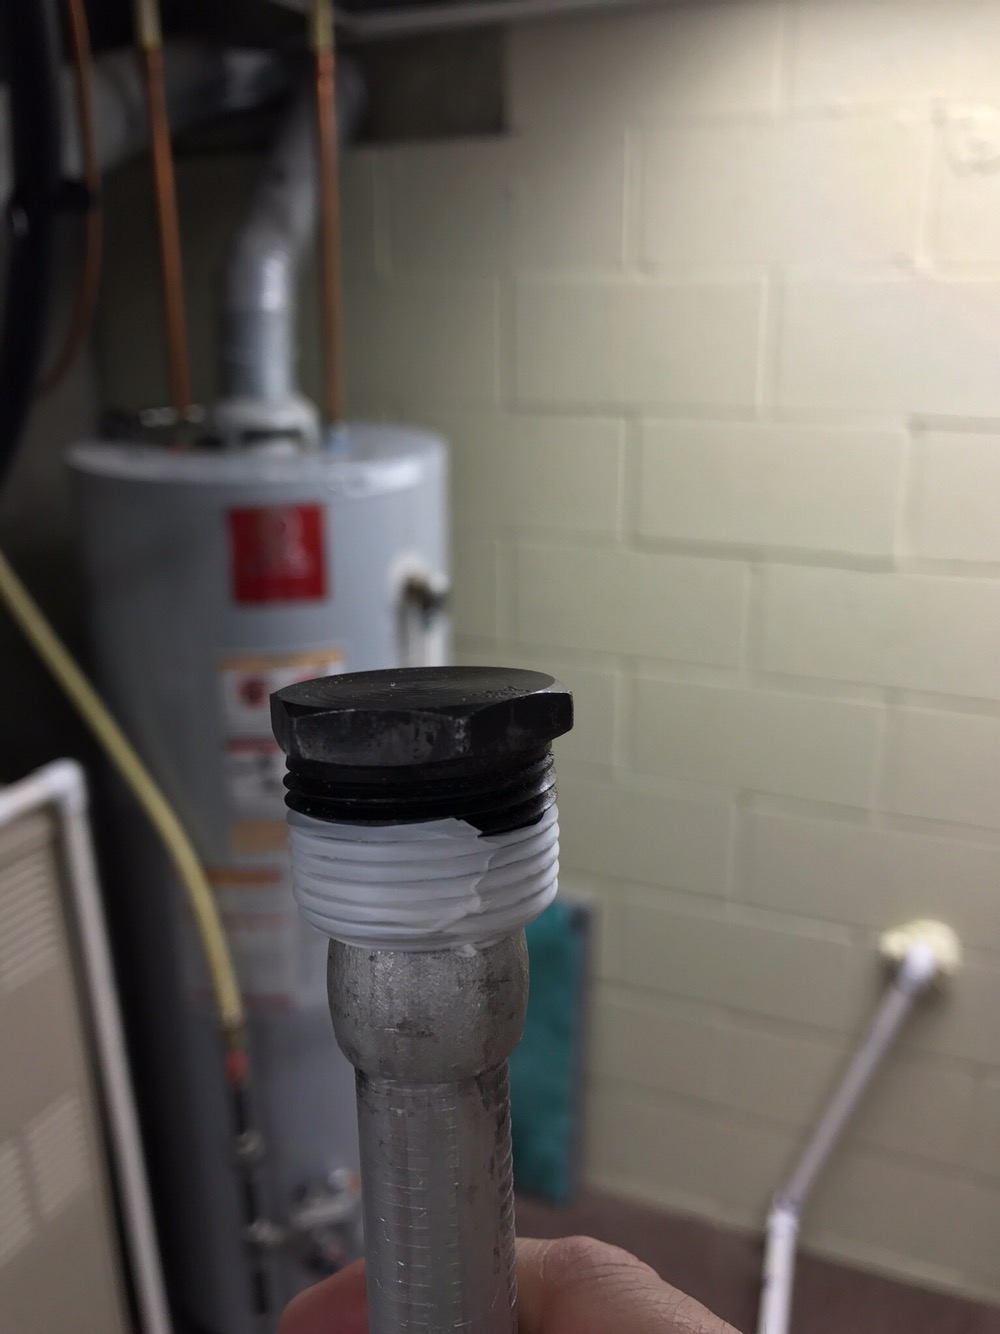
- Plumbers tape to help with the seal and to help eliminate any static charge.
You’ll approach things just like the tank drain above. Once you have flushed the tank you’ll have an opportunity to swap the rod (it’s important to release some of the pressure within the tank).
Look at the top of the tank and you will really only find one hex shaped head that your socket will fit. It may take quite a bit of muscle to break it free- be prepared. 👴🏼💪

Below is an example of the old vs new.
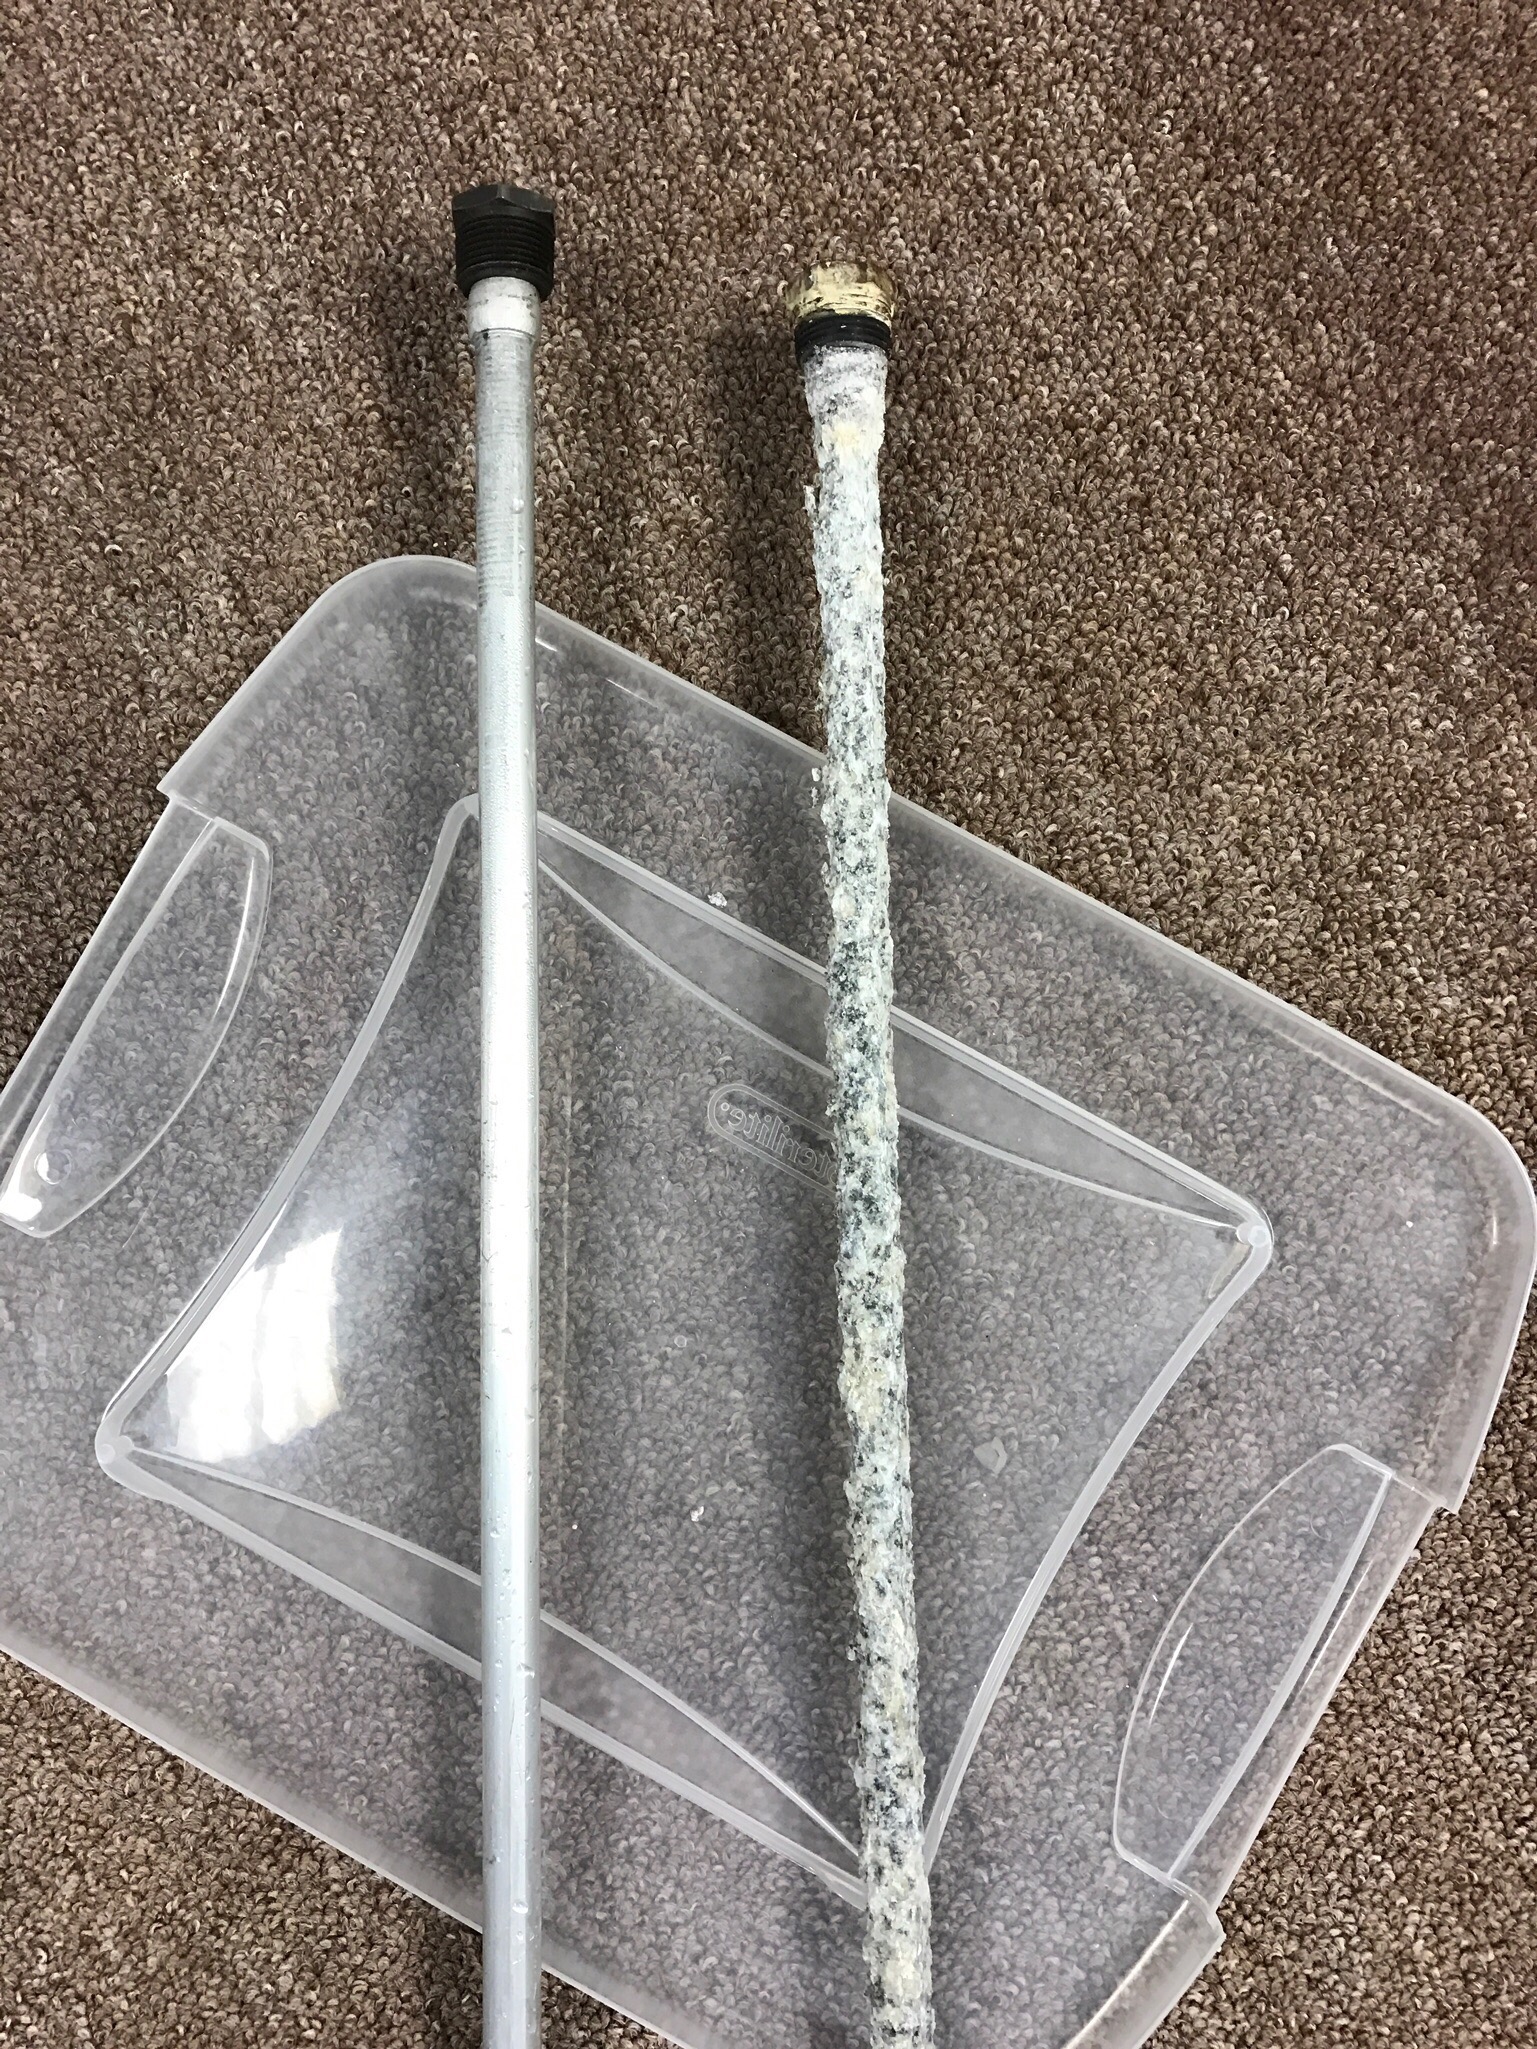
Mine was not terrible, but I had everything to make the replacement and move forward. Be sure to cut your new rod to match the length of the old one to avoid damaging the tank.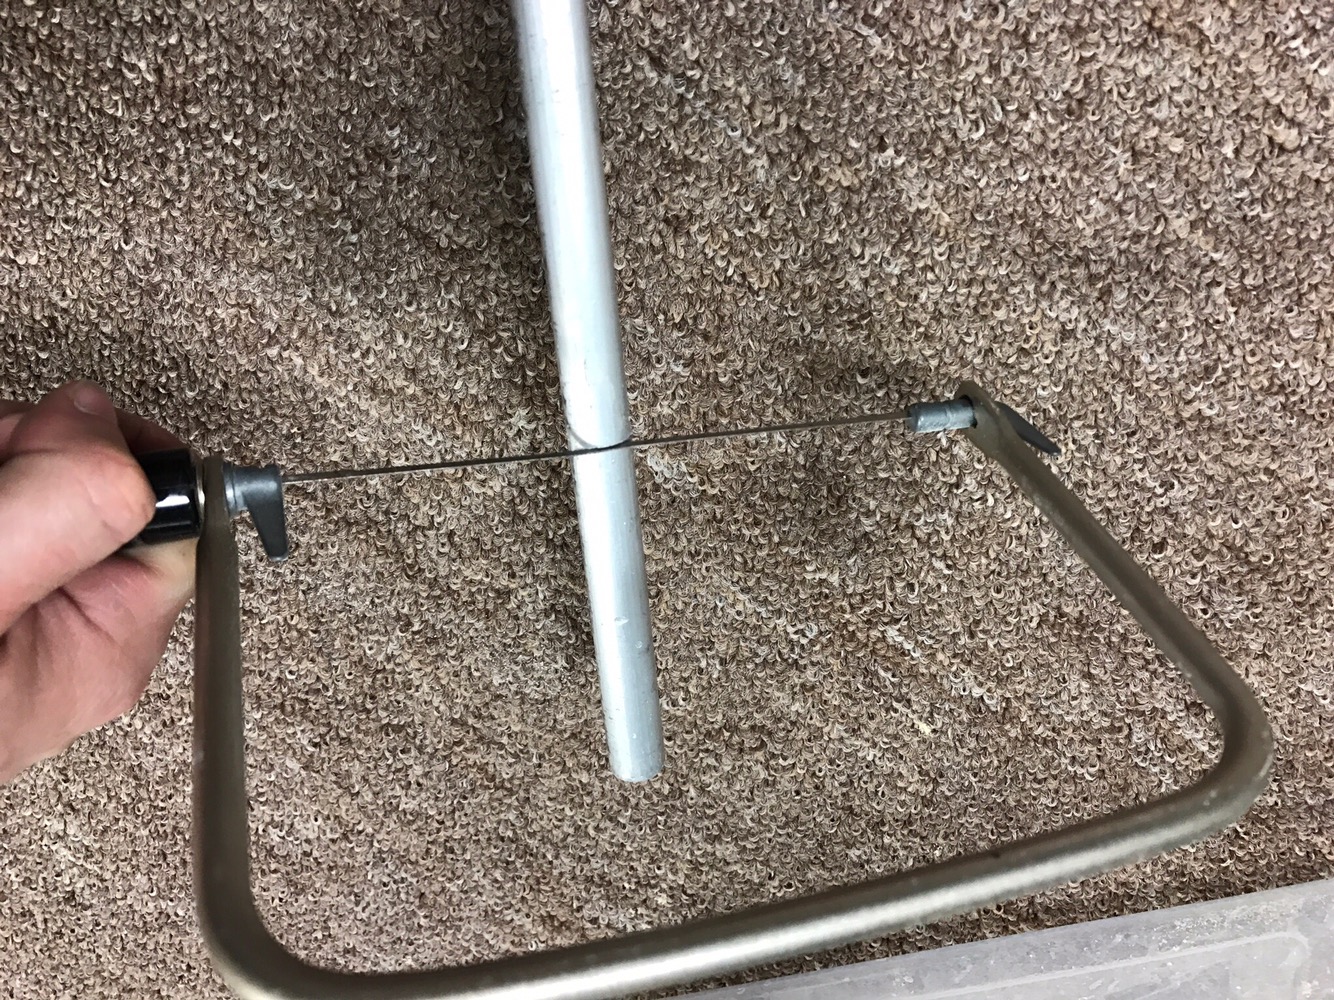
The last step is to use some plumbers tape to help with the seal. Make sure your wrap it the correct direction.
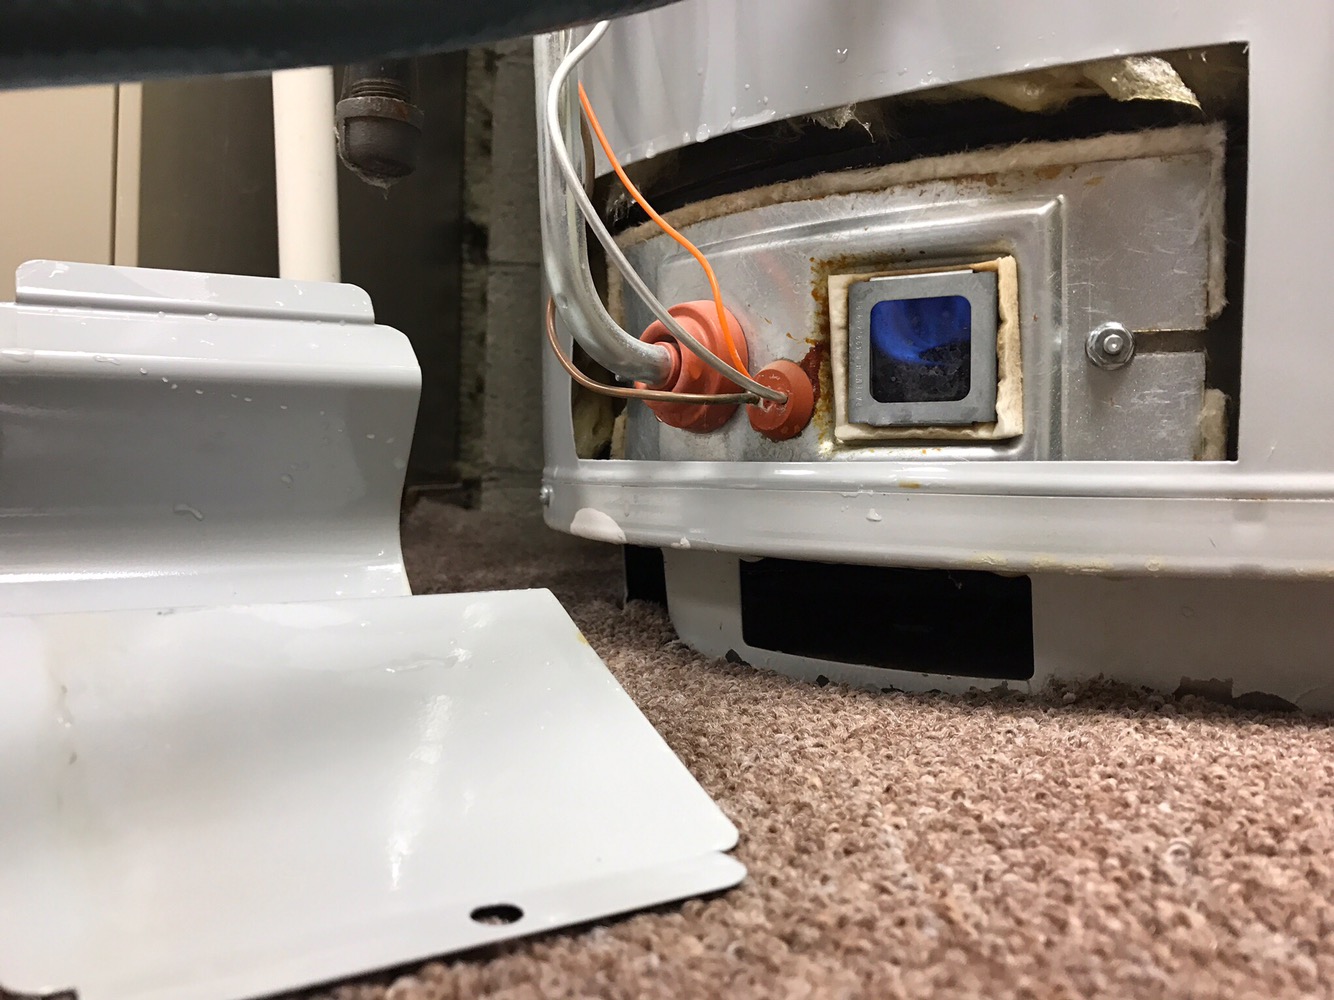
Make sure you follow the directions on your tank to get back up and running and hearing your water before you wrap up shop!
You should be able to hear/see the flame kick back on.