This year we’ve decided to renovate our first floor. This includes new flooring in our entrance way, a half bathroom, our dining room, and eventually the kitchen (entire remodel). We intend on using the same floor throughout, which is essentially large format 8″x48″ porcelain planks that look like wood.
Porcelain large format tiles are a beast to work with so I took some extra precautions by investing in some higher quality materials and products to get the job done. So far the installation has gone great, even if it has been a little time consuming. Fortunately I’ve had the help of a few friends to make the project go quicker. Below is a brief recap of products I recommend to help guide you along. I will update this more as I wrap up various rooms.
First: Get off on the right foot. Large format tile is very tricky to cut without chipping and doesn’t fit most wet saws for easy cutting lengthwise. I actually experimented with several saws. If you’re a DIY person, I can’t stress the benefit of investing in nice tools to make any DIY project go smoother.
Cheap No Goes:
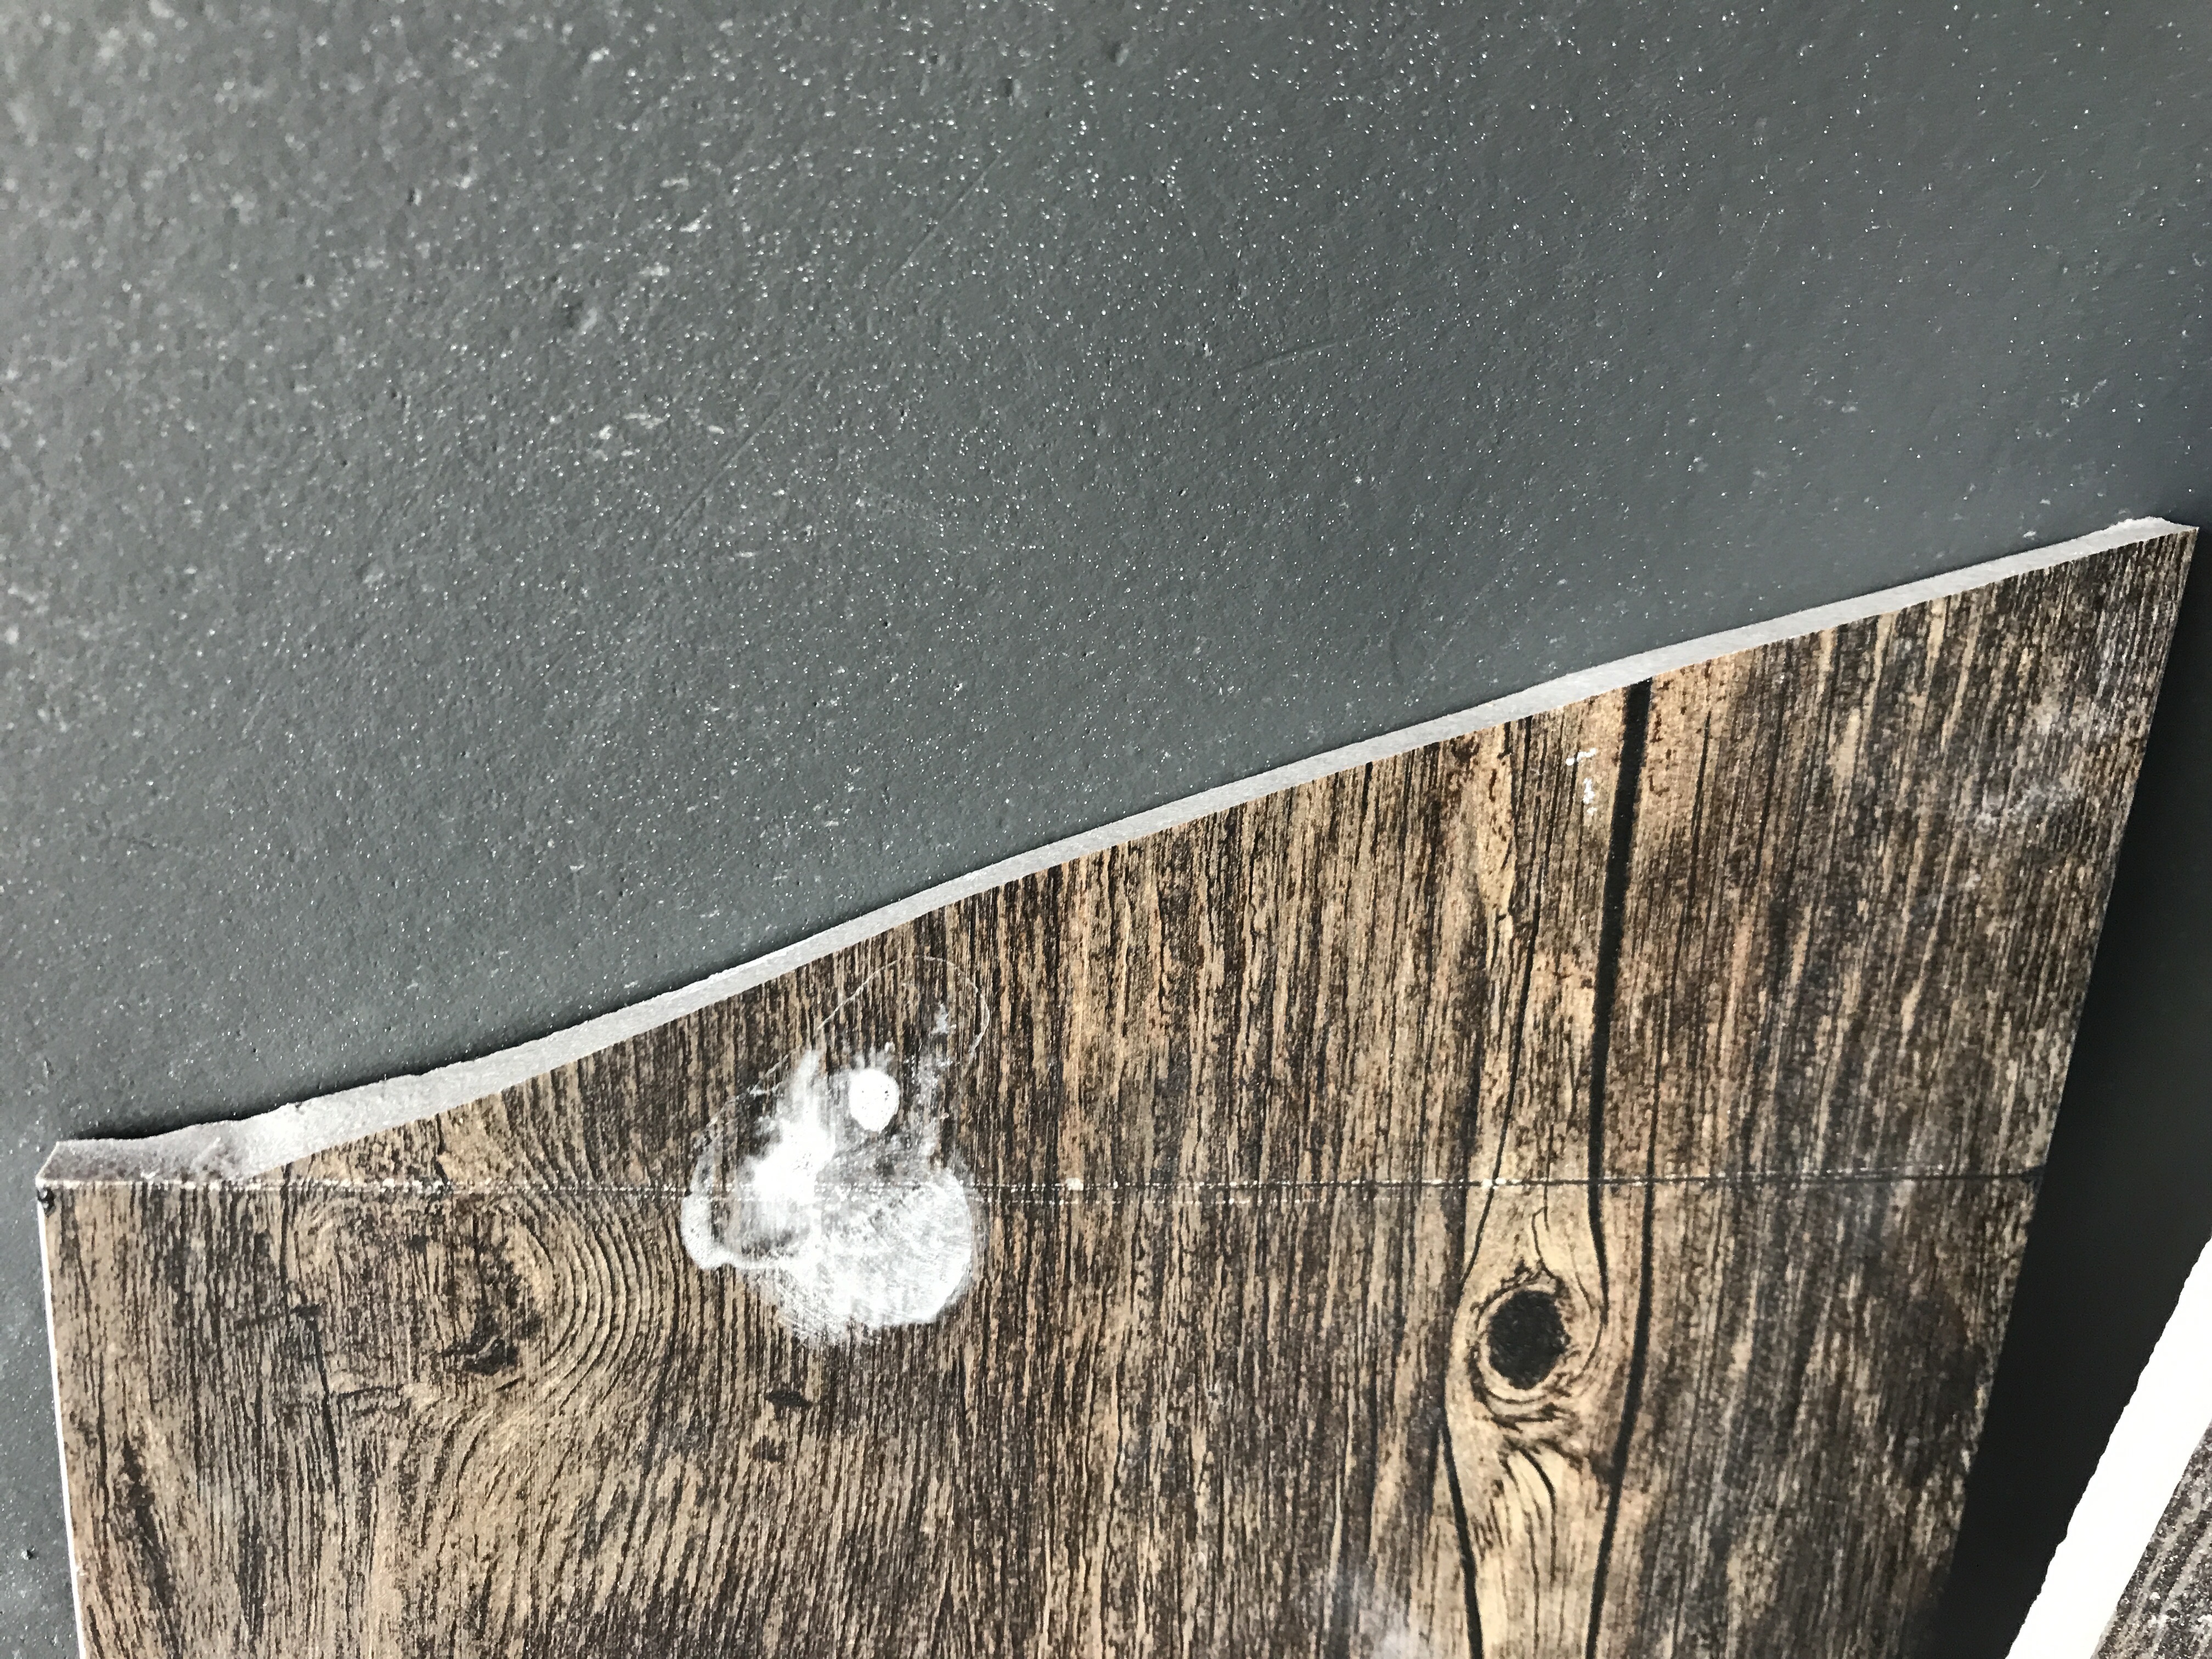
- Skil 7″ Table Wetsaw : This would create “blow out” when trying to cut the 48″ in half (the 8″ width). As you approach the end, the vibrations and blade would break off a corner completely. I tried a lot of recommendations and work arounds, but eventually I had to return the model. This saw would work fine for smaller projects like backsplash. Maybe as large as 12×12 inch tile. I wouldn’t suggest any larger. Otherwise it was easy to work with and I would recommend it as a super cheap option.

- The second option I tried was a tile cutter, a 24″ model by M-D Building Products which is a brand carried at Menard’s where I was buying the tile. This model at Menard’s was not the “pro” edition and only cost $25 so I figured it was worth a try if it sped up my project or gave me a clean edge. However, the tile would break at random places creating a lot of waste (and at $10 a plank, that was unacceptable).
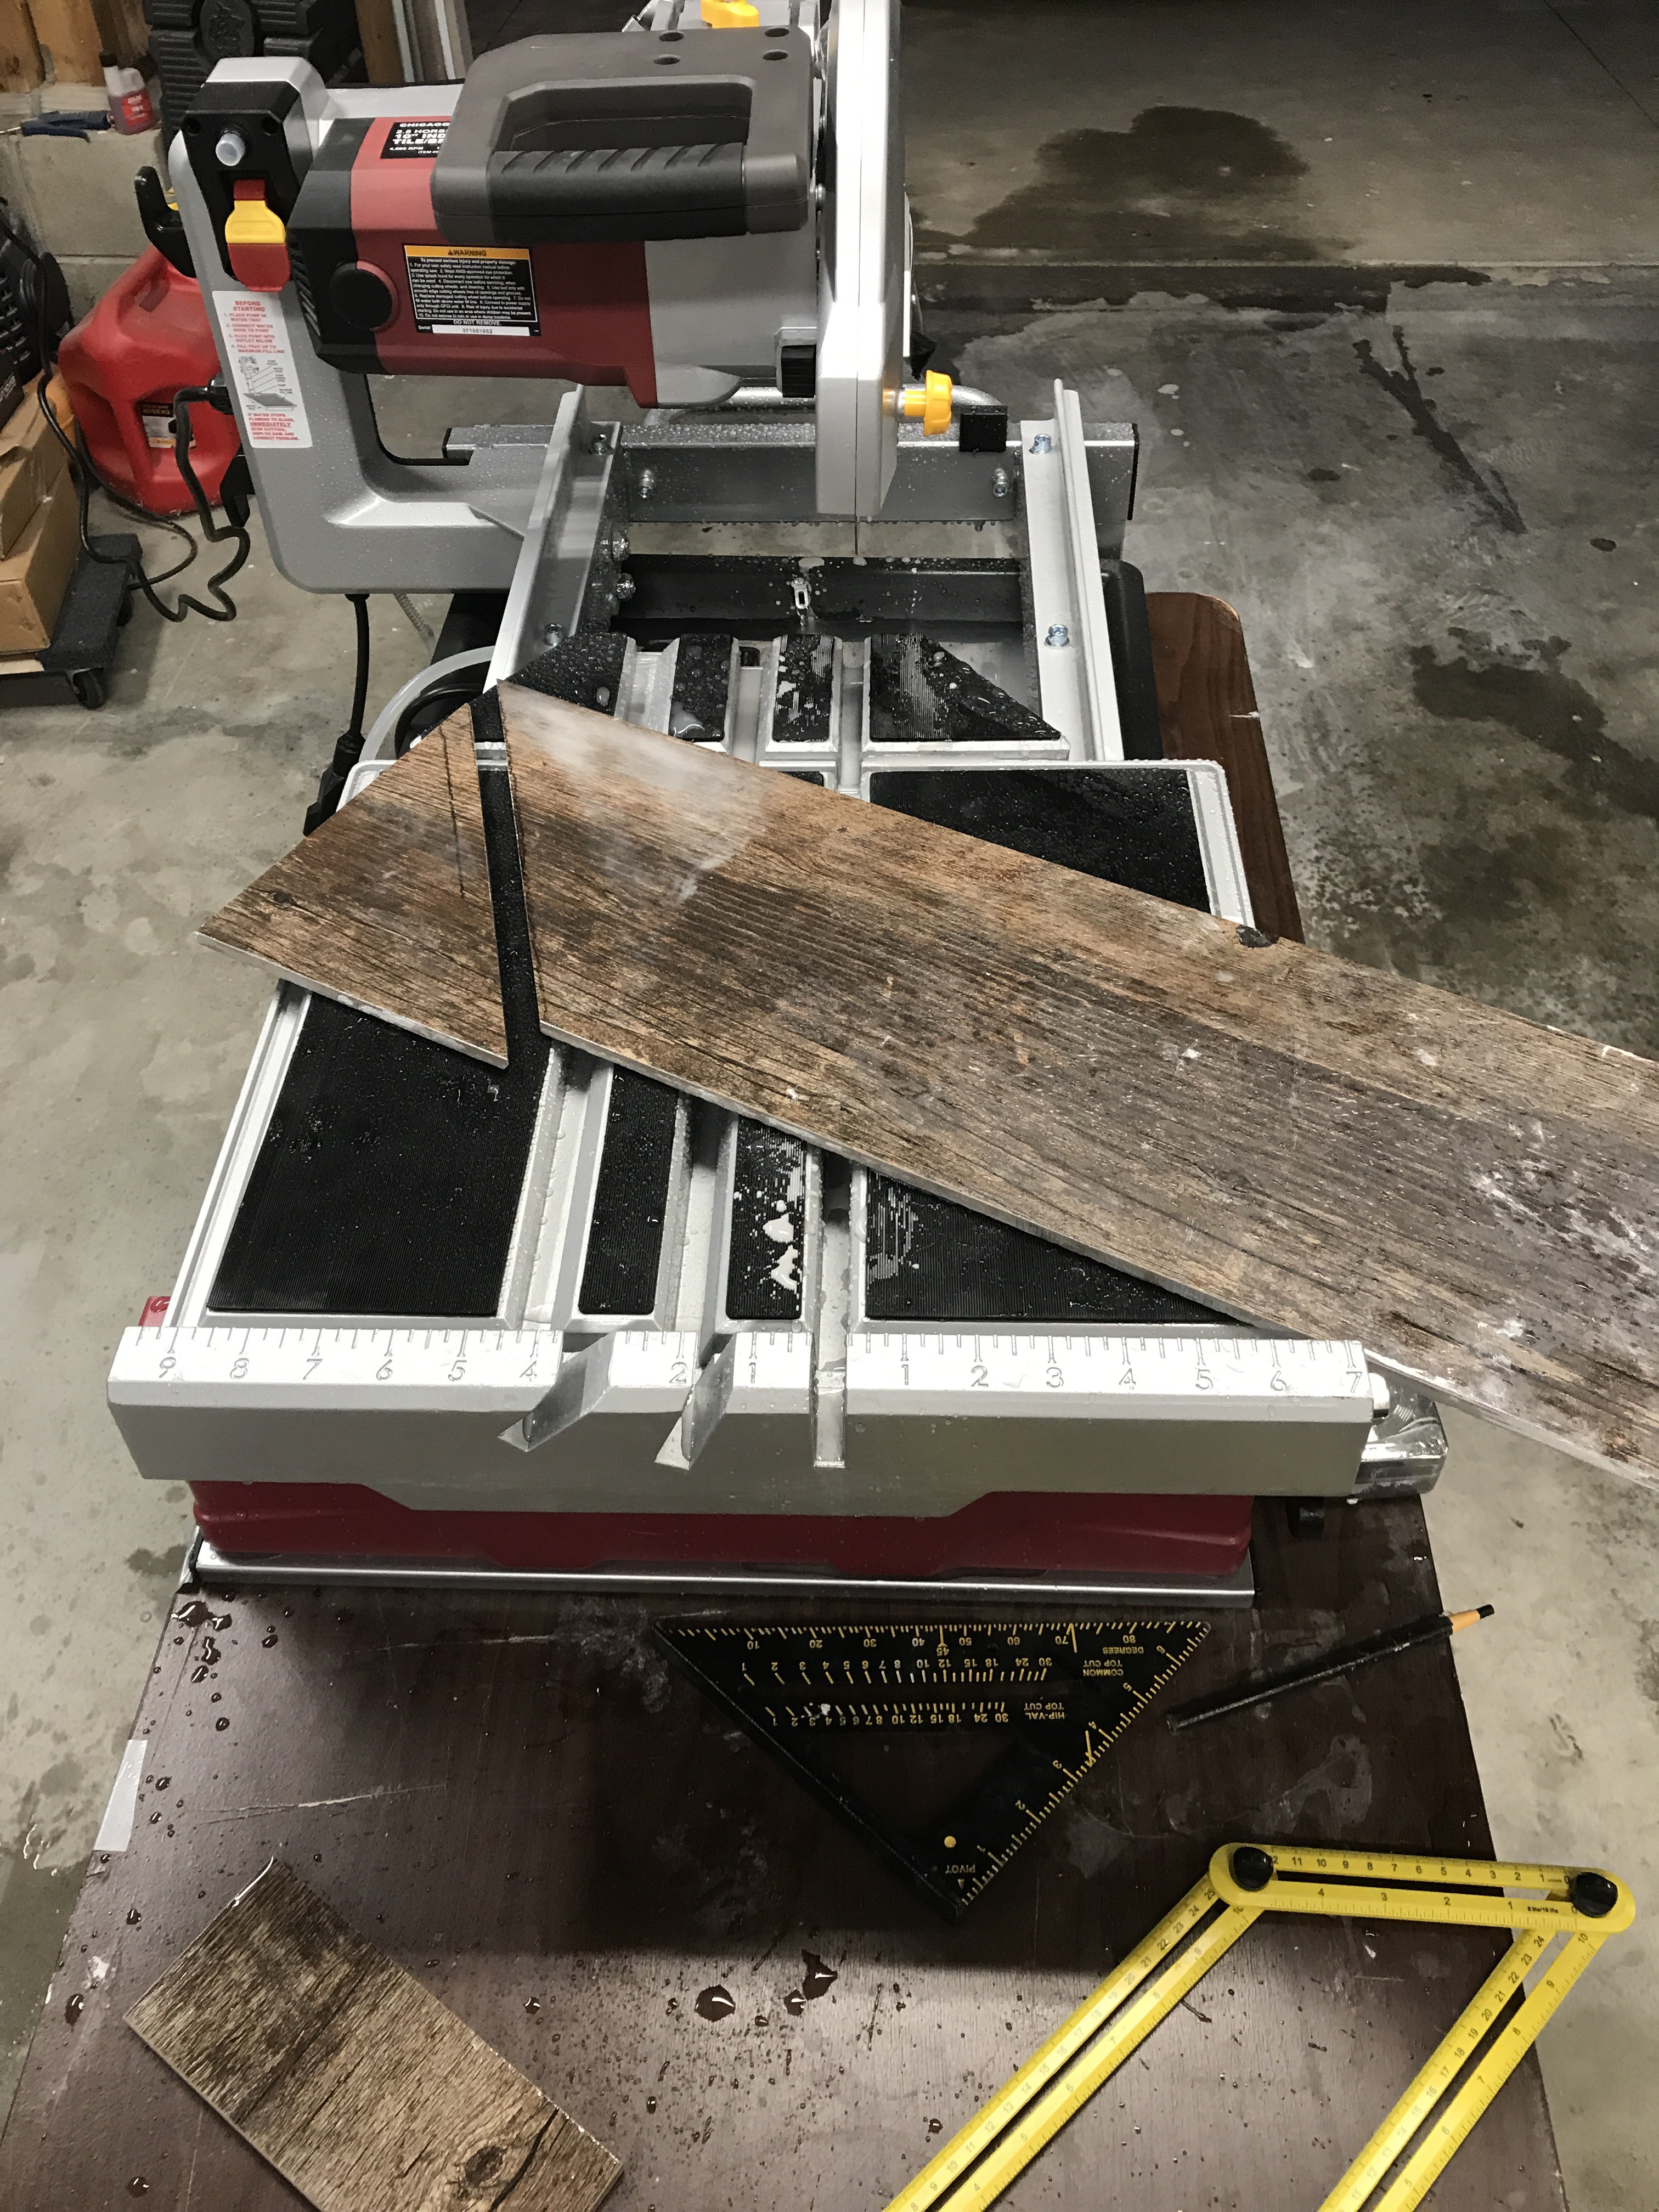
So after a day of experimenting with cutting tools, at this point I’m only out $20 in tile which I can re-purpose at different area’s of the flooring project. I decided to take my own advice go higher end. I was really looking between two models of saws. A model from Harbor Freight that would run around $300 w/stand and a DeWalt model that would run about $850. I really researched the Harbor freight model a lot and it was getting great reviews. I have a local store nearby with a 90 day return policy so I had no problem giving the Harbor Freight model a shot. Let me be clear, I had no problem spending $850 on a quality wet saw since I am doing/saving over $7000 worth of labor myself. But after a ton of research it was clear the harbor freight model will deliver on 90% of the features for 1/3 the price. Very rarely does harbor freight deliver on quality and reliability, so I consider all their tools use once and throw away. But I have had great luck with a Miter Saw, a Table Saw, and now a wet saw in my experience, several of which I resold for a reasonable amount of money. From my perspective it was a no-brainer, the 10% I was not getting was a little more motor noise (I wear ear protection) and possibly a little more mess. Worst case I could even consider selling it used on Craiglist after the project (same concept applies for Dewalt as well). Man, I am a sucker for a deal! I wouldn’t buy this saw if I did tiling for a living, but that isn’t my situation. *3 Month update it navigated my first floor project with no issue. Only additional issue I’ve seen is if you dont dry the unit off after cleaning it will rust at several weld points. Not a big issue, still a recommended purchase!

Key features you should care about based on my experiences, with this diamond in the rough:
- Saw runs around $270 -20% coupon
- Stand runs around $60 – 20% coupon (You really will want a stand, trust me it has wheels as well.)
- Harbor Freight has a 90 day return policy, only consider this option if you have one nearby. Mail order a DeWalt from Amazon if you don’t have a HF near by.
- Lots of power from a 15Amp outlet, 2.5 HP.
- Very versatile with different 10″ blades, you can cut up a paver patio with this beast (Bricks as well up to 3 1/8″ thick!).
- Removeable water tub that makes clean up much easier.
- While cutting capacity is limited to 24″, I was able to cut 48″ even length wise without too much problem if I had someone helping hold the pieces on the flip side. In some cases when cutting the 8″ width I had to flip the piece around midway (due to the arm, but Dewalt has the same problem).
- Blade can do plunge cuts, which helps on occasions you need to cut vent openings.
- Head pivots to allow 22.5 and 45 degree bevel cuts.
- Note, the saw does not come with a blade so plan to spend at least another $30-60 on a starter blade.
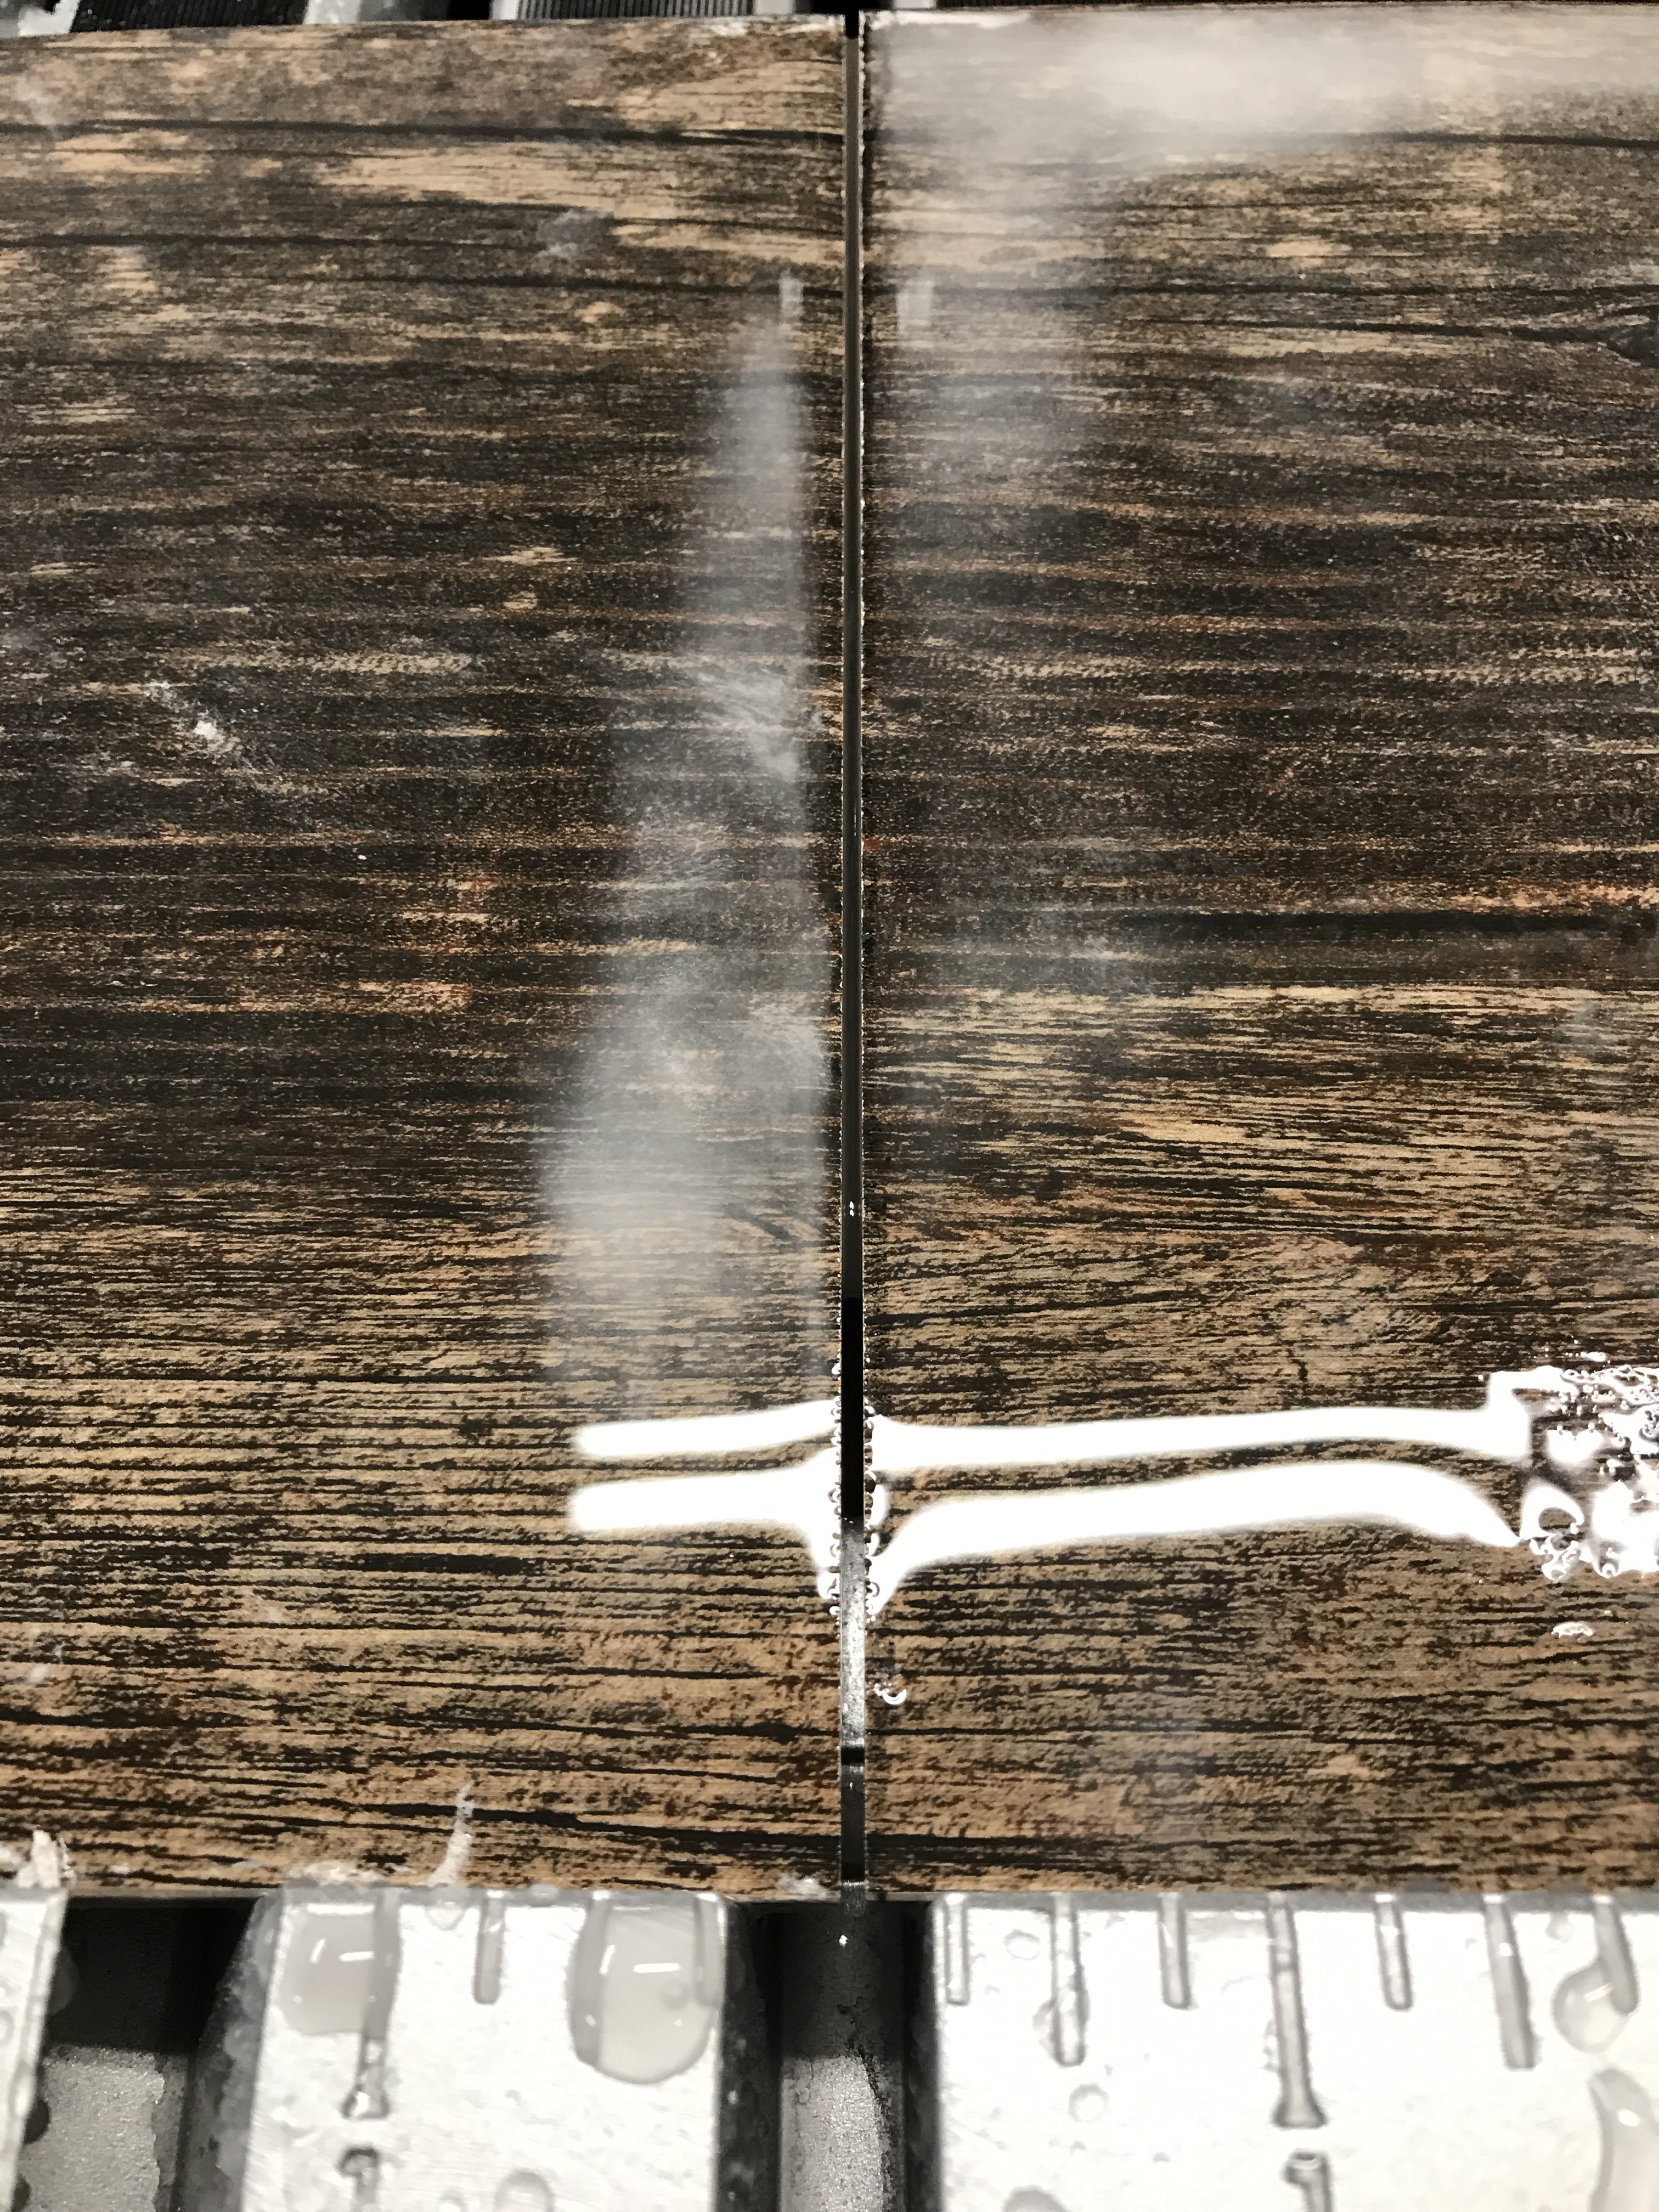
The last tip I got from a friend was to buy a glass cutting blade for really smooth edges. This isn’t a problem for edges that are hidden under molding at the ends. But our dining room will have a herringbone pattern and will have a lot of visible cuts. The picture below is using a glass blade. It has very little to no chipping, but takes 4 times as long to cut. So be prepared!
- Regular blade recommendation
- Glass blade recommendation
Other important considerations before starting the project is special cuts like vents and toilets. I ended up using an angle grinder with a tile cutting blade. This is dry cutting, so it makes a mess, you need eye and ear protection, and a mask, so make sure your outside! It does not create a clean edge but in any case you take this approach the edge will be covered. Surprisingly with slow and smooth passes it worked very well.
Below is an example of a cut using a grinder.
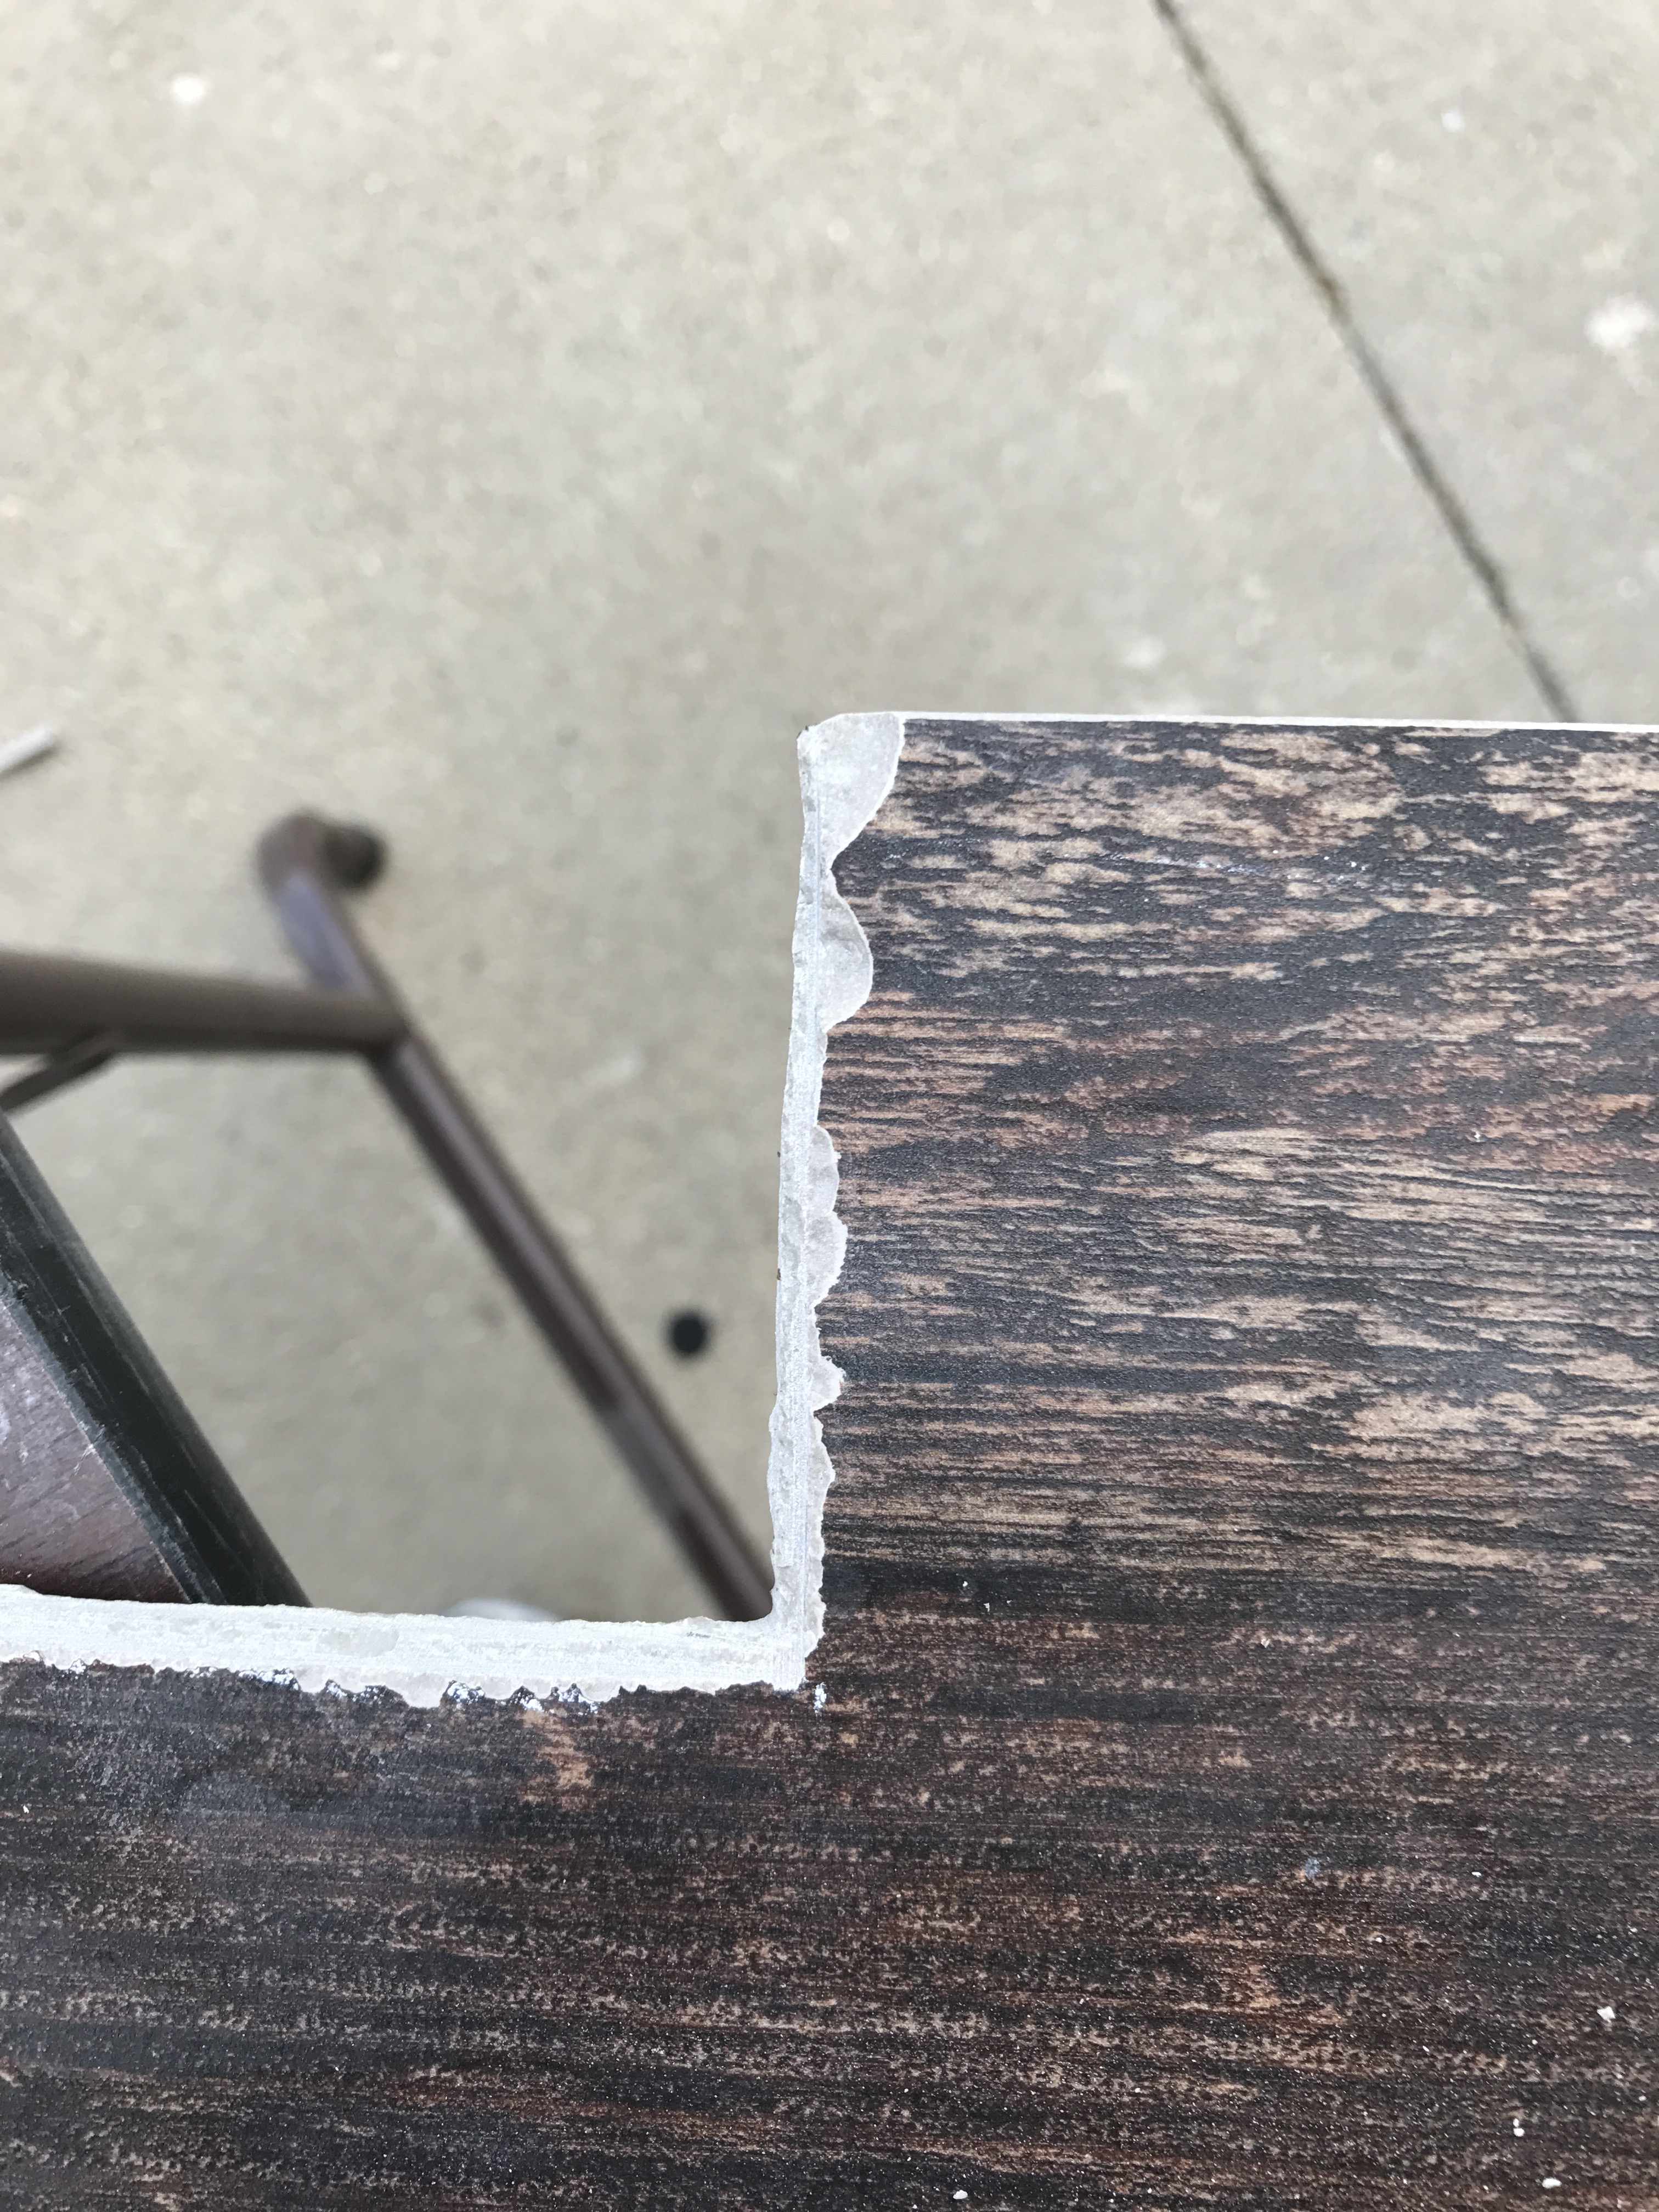
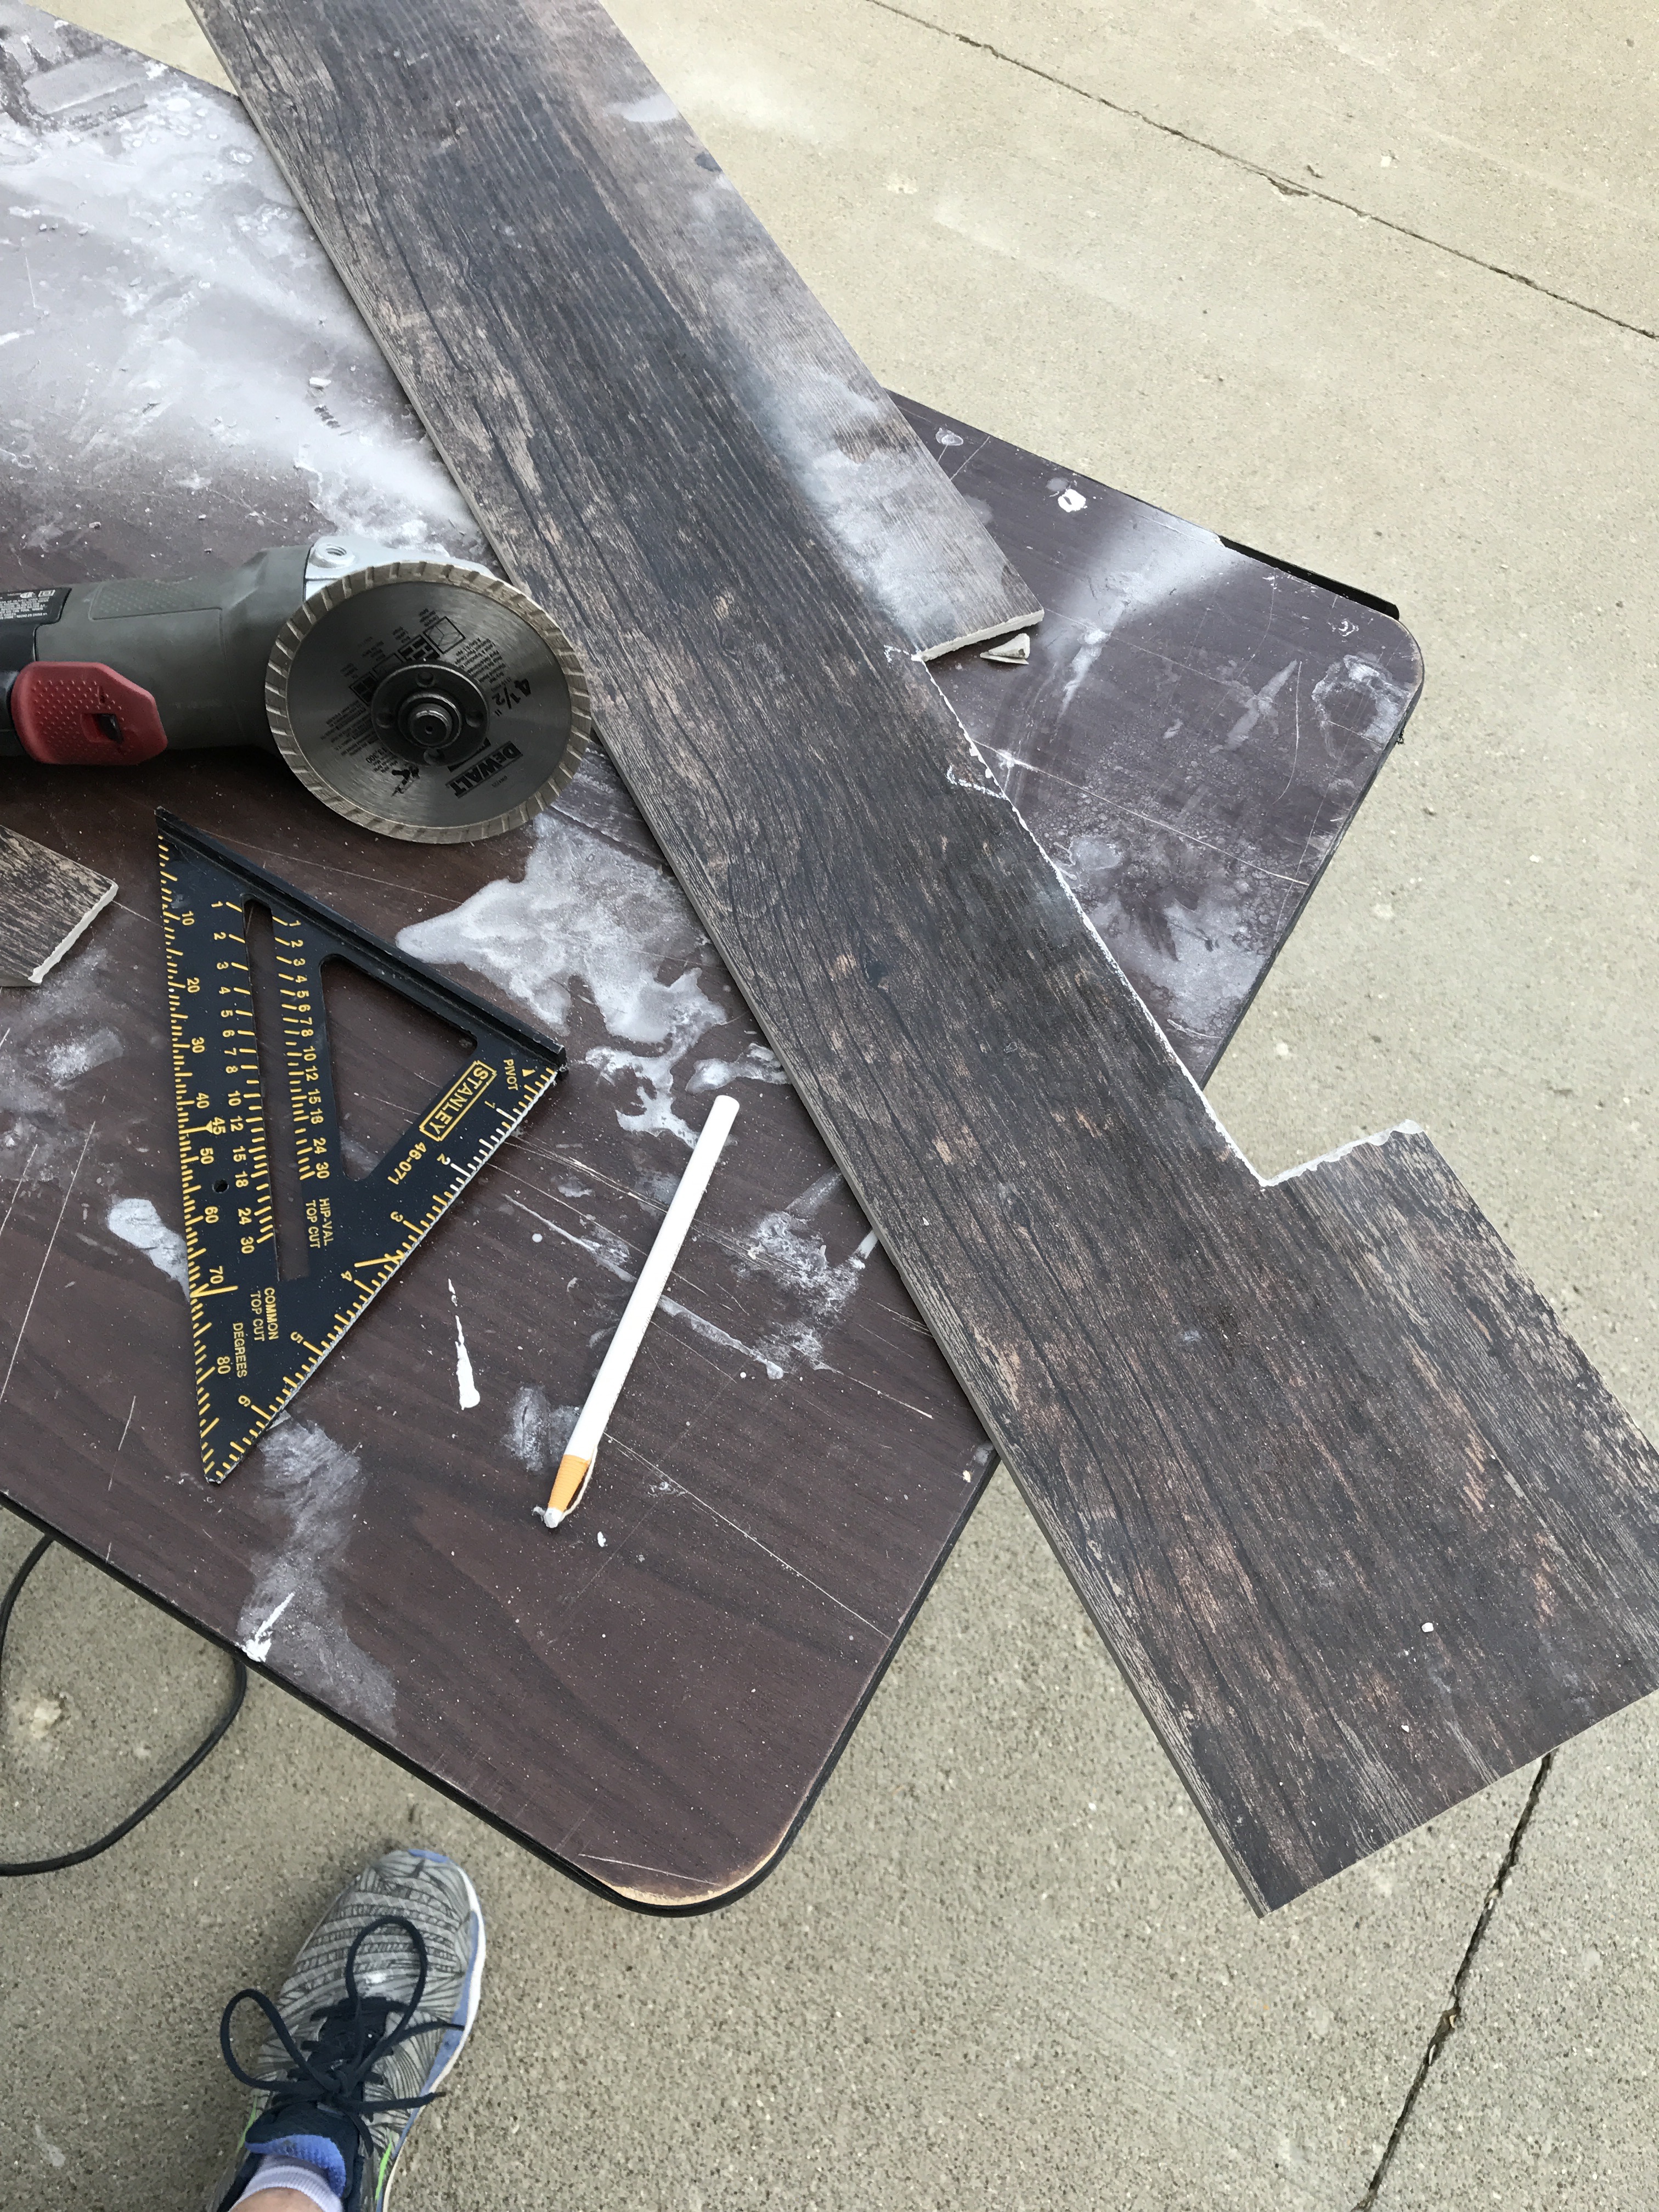
This was my first cut for vent, so it was a little rough but very easy to navigate. I only got better. As my project picked up momentum I was able to cut most vent holes and just about any other unusual angle with the HF wet saw, I rarely used an angle grinder. For the toilet I purchased a special cover that eliminated the need to cut a round opening.
- Toilet Cover I used : TOILET FLANGE TILE GUIDE by BARRACUDA
Working with large format is an art form, and it takes practice. One way to “cheat” with the process is to invest in a good tile leveling /anti slip system. This not only creates the proper spacing (1/8″ gap in my case) but it also helps prevent “slippage” of tiles moving as they dry, or creating bad edges you’ll trip over or will look bad in the light. Once you get the hang of things it also speeds up the process! I was doing all the labor, so I was comfortable spending a little more on a higher end brand with a reputation, but I will also provide a cheaper model that looks very similar. I do not recommend the kits at Menard’s.
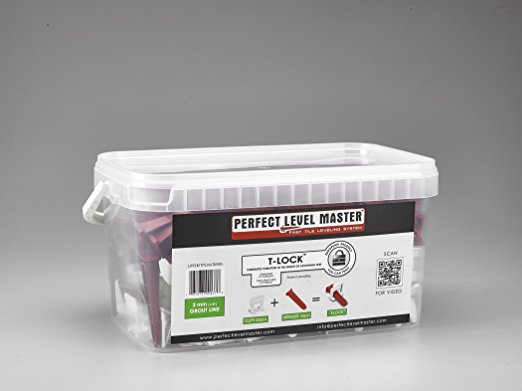
- My setup : The “T-Lock” Perfect Level Master System
- You really need the pliers to level the large format pieces. The wedges are large, but there is no way you can do this with your hands.
- I started off with this initial kit and added spacers as I needed them. Keep in mind there are multiple sizes of clips, get the right one for your floor size. I used 1/8″ grout lines for my large format tiles (minimum allowed).
- Watch youtube videos on installation and tricks before you start!
- Cheaper alternative, that looks very similar that I have not used yet. Use at your own risk !
- Cheaper Pliers , this company Raimondi does sell their own version.
- Cheaper Wedges, 250: Raimondi LS250WEDGE 250-Piece
- Cheaper leveling clips, 500 : Raimondi Leveling Clip 1/8″
Special note for folks having to break out and remove existing tile flooring. I would recommend picking up a Rotary Hammer Drill. It’s a special drill you can enable “hammer only” and add a nice 2-3″ wide chisel end to break up tile and mortar/thinset. It will save you a ton of time.
- Dewalt DCH133B Rotary hammer drill, I went with the DeWalt to mix with my existing 20v collection. It leverages “SDS-PLUS” bits, I picked up this wide steel chisel for the flooring.
DIY for life,
Justin
