Lawncare and Landscaping are not things I’ve taken pride in until we purchased our own house and became responsible for someone else’s mess (previous owners)… Then like most homeowners you fall in to two categories: trying to either be one of the nicest houses on the block, or trying to NOT be the worst house on the block!
Below are some cliff notes and strategies I used to get off on the right foot. Our property didn’t have anyone living in it for around 6-9 months, so we had to do some initial heavy lifting after moving in.
- Product recommendations
- Growing new grass strategies
- Front landscaping like a pro on a budget
- Landscape lighting
- Misc tips
Product Recommendations:
I’m a Fiskars fanboy for lawncare.
- Fiskars Power Shears (Works for Zombies too)
- Fiskars Bypass Lopper, these cut 1.5″ branches like butter
- Fiskars Axe if your property would ever require one, or to look cool.
- Fiskars Weed Remover, hopefully you dont find out the hard way the roots are the problem.
- Everyone needs a shovel, obviously another Fiskars.
Power Tools
- Dewalt DCBL720B Blower, I’ve tried a couple different battery models (including B&D) this is still my running favorite.
- Dewalt DCST920B String Trimmer, kept a B&D Trimmer/edger for one season before updating.
- Edger – I’m OCD and a string trimmer doesnt cut it. I’ve had great success with this B&D Model.
Misc Tools
- Chemical Sprayer – I’ve had no issues with my model for the occasional lawn application. The Ortho Dial N Spray lets you adjust mixing ratio’s. My power washer is only 1:20, so this is used for higher ratio’s (can use it for soap as well, car wash applications).
- Super handy for Sprinklers, set and forget. I also use it with a drip watering system.
- I like this sprinkler because I can really narrow down where it hits.
- If you need to run a couple hoses (one for timer, one for normal)
- If you want to clean mold on siding or drive ways etc. This is an amazing product.
First Topic, growing new grass! This took a few tries before I found a cost effective approach that held up to heat spikes and could retain water significantly better than standard seed.
- I’ve tried some “Spot Repair” products and if you have a small area this is my recommendations: Scotts EZ Seed, it does not cover much space but it is effective. I also recommend the “Dog” version if your trying to repair burn spots. However it is impossible to keep up with our dog Bane (English Mastiff, 160lbs+ dog). If you need a larger bag go w/20 lbs !


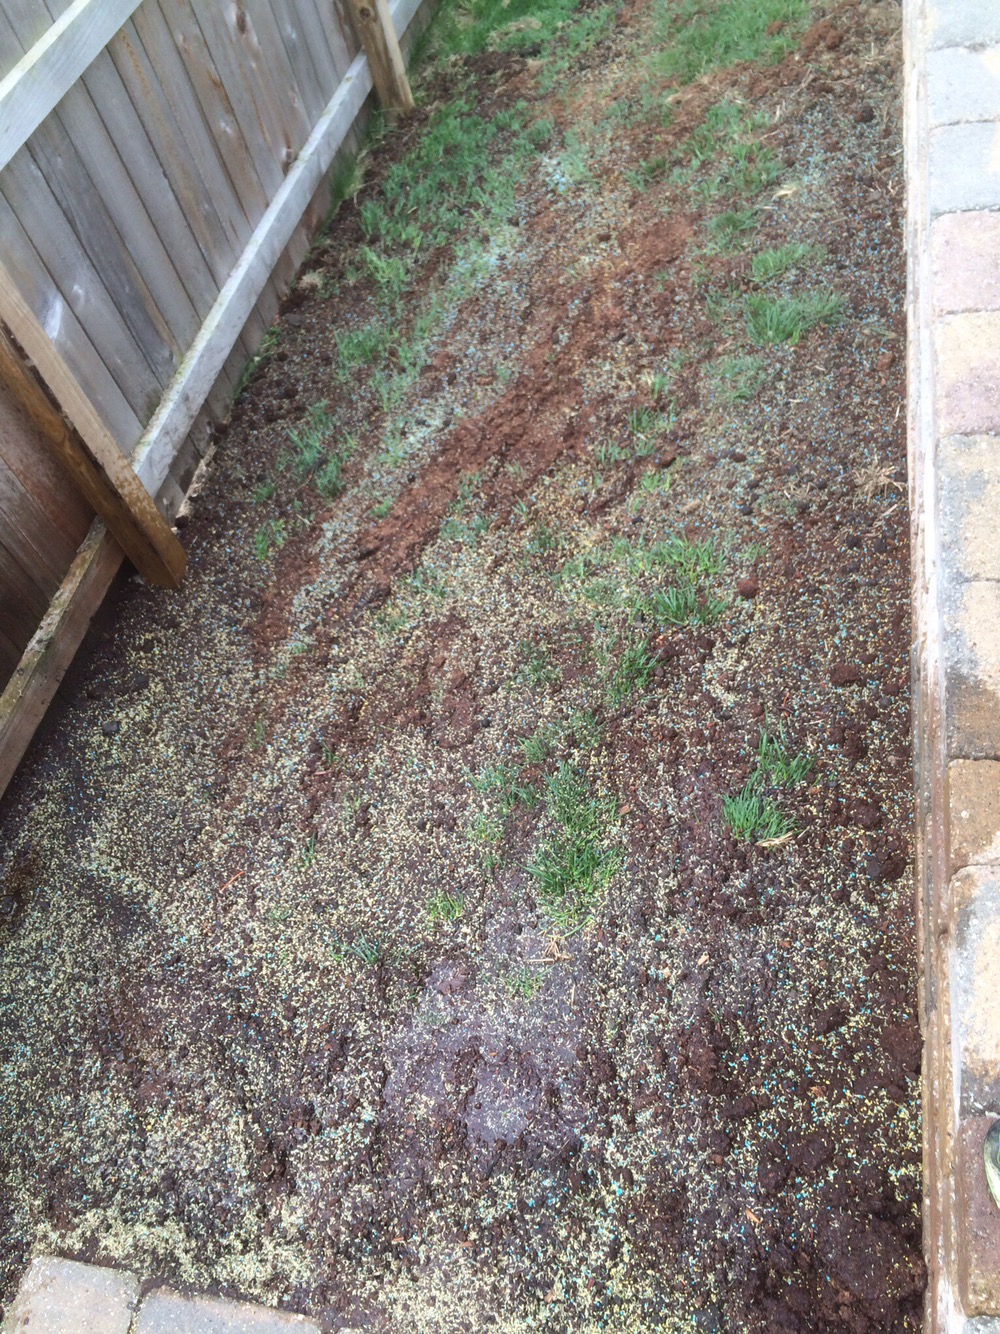
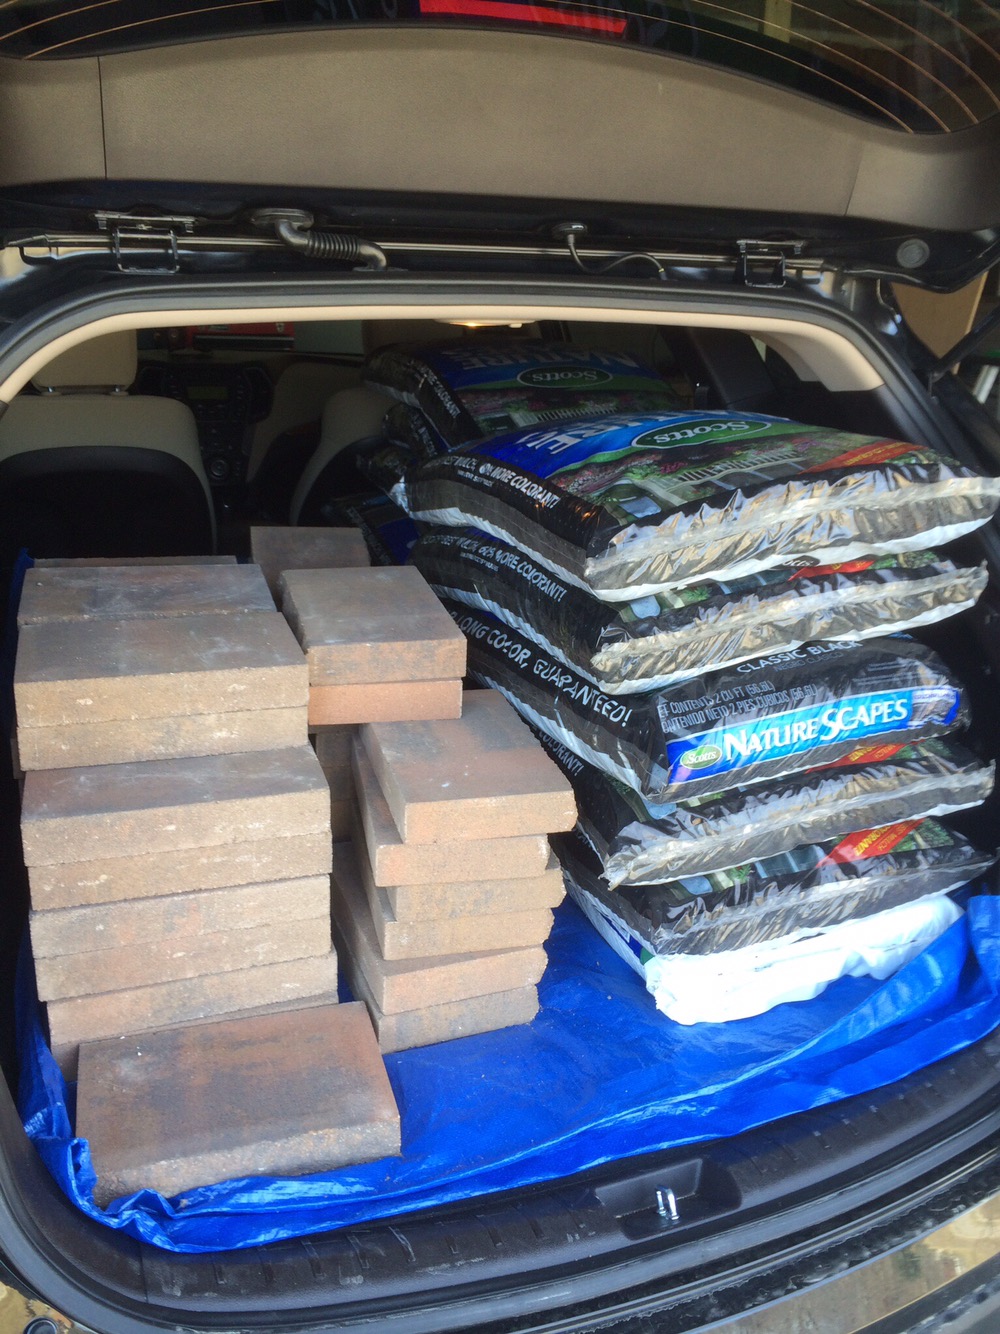
- DIY – Large areas like the pictures below I’ve found the best mixture to be :
- 1/3 Soil preferably with some organic stuff mixed in to help it grow. Our soil was full of rocks and junk from the house construction.
- 1/3 Peat Moss – This helps retain water.
- 1/3 Seed – any variety you find likely will work. They only sell the kind of seed that grows if you shop at your local store. Different states have different varieties some times.
- Mix this in a wheelbarrow and spread evenly, then walk all over it or “Stamp” it so that its firm and will not only hold water but not wash away easily. Then begin the watering plan, I typically do a morning and dinner watering. I avoid late night because I hear it can mold over night.


- General lawn care I’ve had success with a Scott’s variety of weed and feed multiple times a year. I use push broadcast spreader to make quick work of the lawn.
Landscape Strategies: The Big Expense
Step 1 – Call multiple landscape companies for professional assistance
Step 2 – Take estimates, proposed plans, plant/flower/tree recommendations
Step 3 – Pick a combination of the proposals, and roll up your sleeves and do it.
Ultimately that was my strategy, since I wasn’t familiar with the best kinds of plans that would continue to survive and grow back season after season. In addition given my light sources, soil quality, etc I really wanted the pro’s advice. Multiple companies near by essentially put my house in an AutoCad drawing and really did a stellar job presenting recommendations, placement, etc. This took the guess work out of the equation and let me focus on labor only. By all means if your financially able to have a company perform the labor I would recommend that approach.
Step 4 – Remove all the old landscape, and in my case tons of lava rock. LAVA ROCK! I probably had 2-3 full trashcans full of lava rock, it was a nightmare.
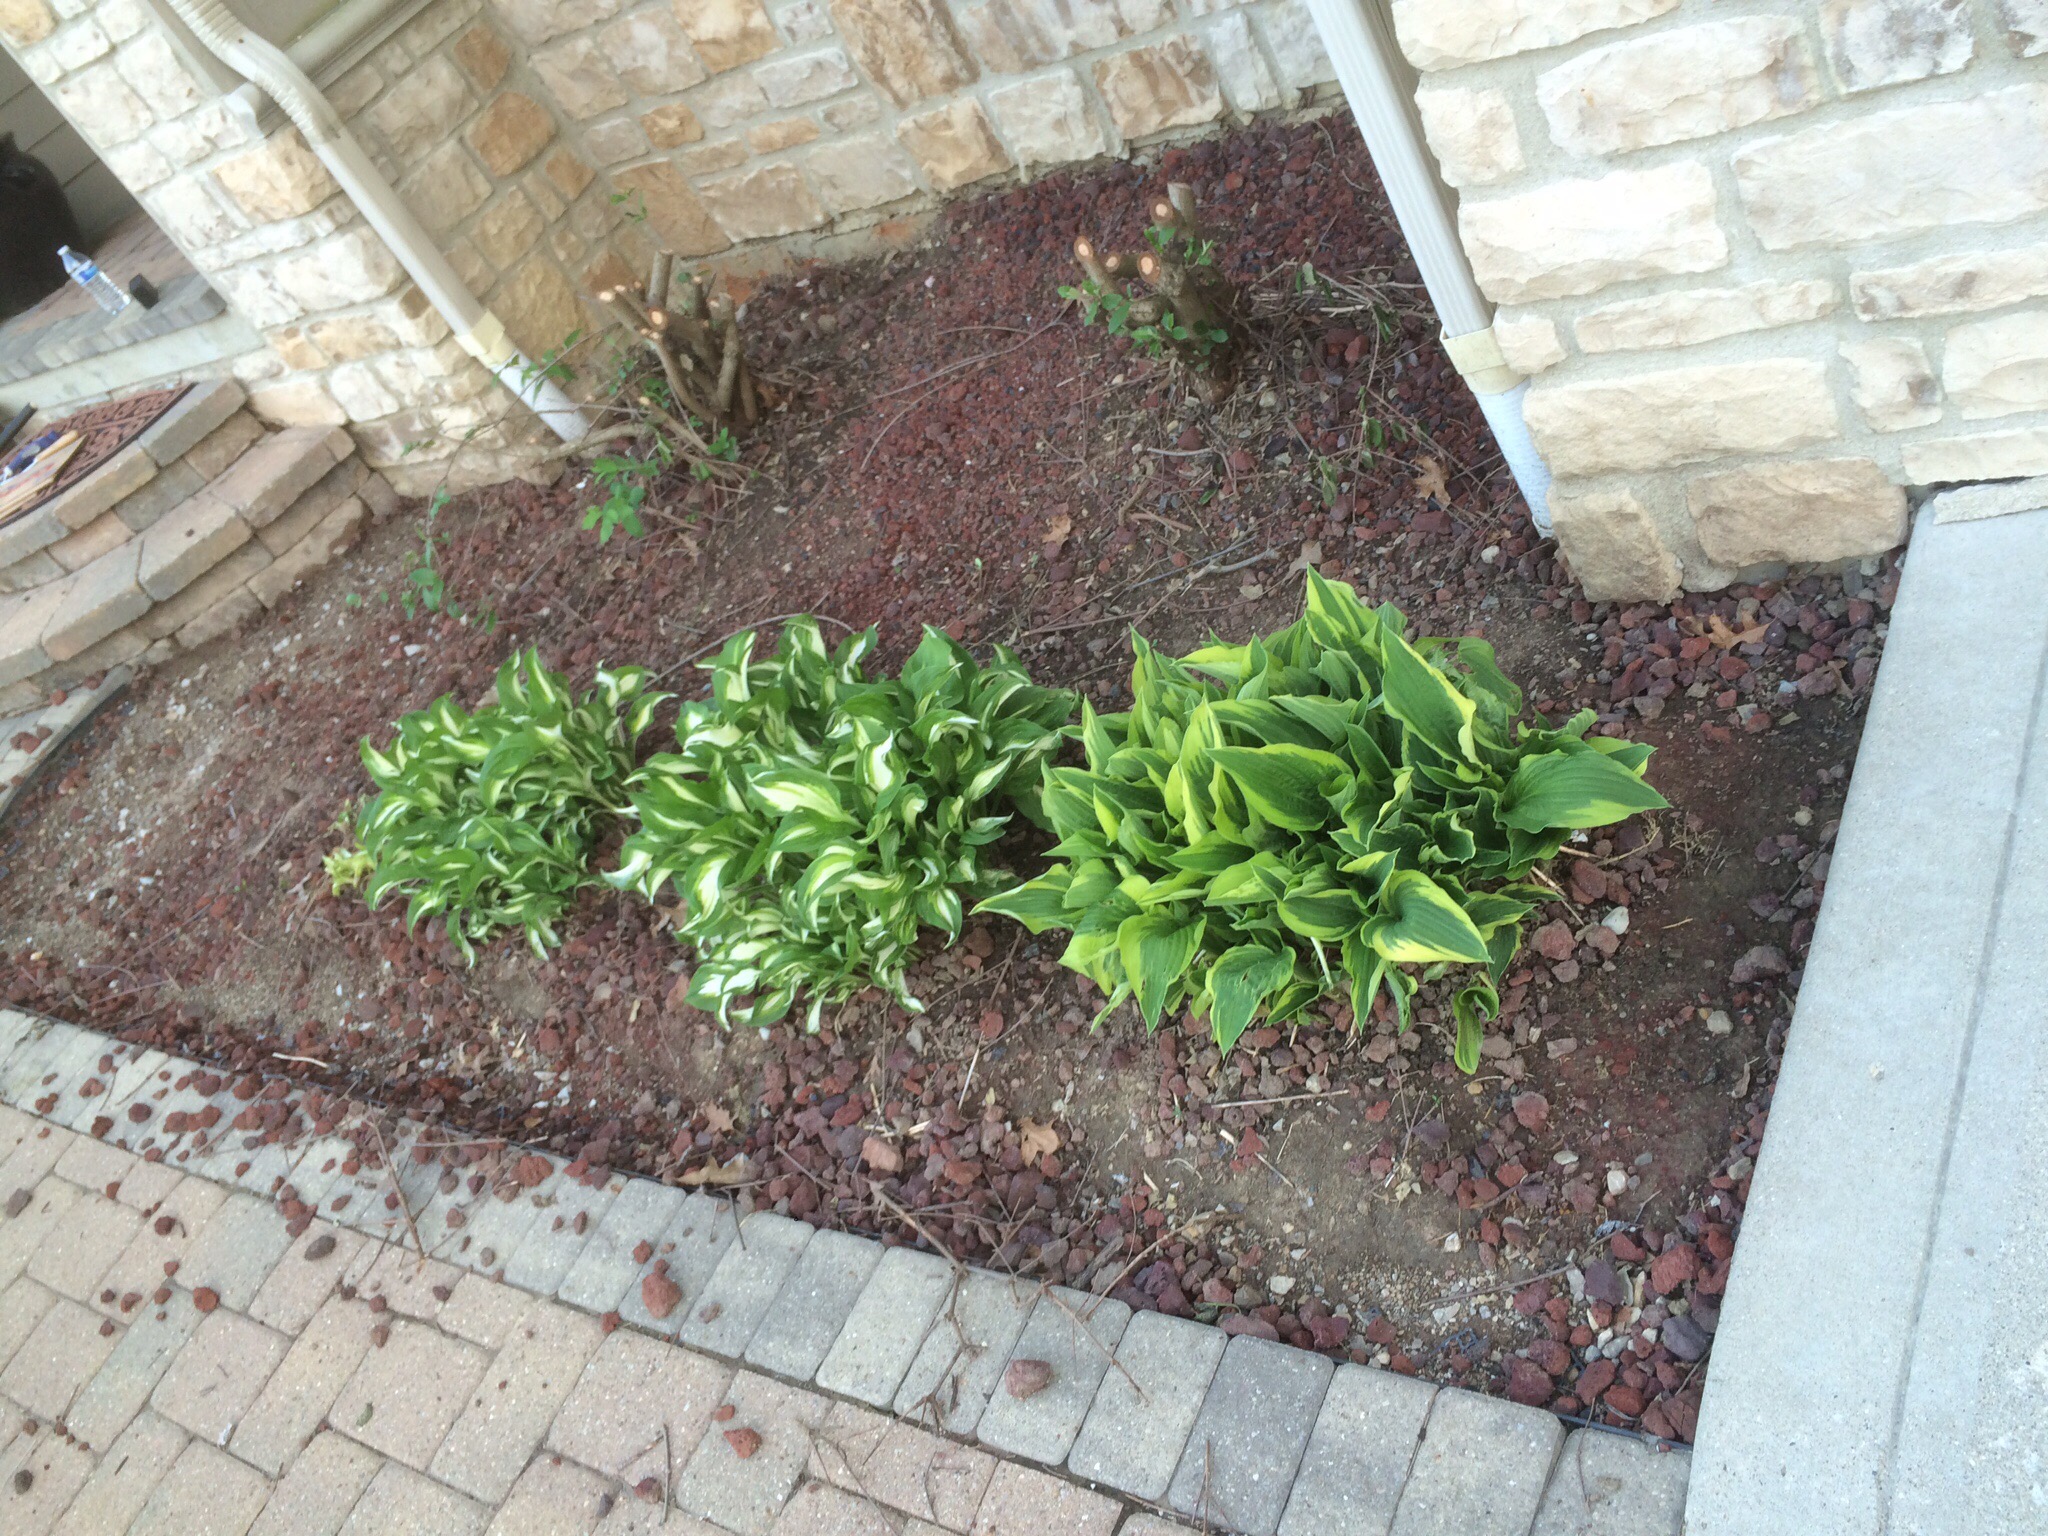
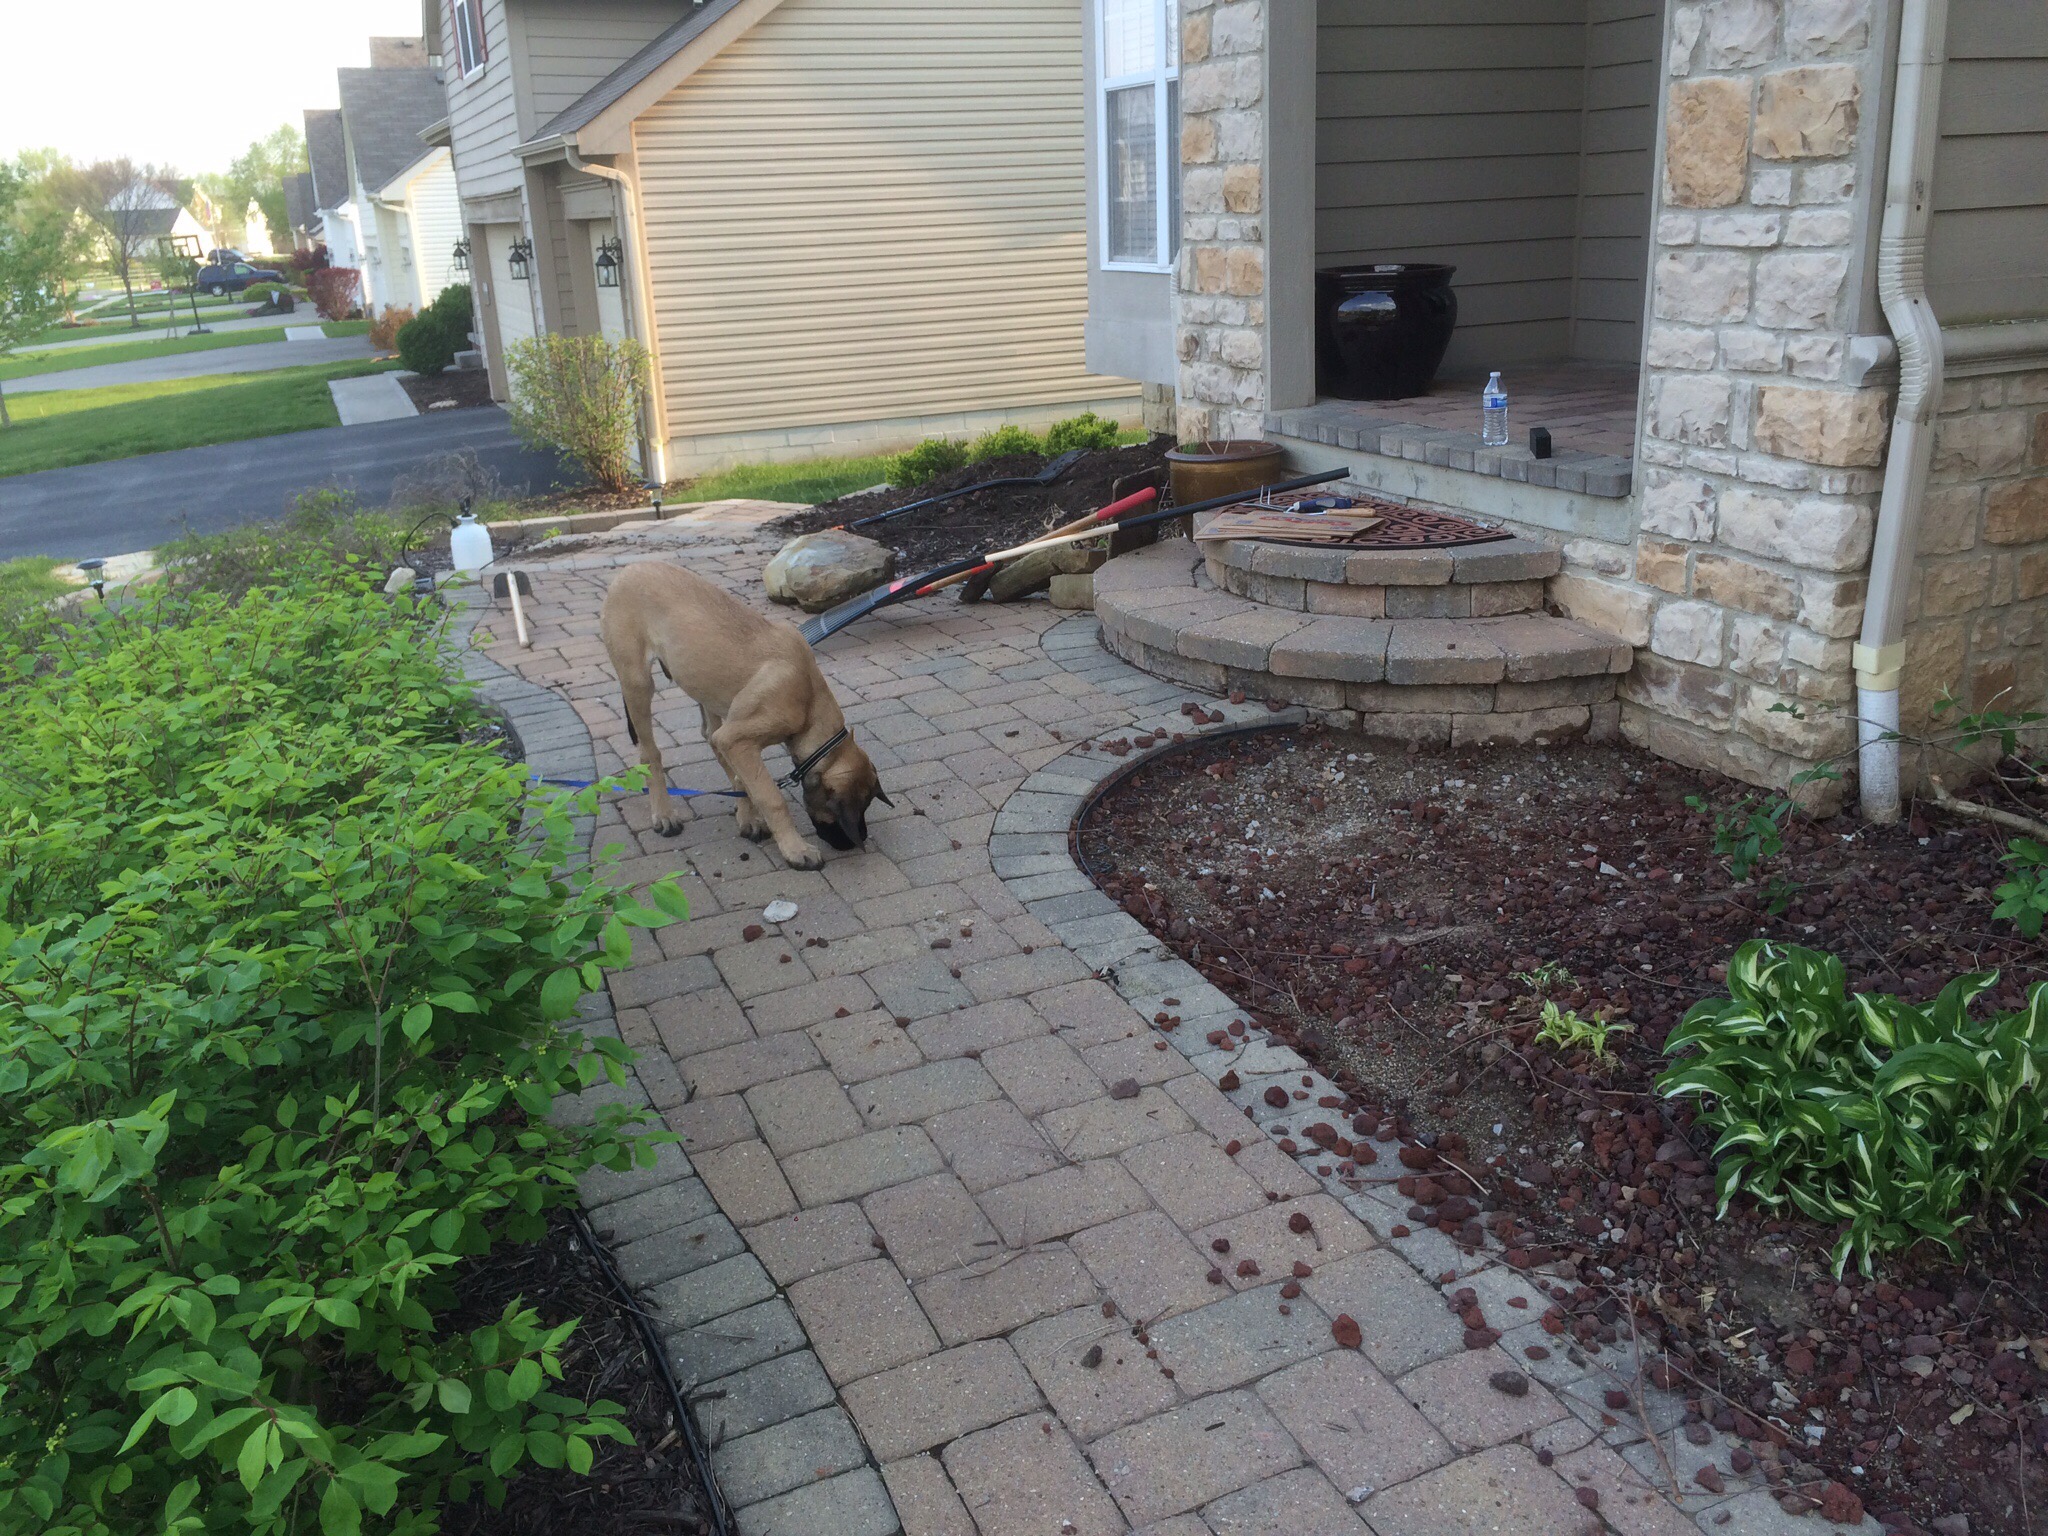
Who would have thought dogs love Lava Rock. Pictured above, Bane our English Mastiff puppy.
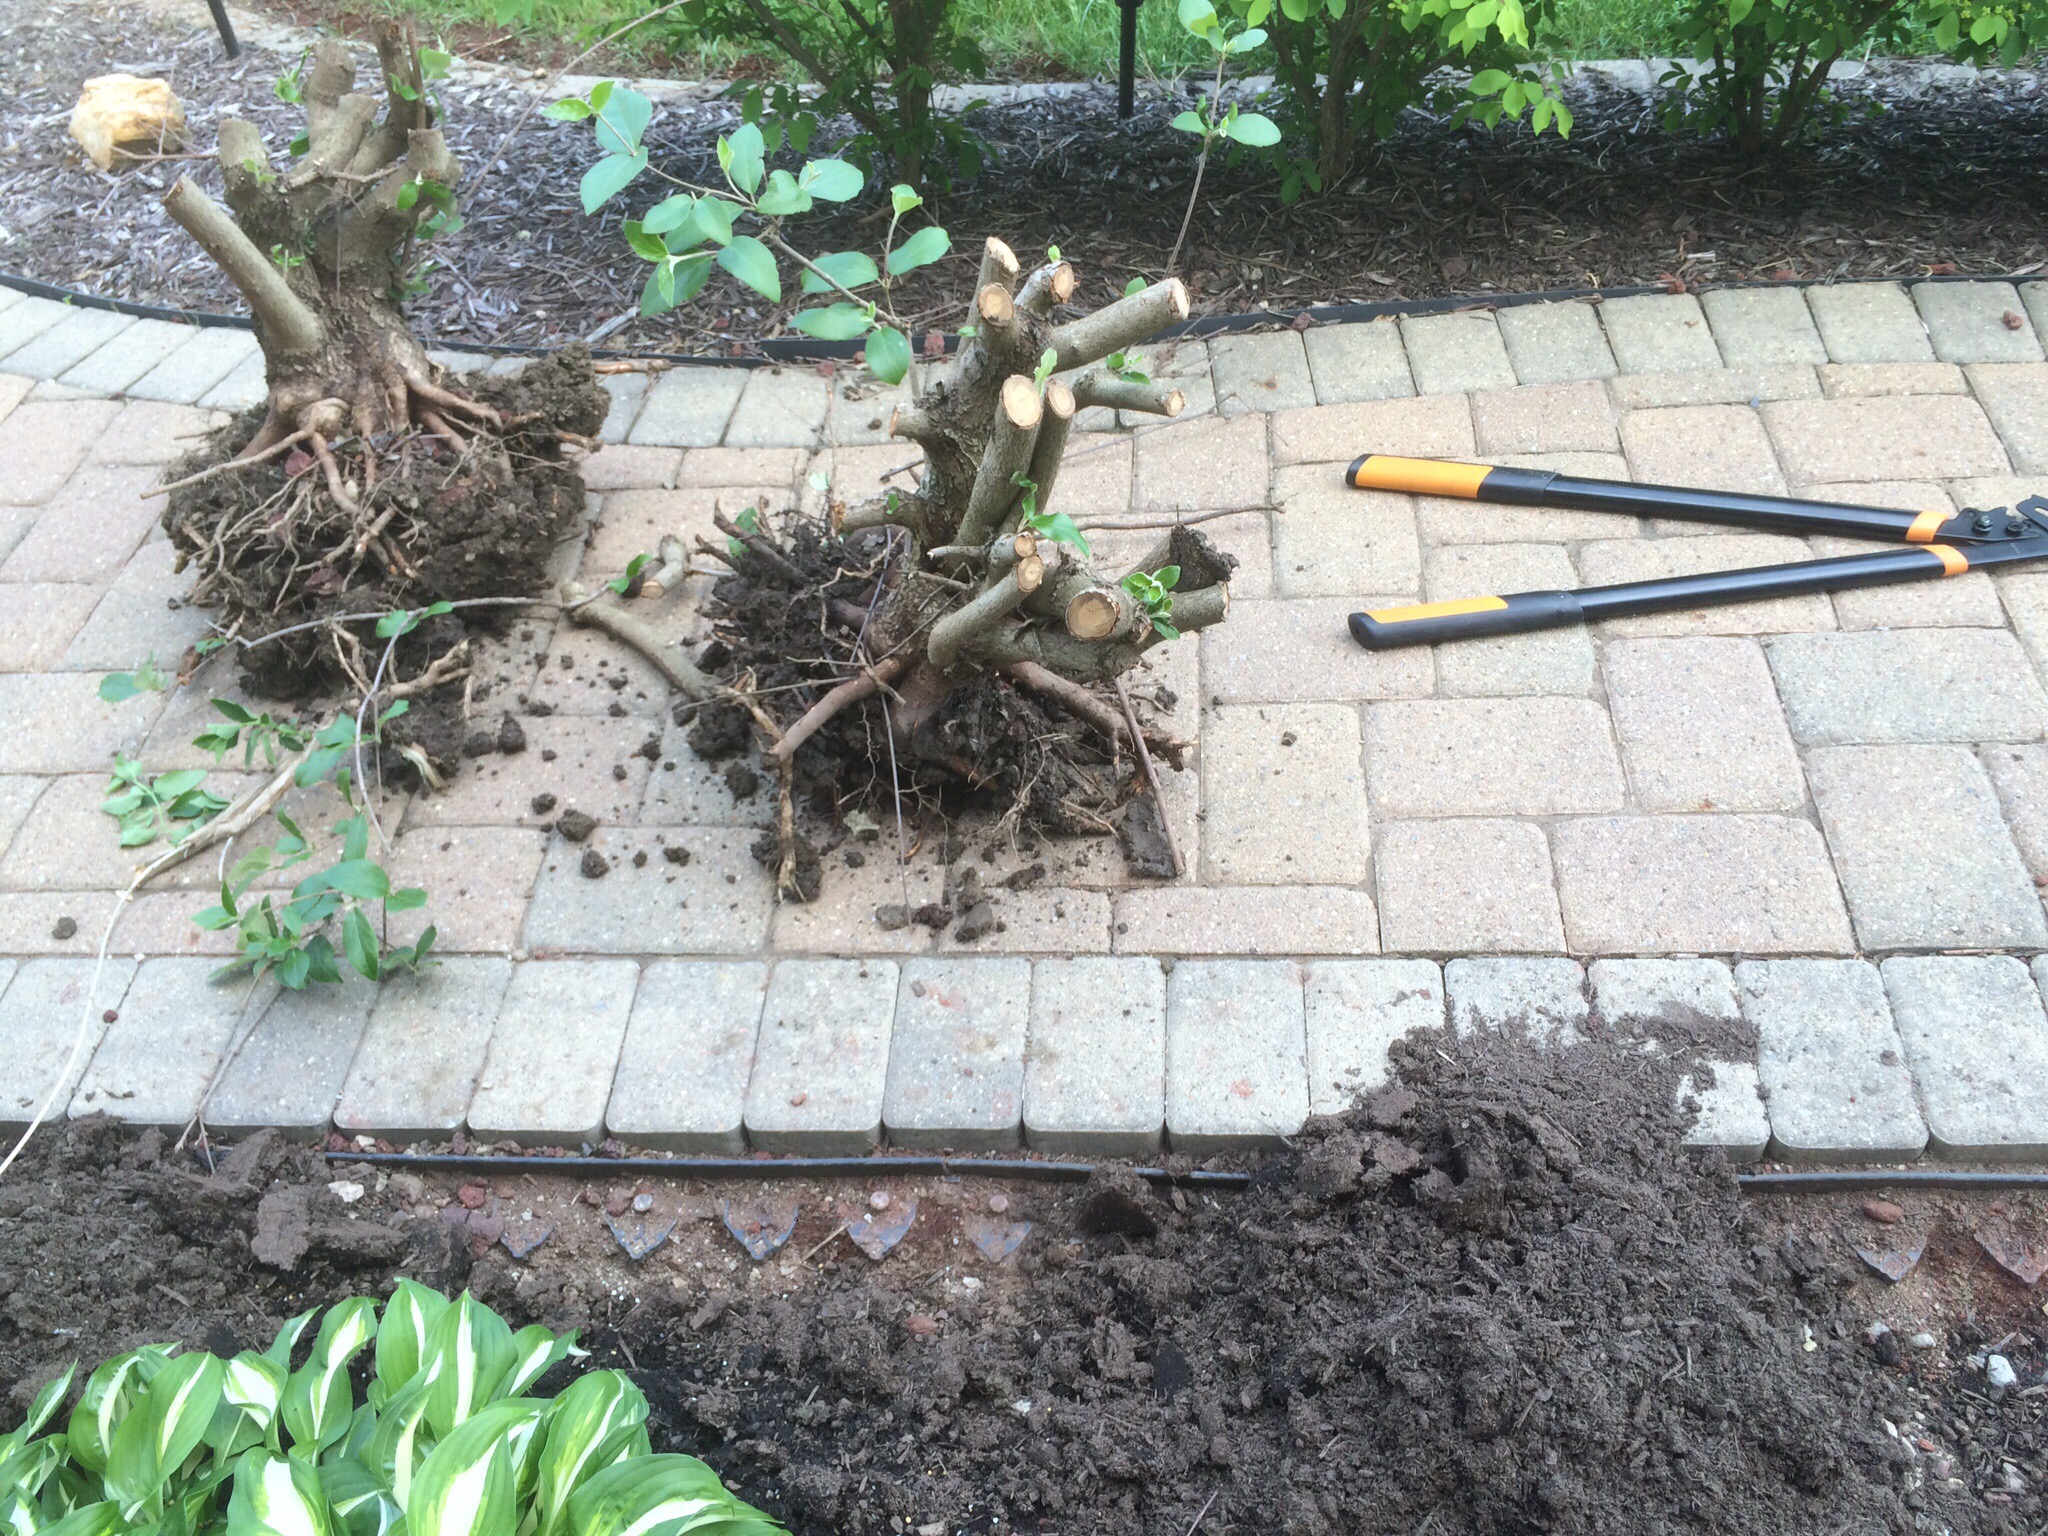
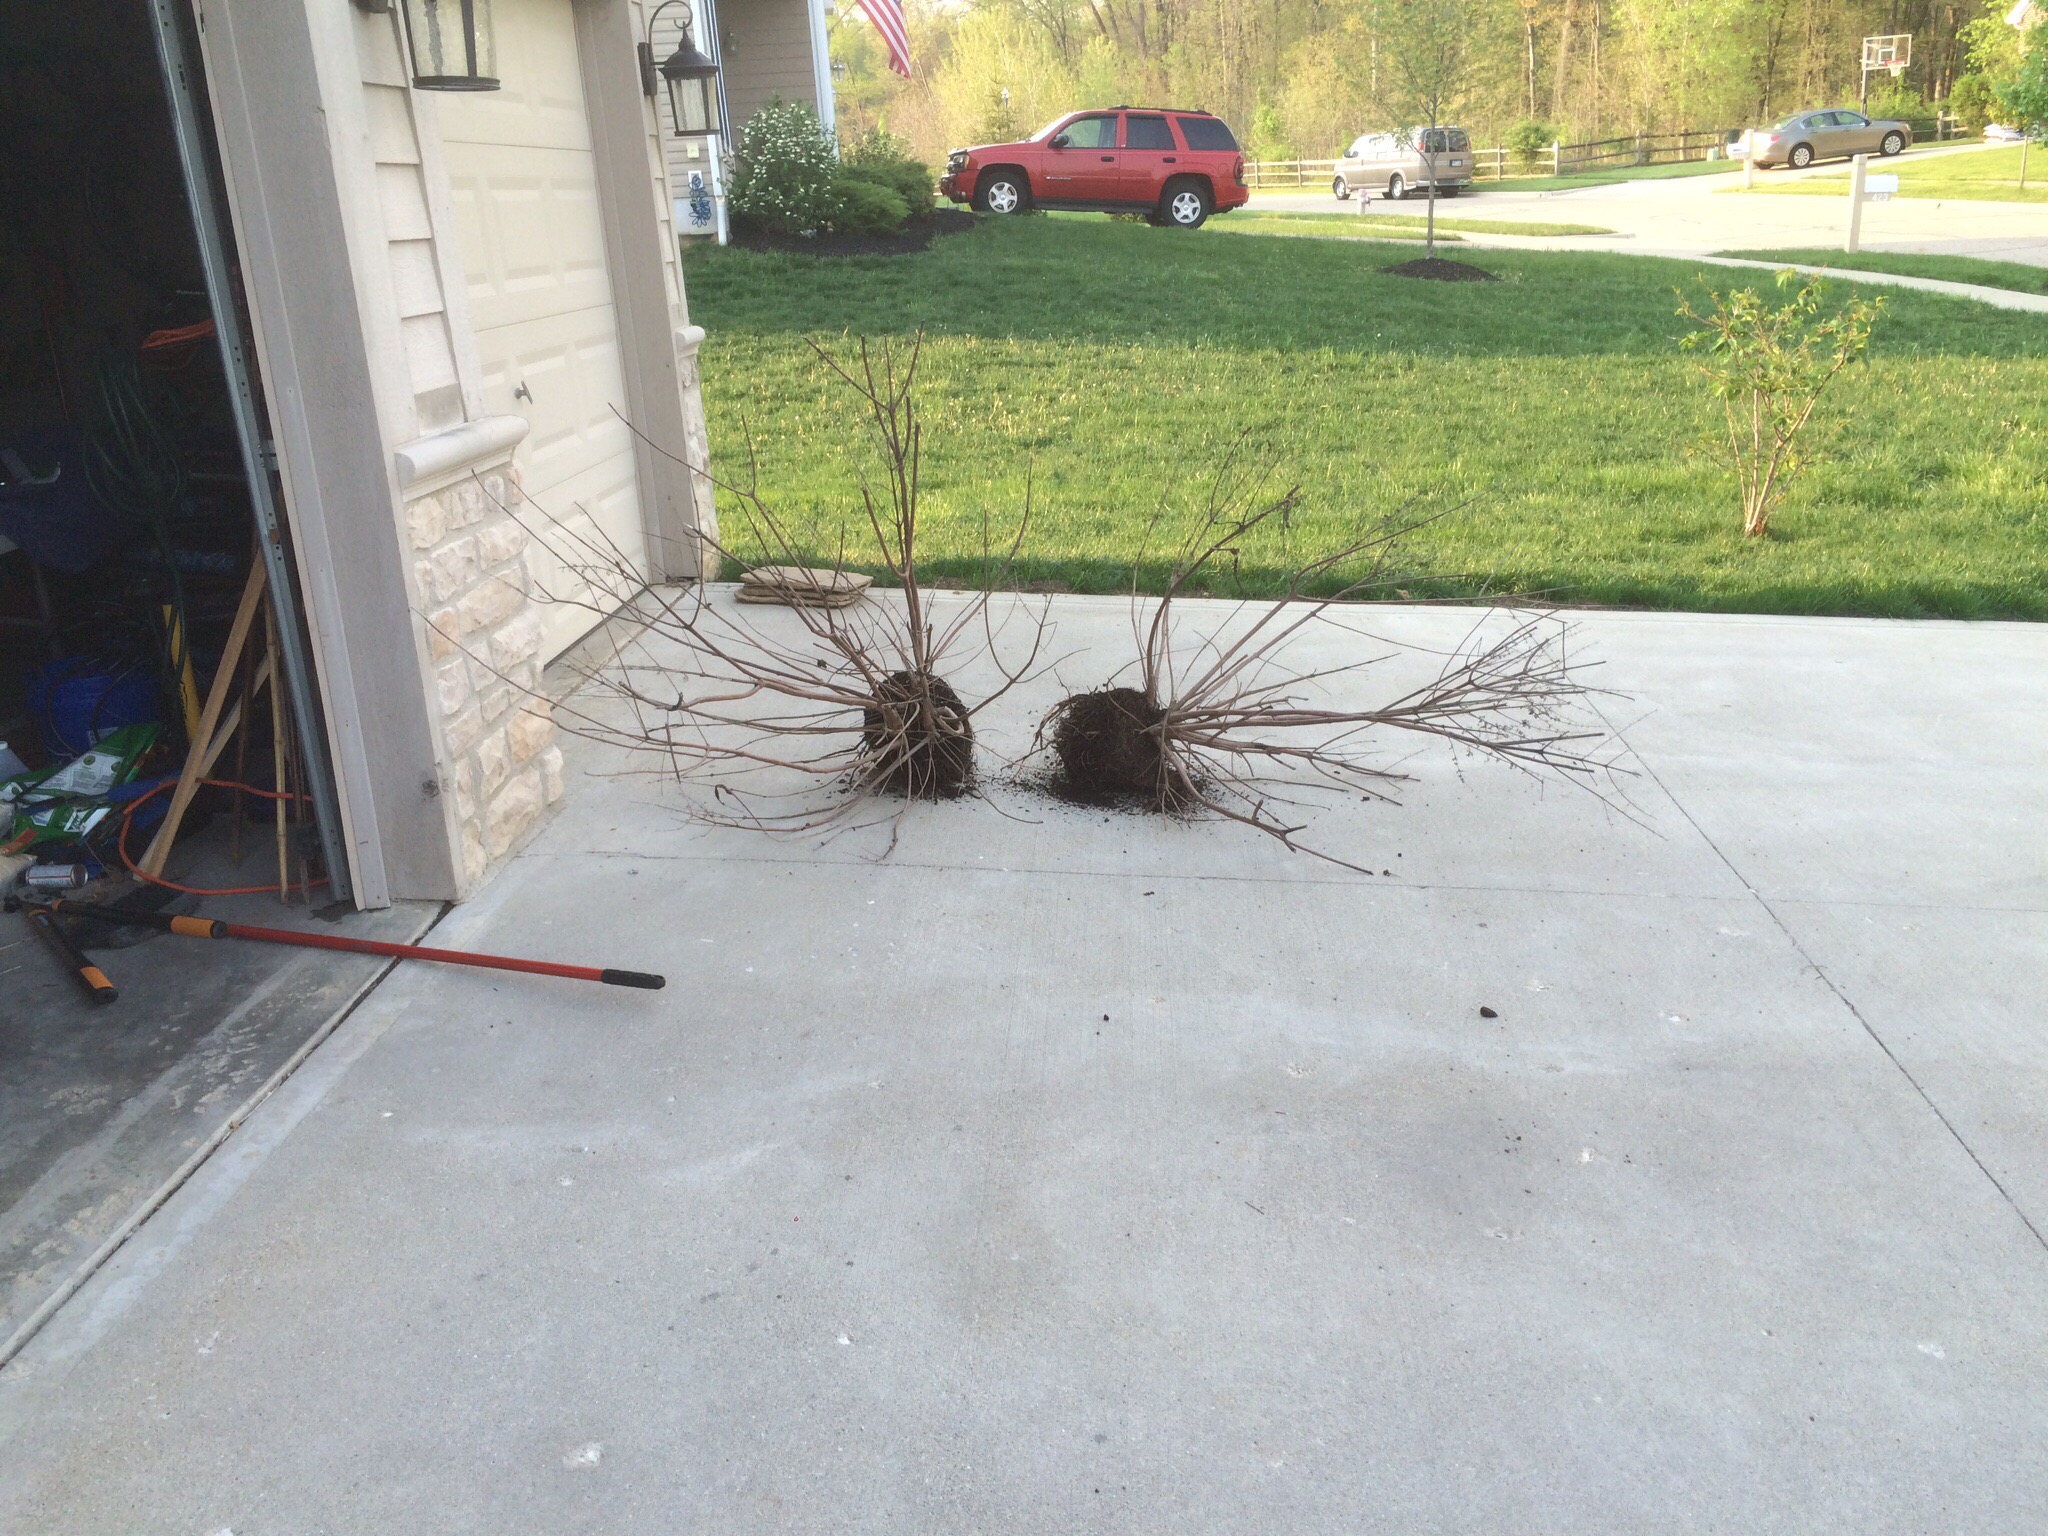
Large stumps from shrubs that had overgrown the side of the house (7+ feet tall). We tried to cut them back the first summer then decided they had to go. I used a Fiskar lopper to cut the back quite a bit then the Fiskar shovel and axe to get at the roots so I could pull it out of the ground (with a large crow bar). Again, this was pretty awful labor, and disposal is a big problem. You likely need to get a dumpster or purchase a product like Bagster and fill that up and schedule a removal.
Step 5 – Buy everything, lay everything out in the proposed positions.
Step 6 – Have the wife review everything and approve proposed layout.

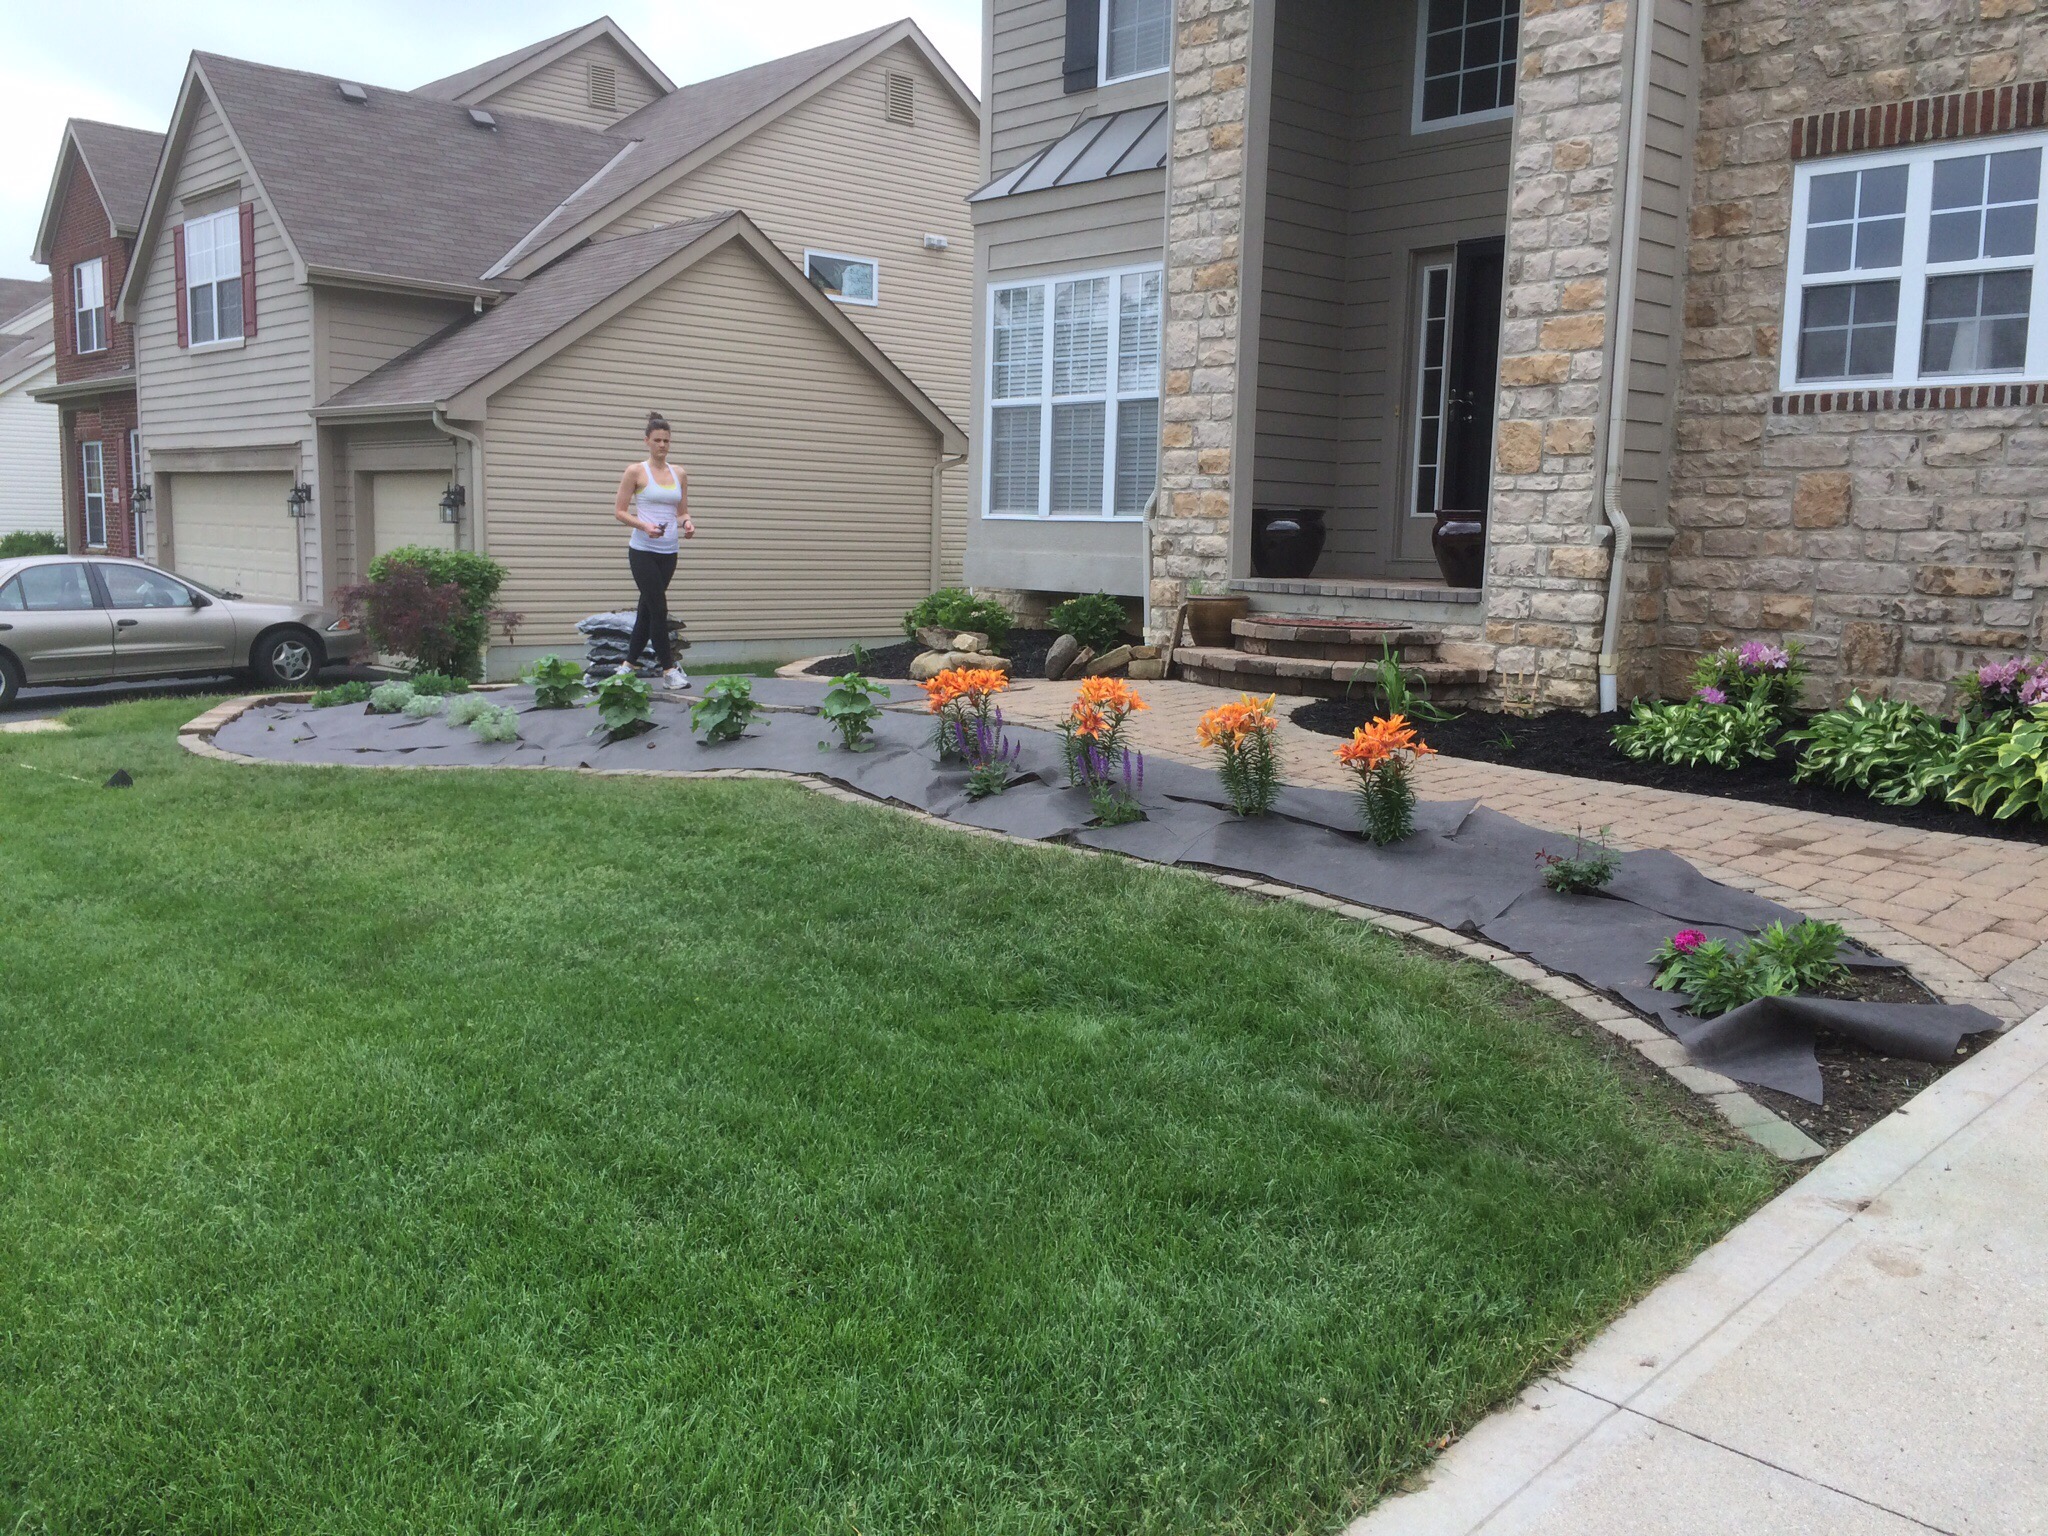
Step 7 – Once you’ve begun planting everything in some fresh potting soil. You can decide if you want to install some weed preventing mesh. I made an attempt again because Costco had a very cheap product for sale. I figured it was worth a try, but after about a year or 2 it provided very little benefit. I have a hard time recommending this based on the effort it took to install. If anyone has other suggestions let me know, because we’re at year 3 and some plants didn’t fend to well so we will be updating a few sections.
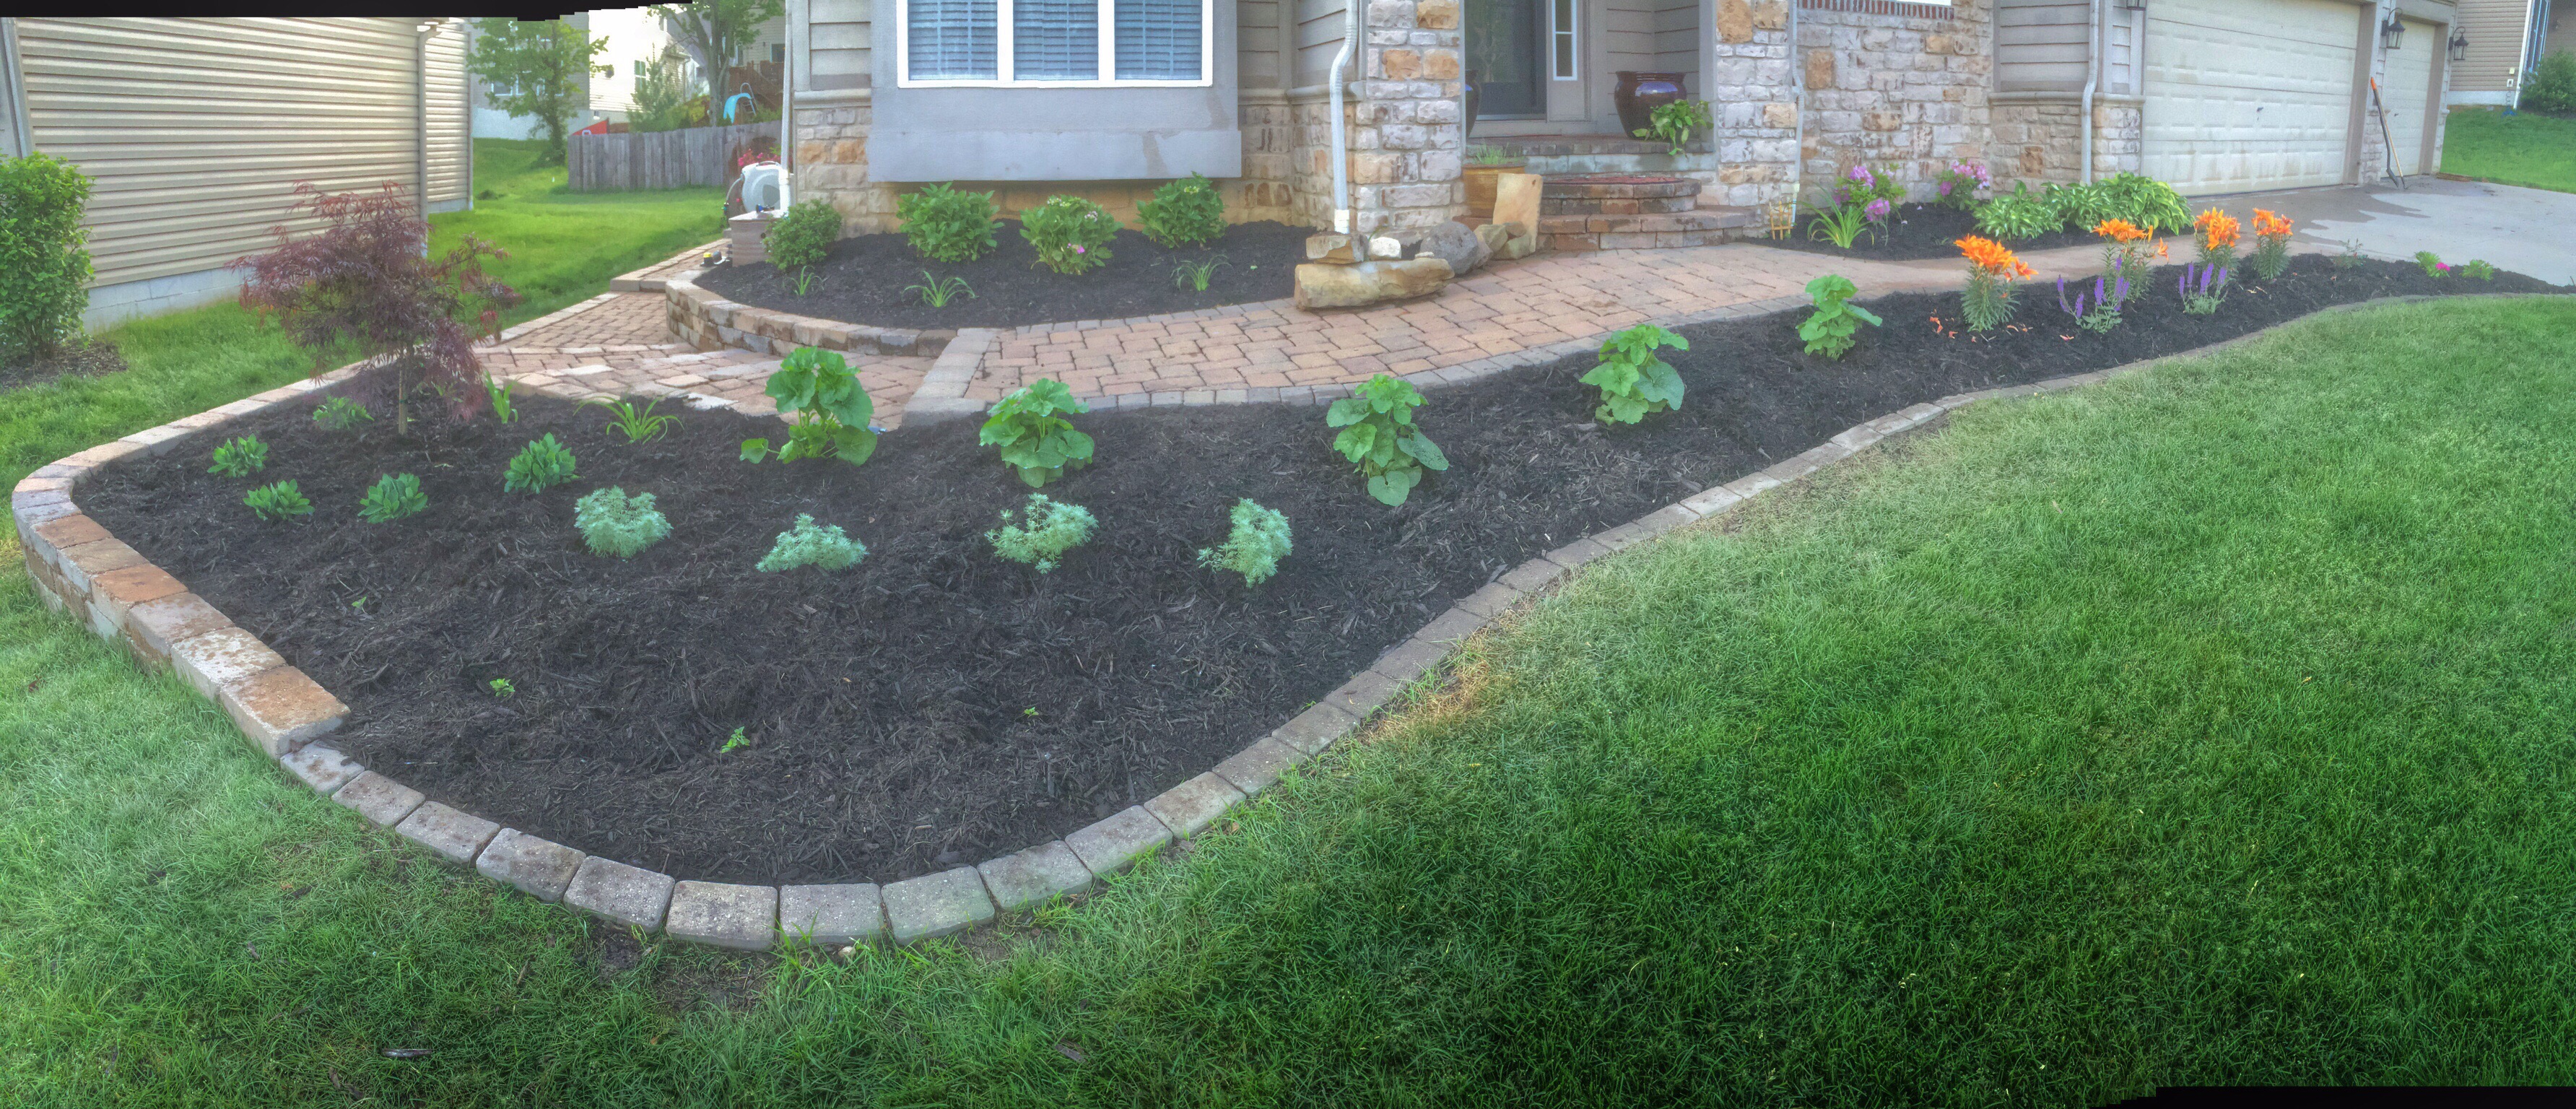
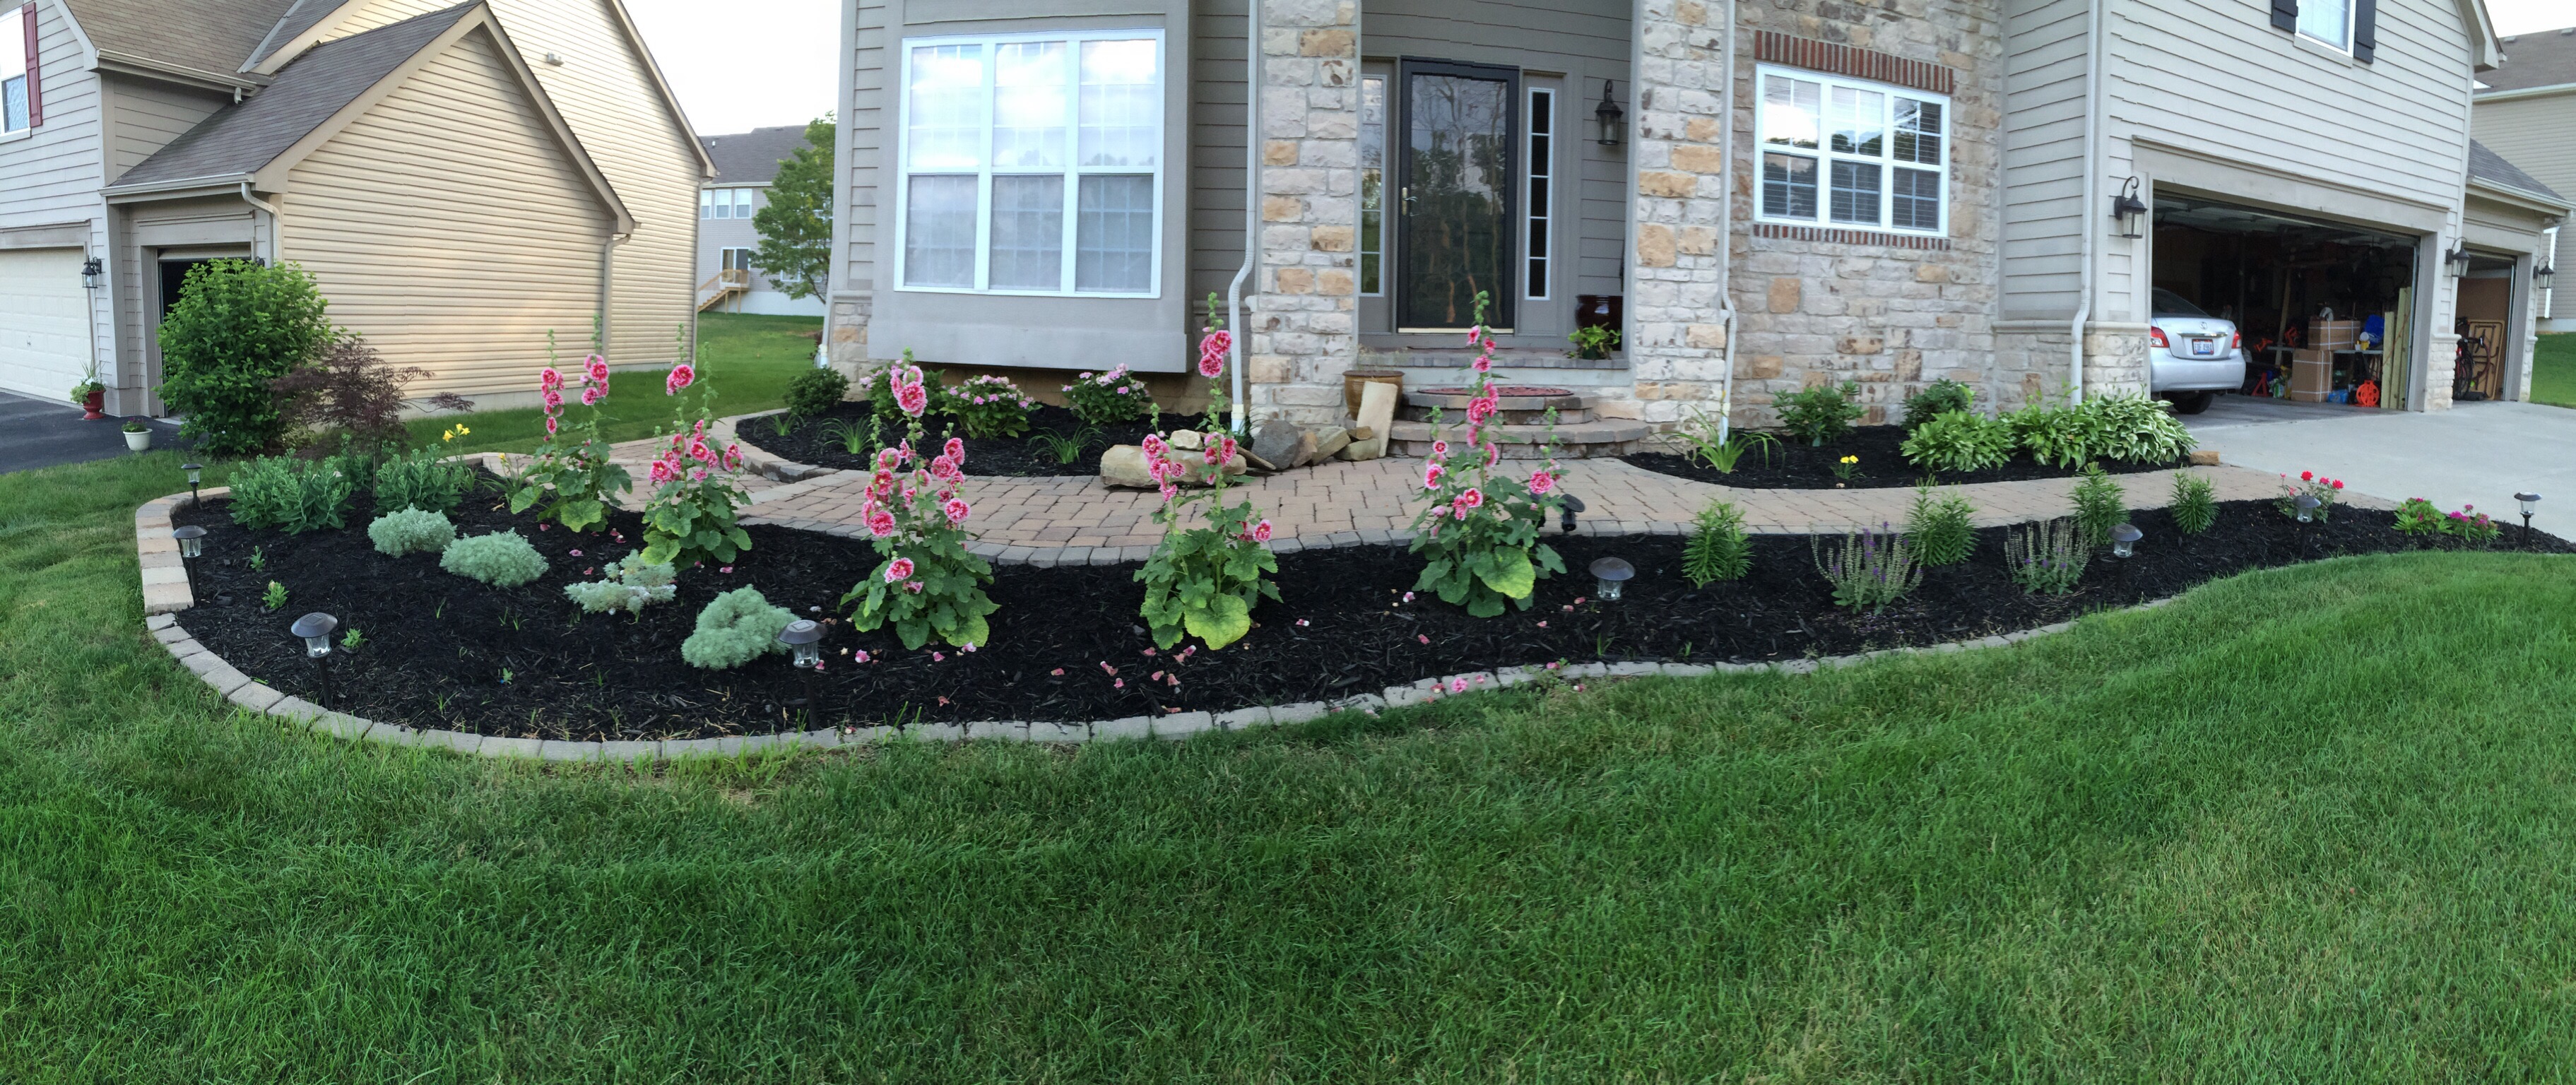
Step 8 – Finish planting, mulching, watering and smash a pint(s) of Graeter’s ice cream.
Misc Tips:
- Automate your watering routines! One additional step I took after completing the front landscape was install an automatic water system. I’ve got 2 proposals below you can try.
- Sprinkler System: This was the approach I took for all new grass locations.
- I tried a couple sprinklers but I liked the ability to configure it like this model provided. I felt like I wasted the least amount of water.
- Automated Timer for Water Faucet I tried two brands and this one had better reliability.
- Water Faucet Split several designs exist so if you need more clearance shop at options.
- Drip Water System: This was the approach I took for my front landscaping.
- Raindrop is a pretty popular brand and can be found a local hardware stores. They have several starter kits so make sure you get one that suits your needs. I got these two, plus several additional “packs” or the dripper heads.
- RainDrop Starter Set – This includes an automatic timer
- Rain Drop Expansion Set
- Example of Heads (Cheap)
- Water Faucet Split several designs exist so if you need more clearance shop at options.
- Raindrop is a pretty popular brand and can be found a local hardware stores. They have several starter kits so make sure you get one that suits your needs. I got these two, plus several additional “packs” or the dripper heads.
- Sprinkler System: This was the approach I took for all new grass locations.
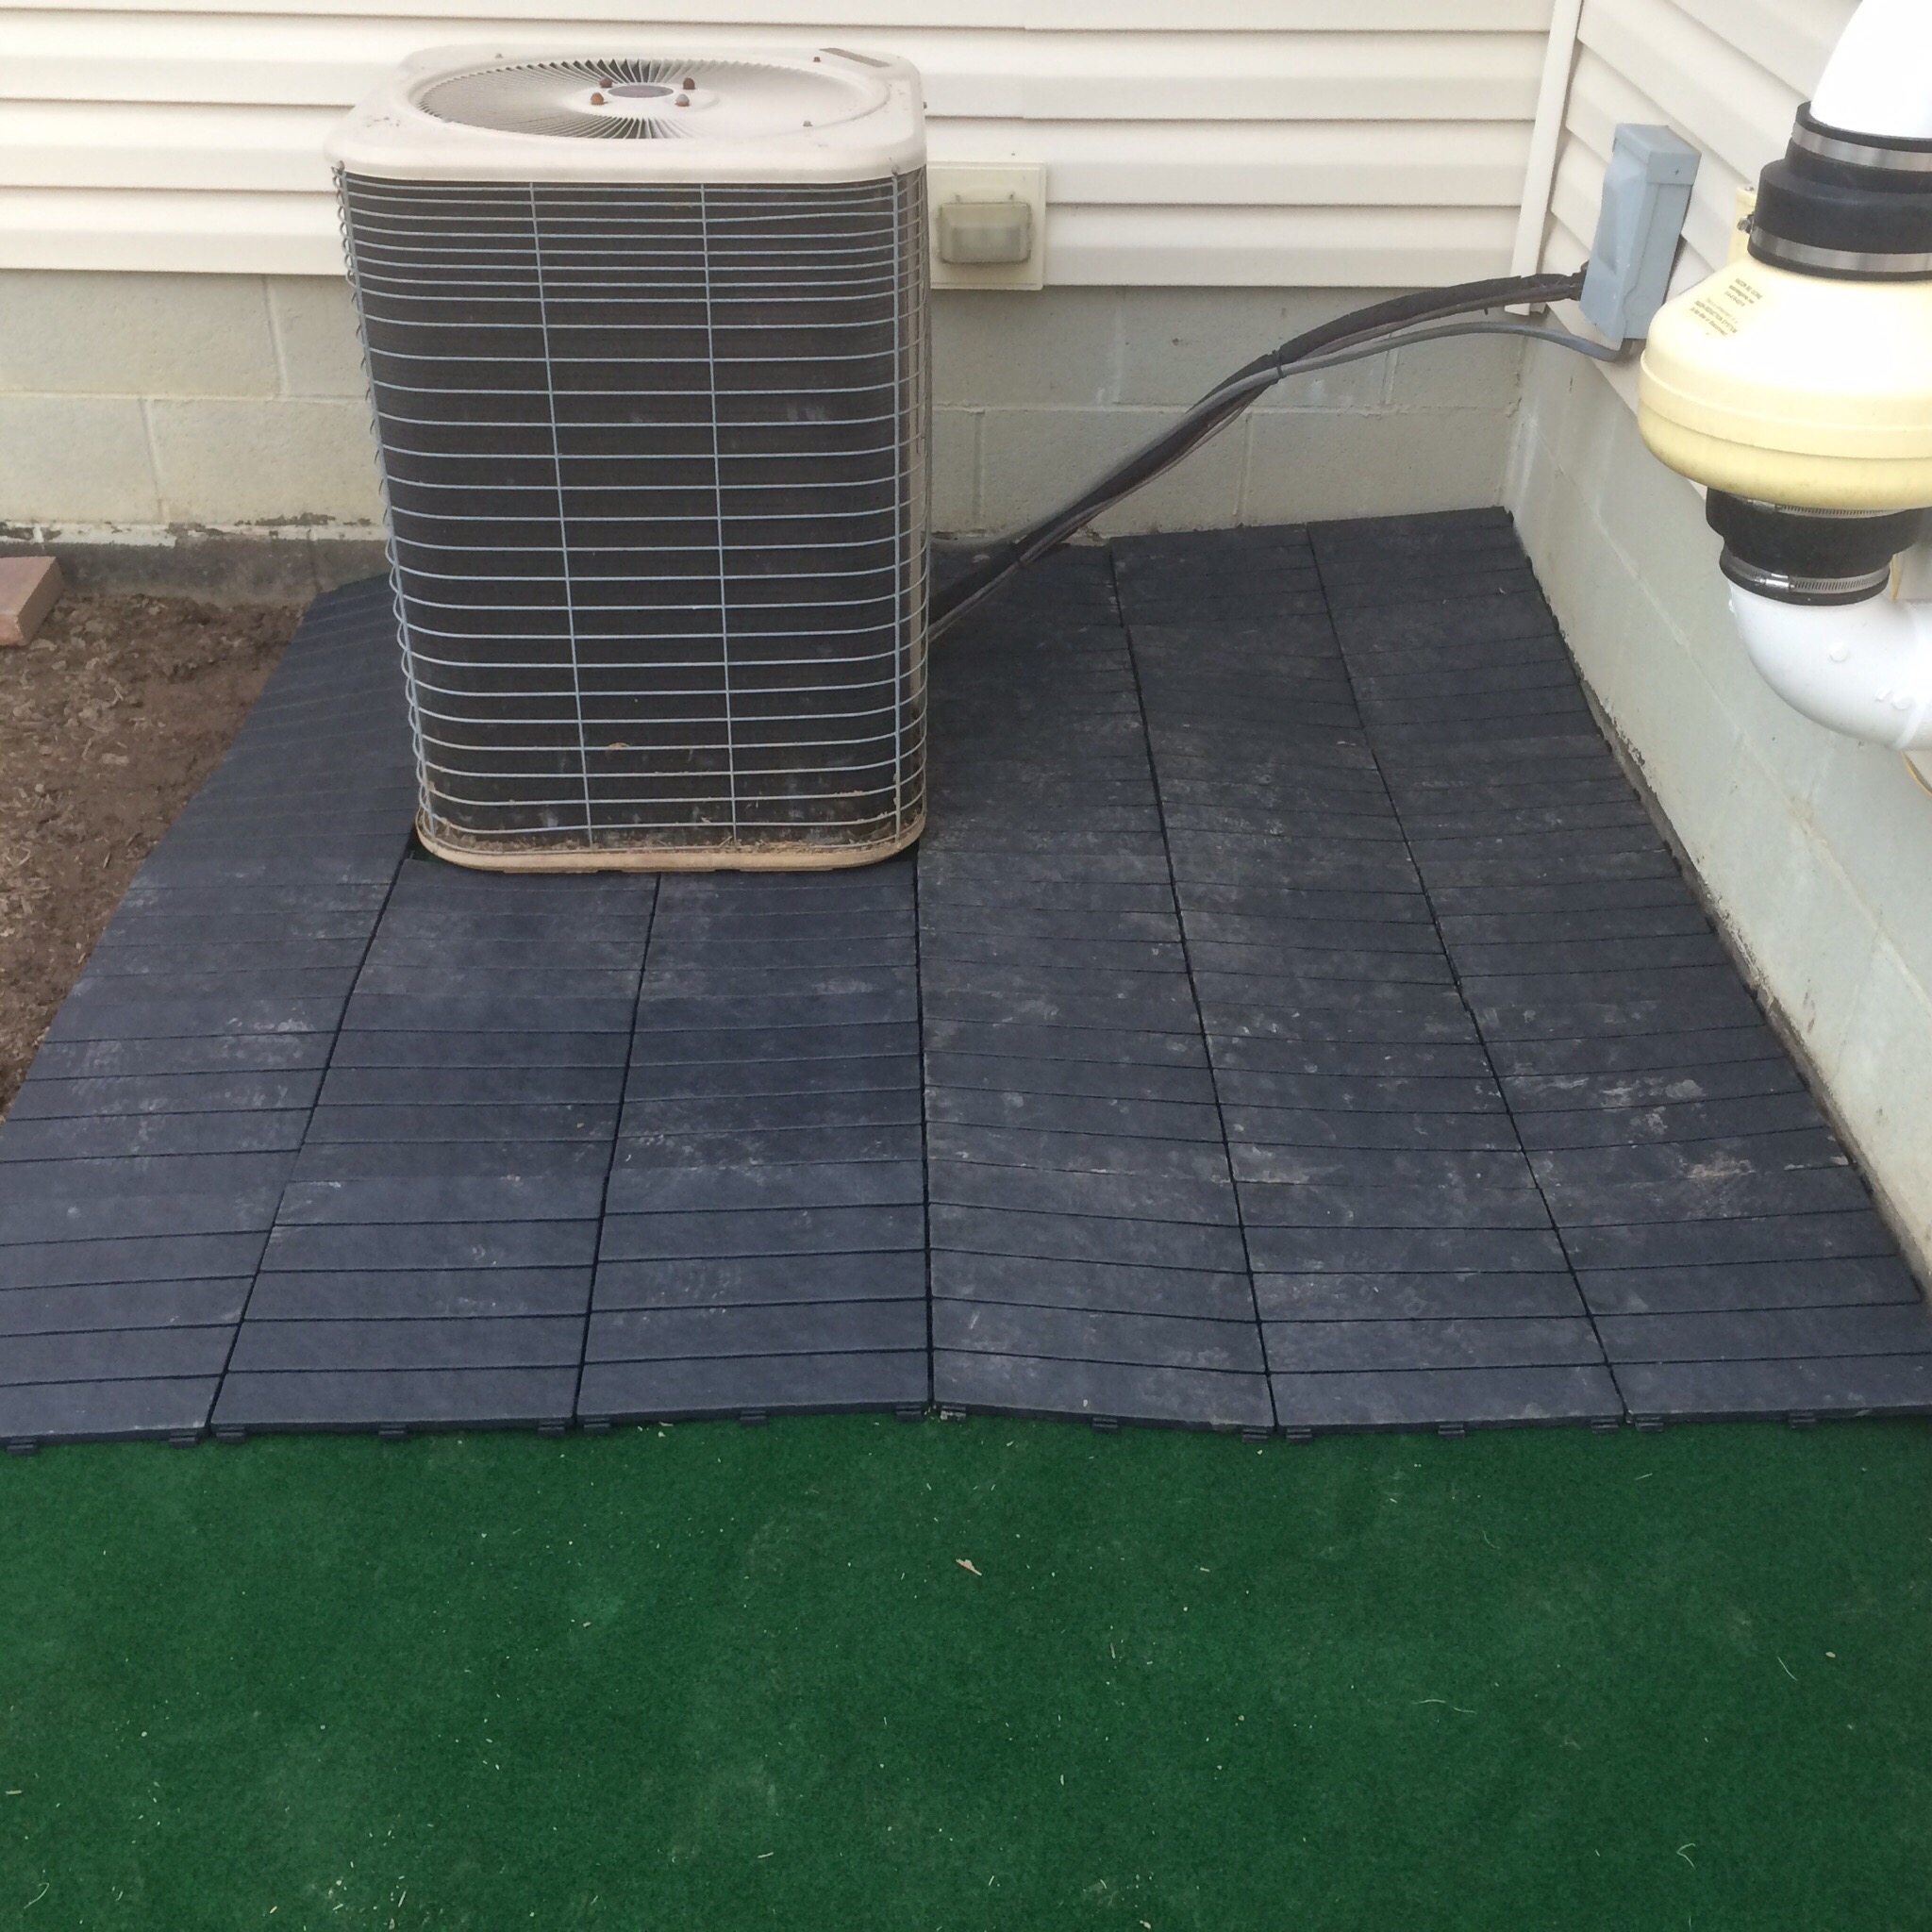
- Protect your AC from everything by creating some elbow room. Grass, among other things when your mowing near it will restrict the air flow and cooling capability of your equipment.
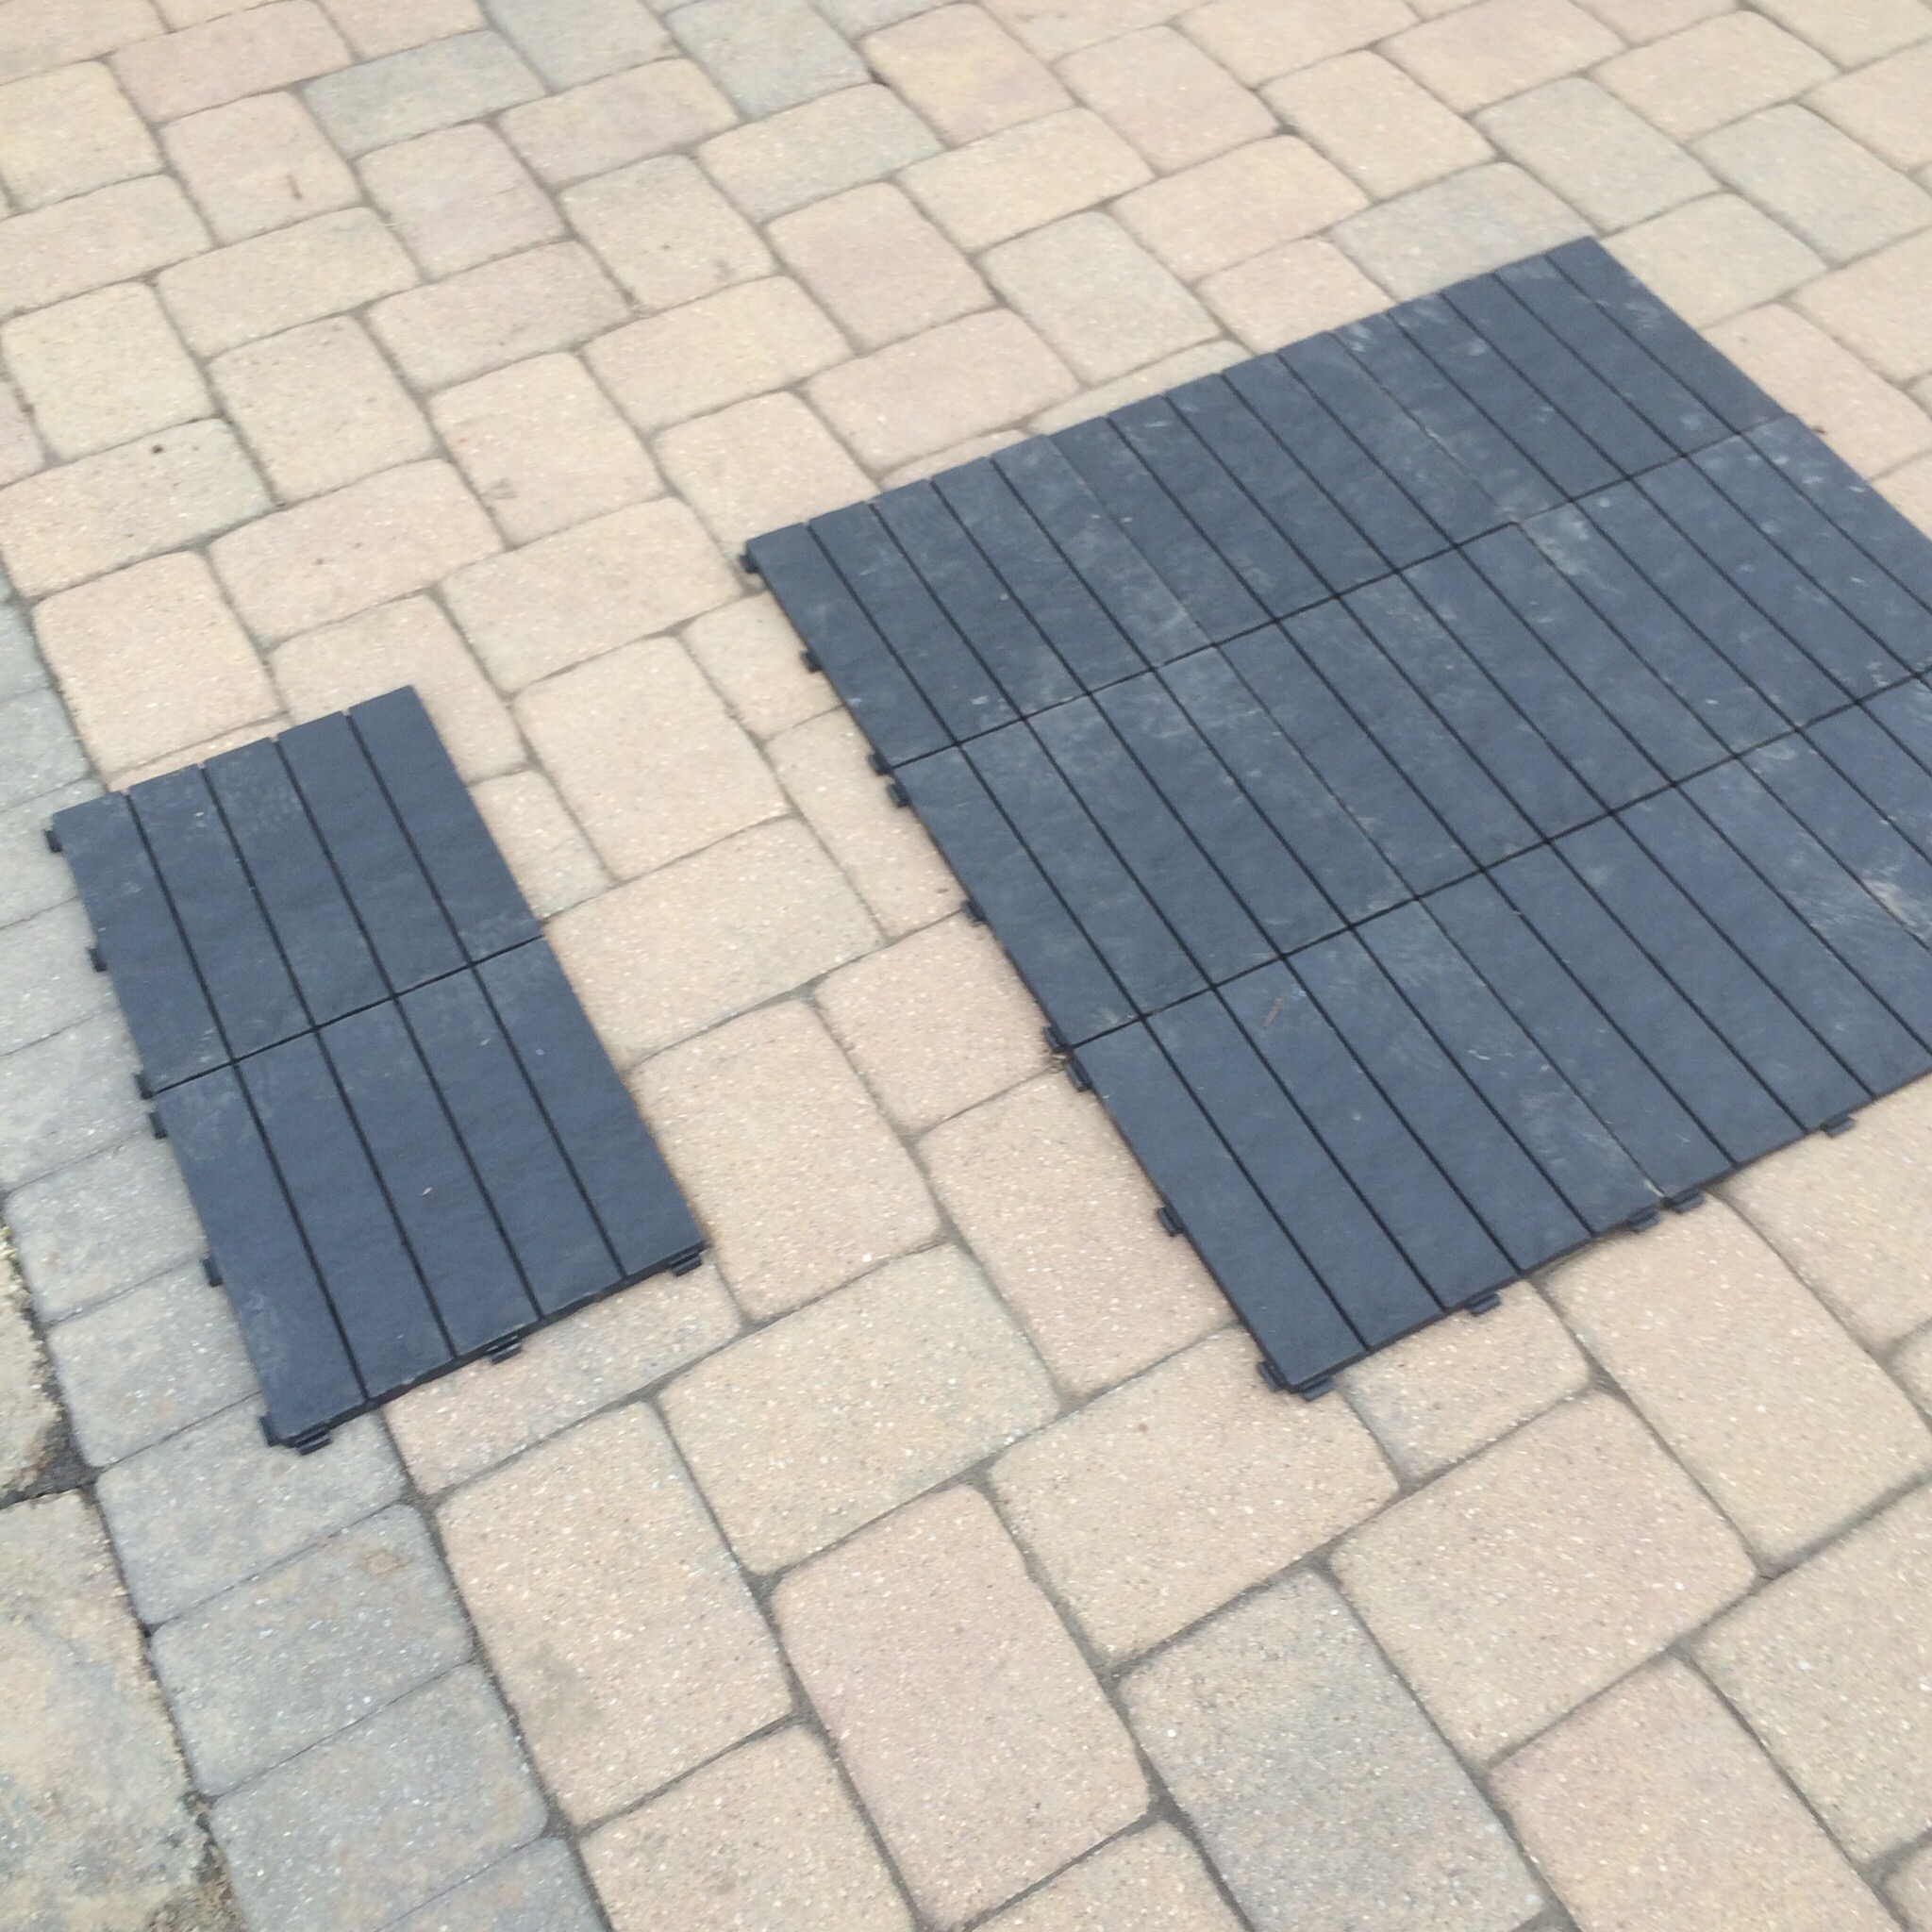
- Pick your poison with your approach. I found these lego style blocks at Costco that I used to wrap the AC Unit.
- The base is important, after experimenting a bit with trying to level the rocky soil/dirt I ended up using scrap treated exterior subfloor to create a base and just cut it to fit the area. That way I had a nice level foundation that nothing could grow through and require upkeep. But yes, that is over mkill, but I wanted the lego blocks to be flat! It also created a nice storage platform. A cheaper alternative is an exterior mat which was also available at Costco at the time (pictured below). I started cheap 😉
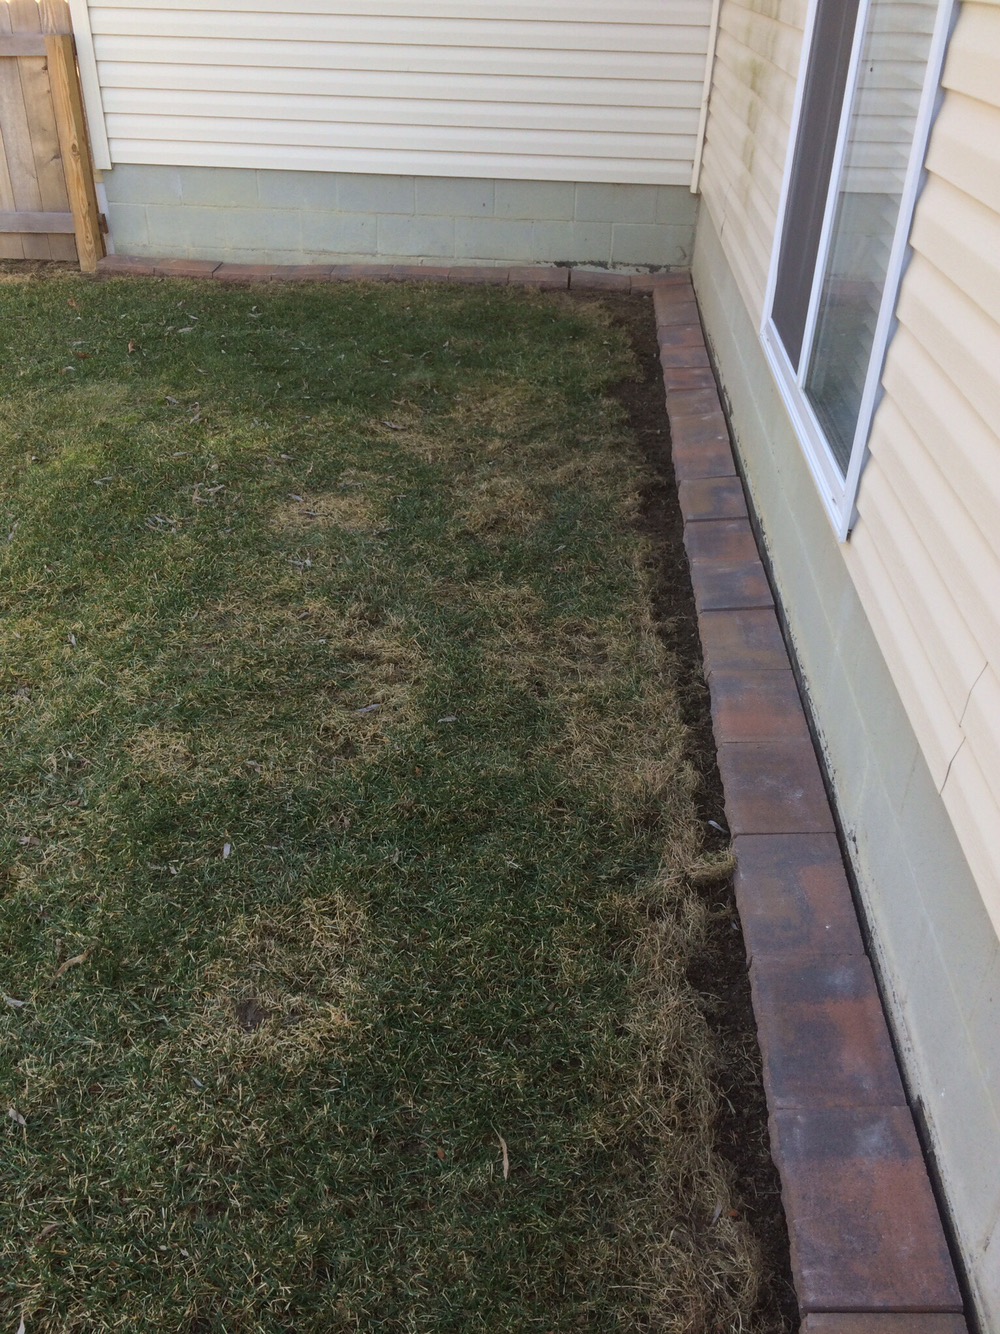
- Roof / Water run off / cut back on Trimmer / Be lazy because it’s the backyard. My roof line had water run off during heavy storms along the side of my house. It was beginning to create a little trench. In addition, that area had some general erosion from water runoff so I used these large pavers to block and prevent additional damage. It also helped with trimming down the road and looked nice, almost like I planned it ;-).
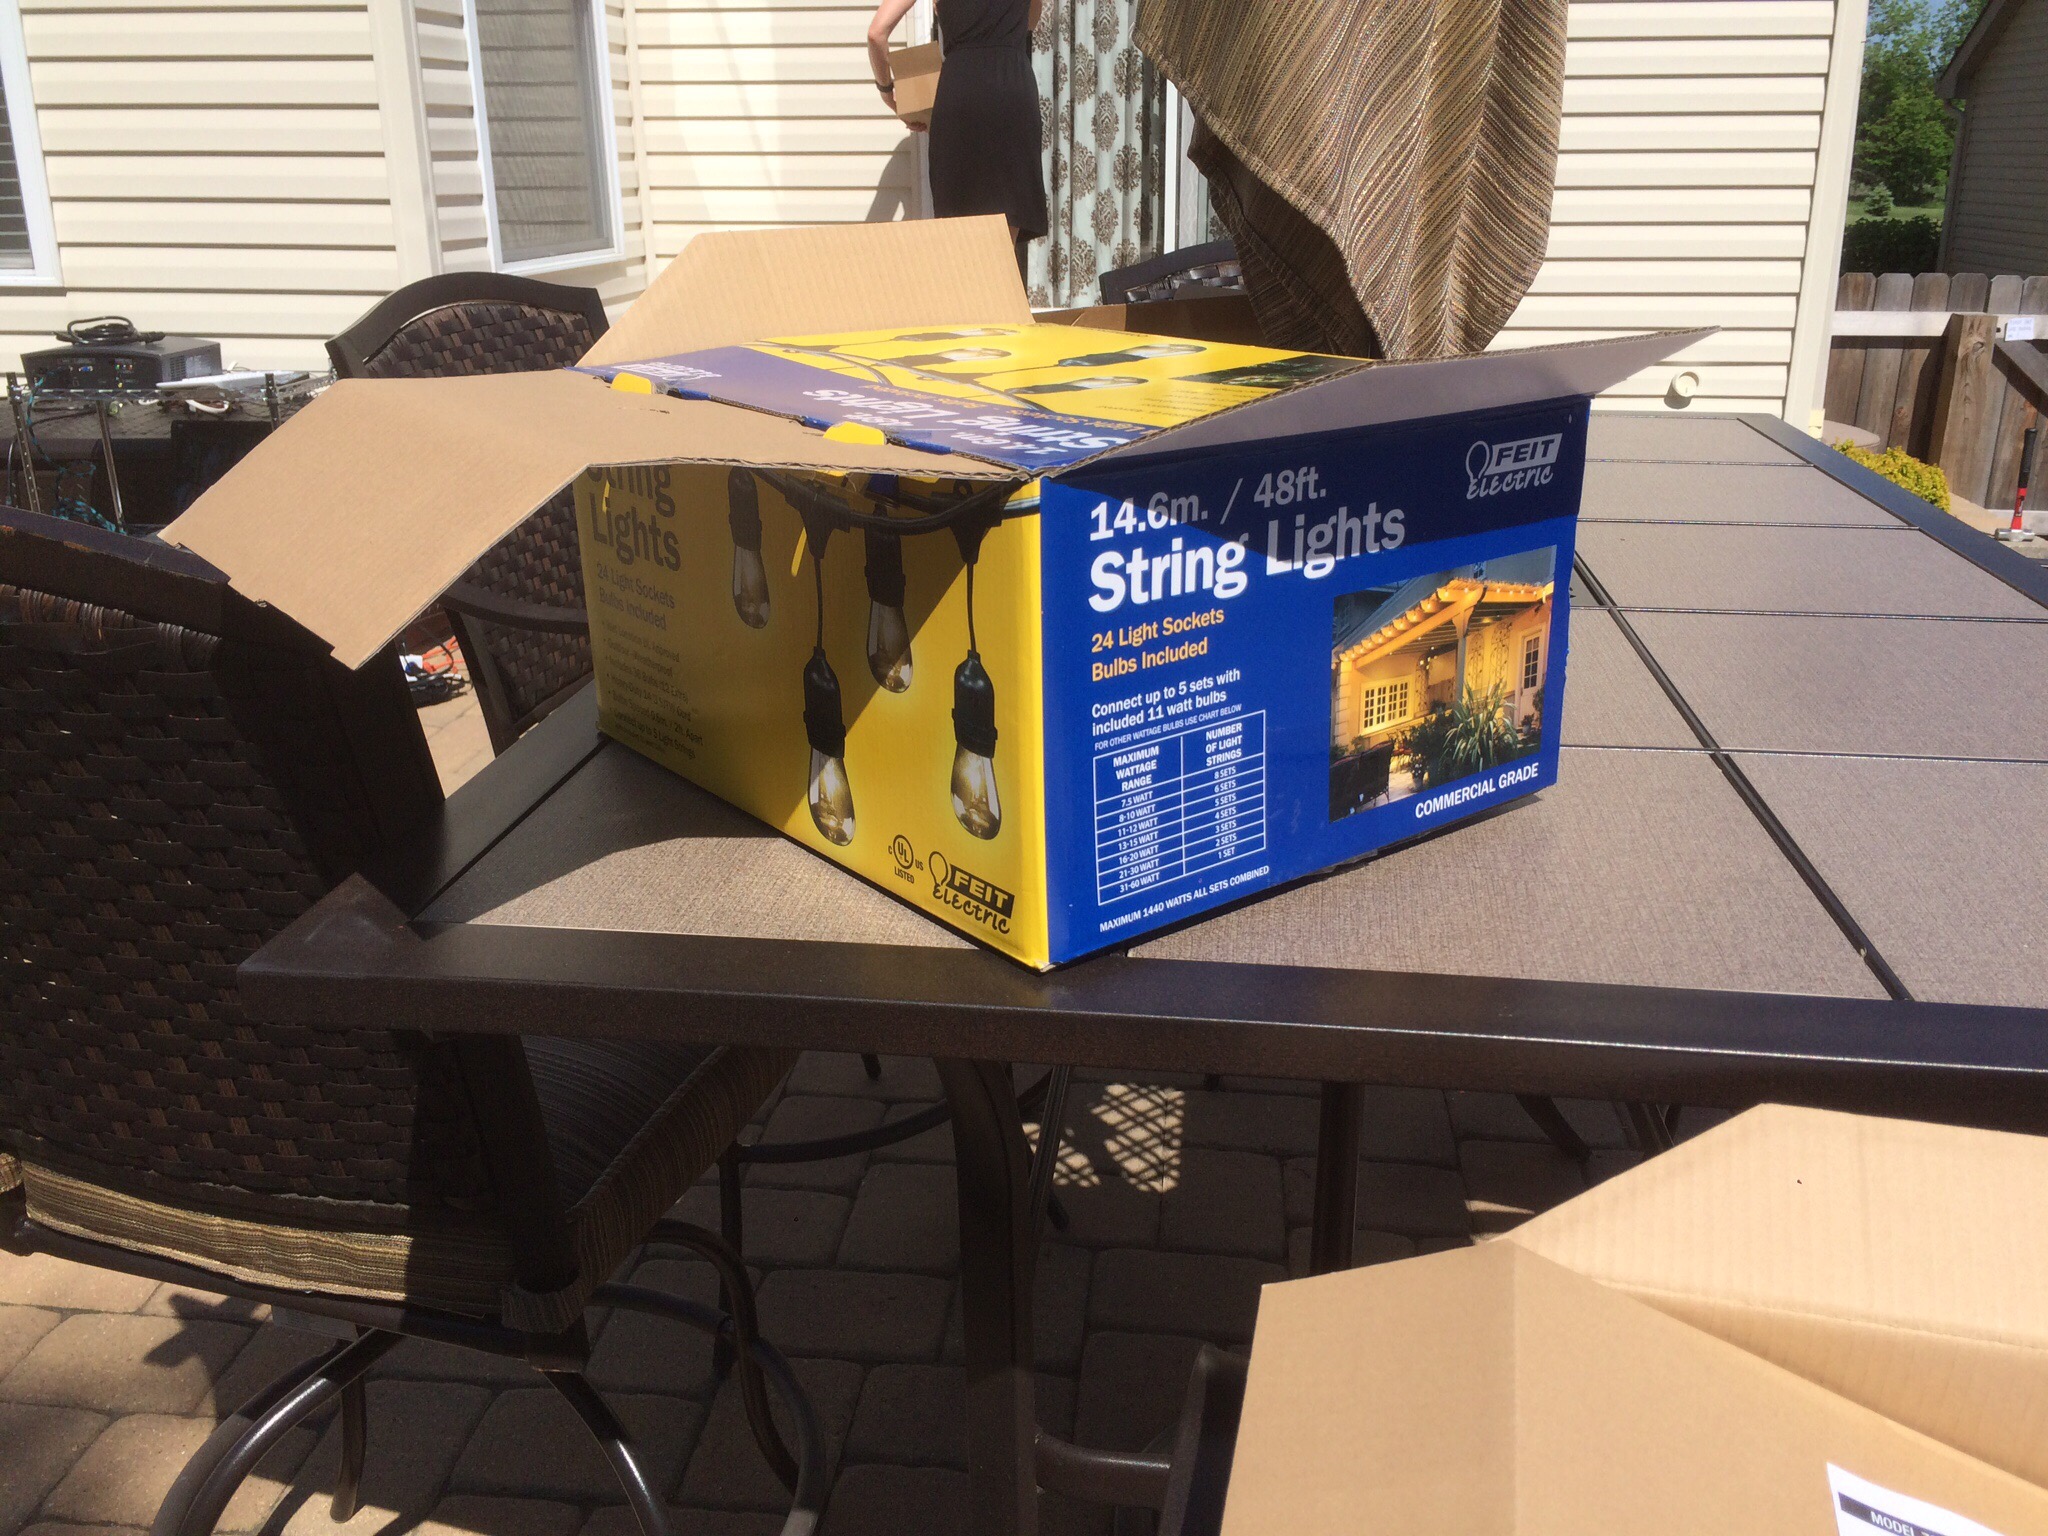
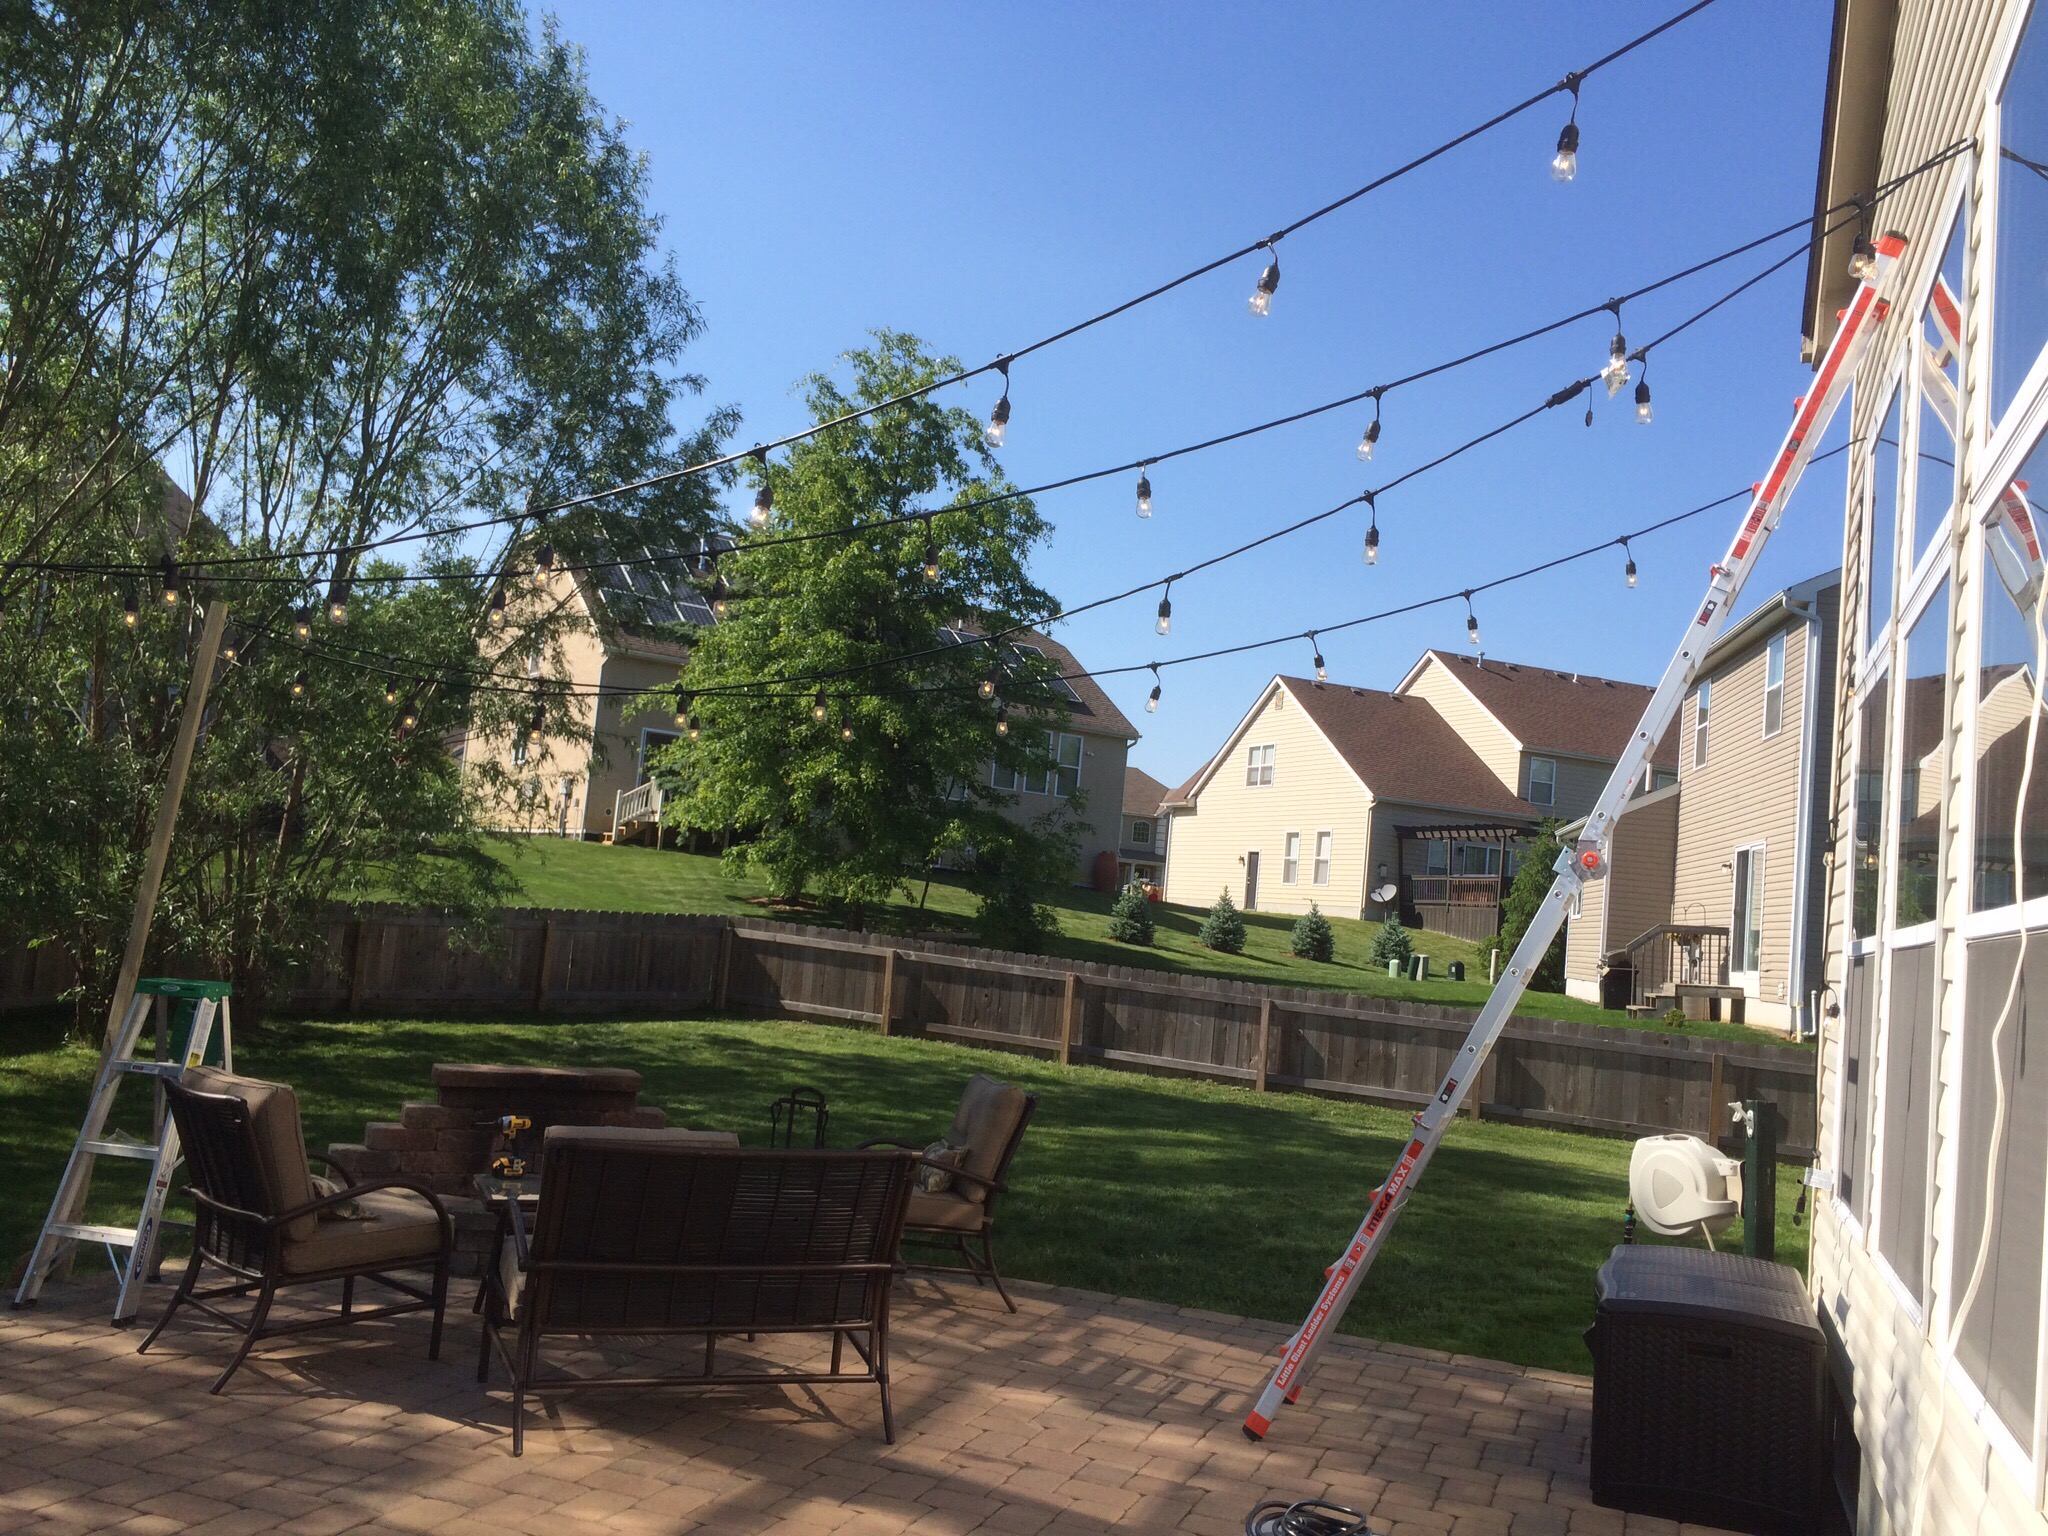
- Patio and Deck lighting – My approach
- Products:
- I used Feit String Lights, Costco had them in stock. I ended up needing 3 I believe for my patio, so roughly $150.
- 4x4x8′ – I used “treated” exterior posts to help me get enough height. I also purchased 4×4 fence post holder from Menard’s to secure the posts. I used a sledge hammer to drive them in the ground. (*You’re suppose to use a scrap 4×4 piece to hammer the stake in the ground.)
- I used heavy duty screw hooks to secure the string lights to both the post and the house.
- Products:

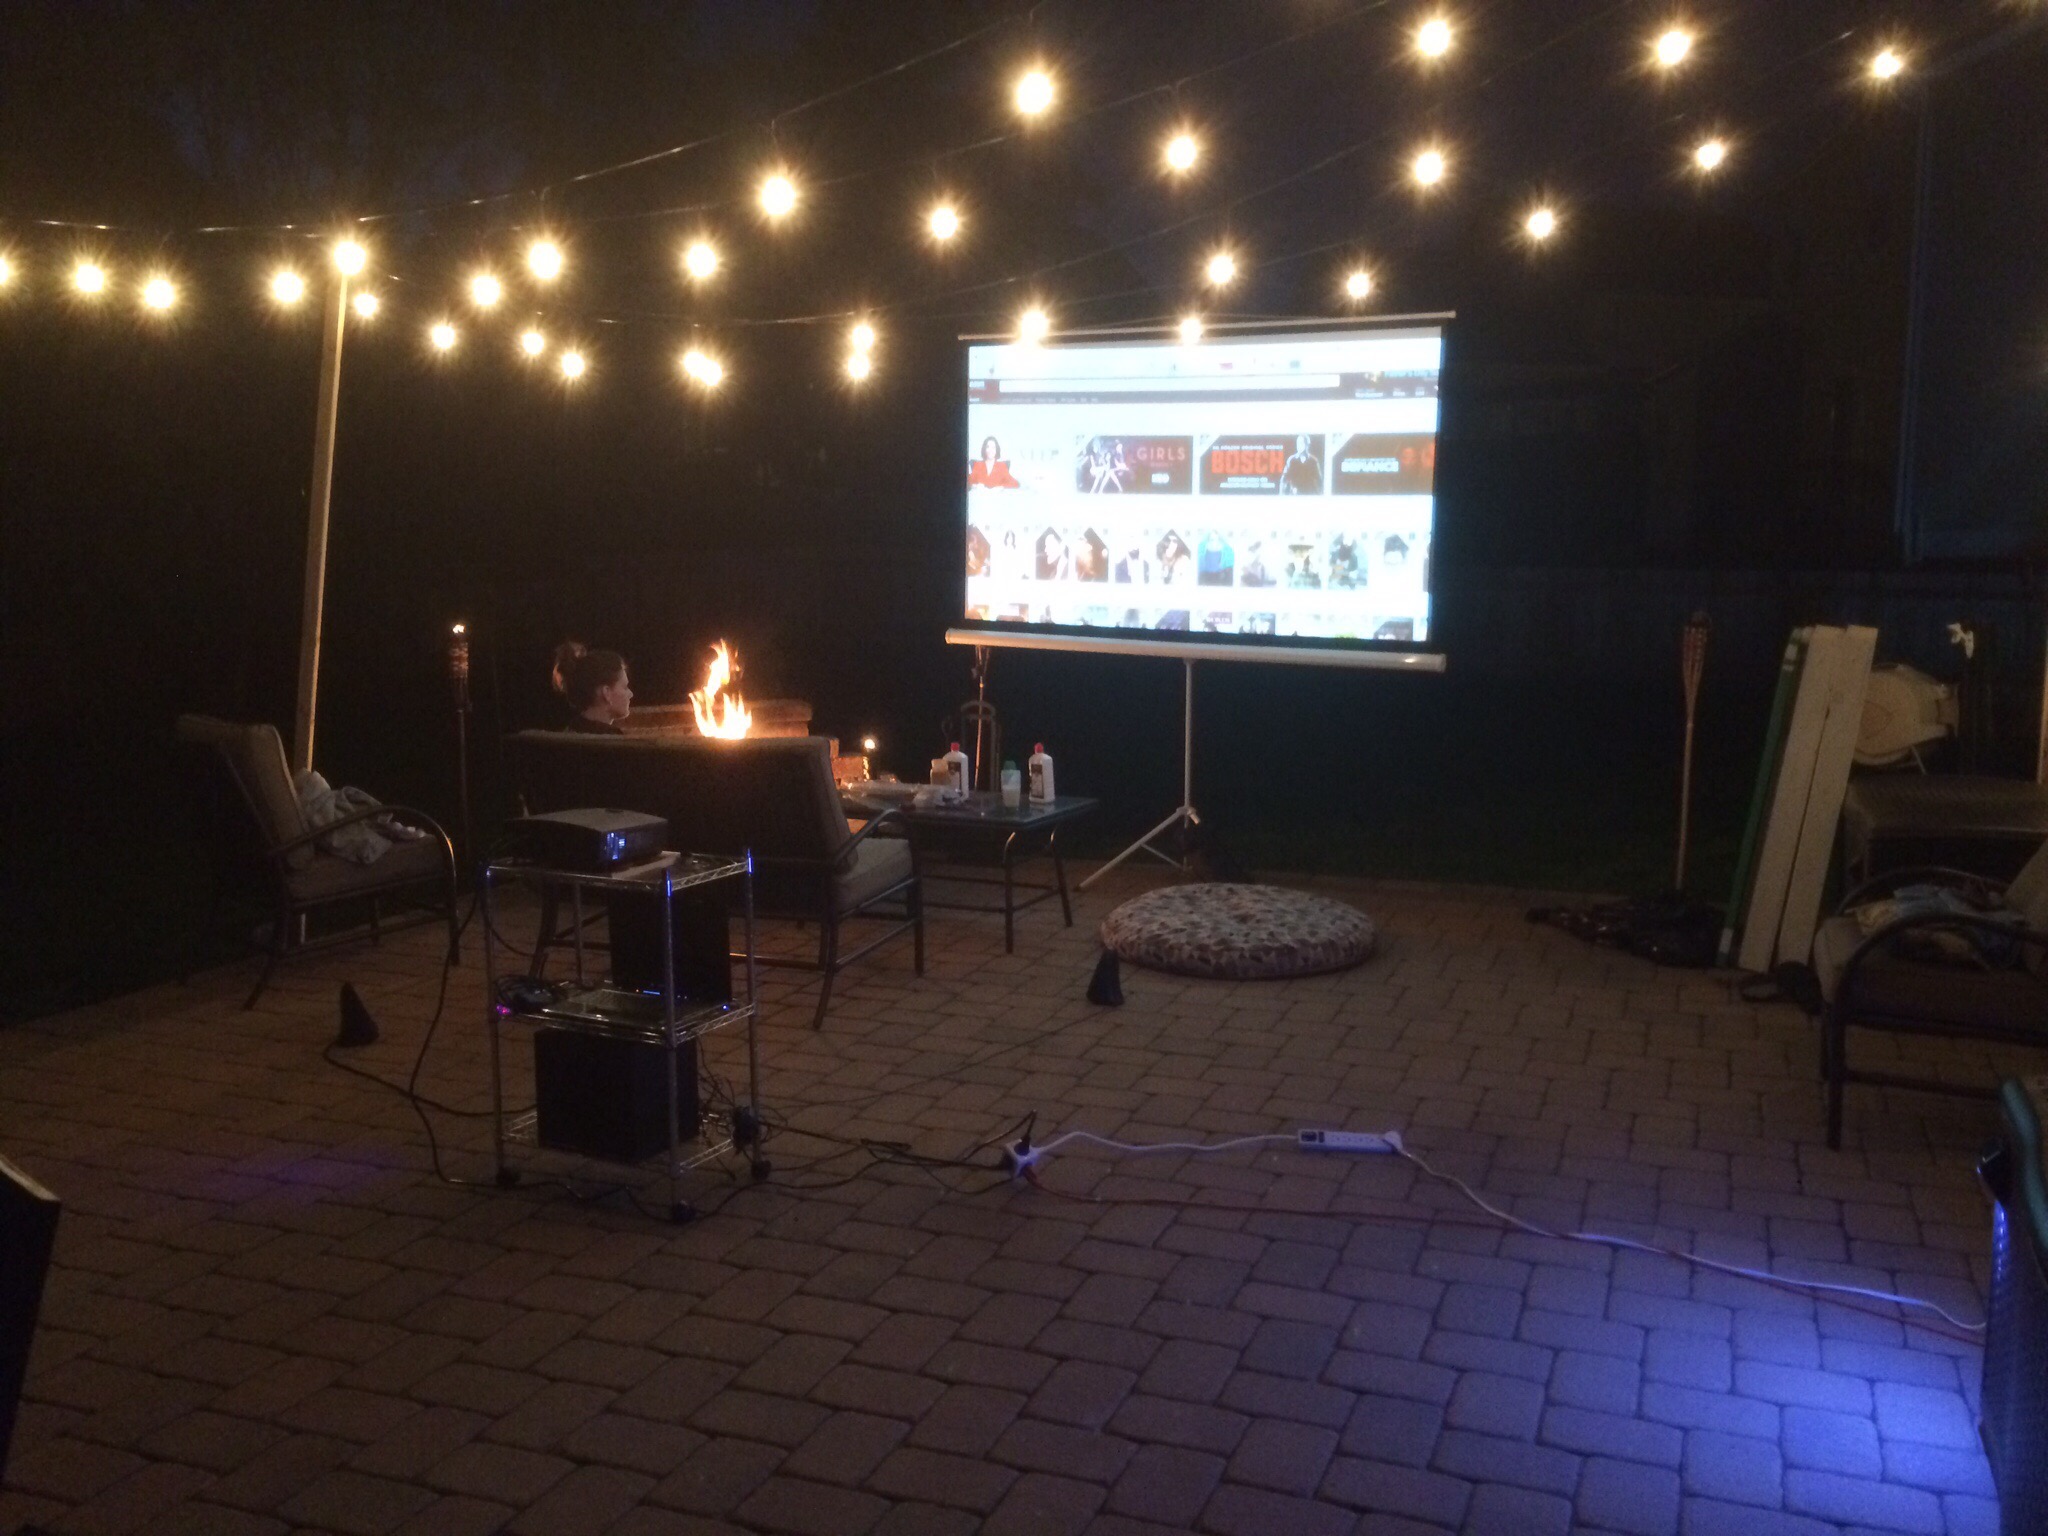
Outdoor theater setup not included 😉
The only other lights I’ve experimented with for landscape lighting are a bunch of LED variety. I can tell you the Cheap Harbor Freight models lasted about 3 months. The Costco Variety lasted about a year (Solar cell or battery fails). At this stage I’ve invested in a powered model and ditched the batteries. Of course I ran PVC piping to run power lines in my landscape and under my paver patio, who doesnt? The product I went with was Westinghouse Low Voltage Landscape Remington Bronze 8-Piece LED Light Set. Due to the steps involved in the install I figured thats a blog post in its own at a later time, but I wanted to share the product recommendation! Good luck! LED is super easy to install but I’ve always been disappointed with brightness and long term durability.
DIY For Life,

I was looking on how to put outdoor string lights and came upon your website. You did teach me what materials to choose, how to do it and more! It’s definitely a great help. Nice blog! Thanks a lot!
LikeLiked by 1 person
Glad it helped! They have lasted 3 years no issues or problems, even with some heavy storms.
LikeLike